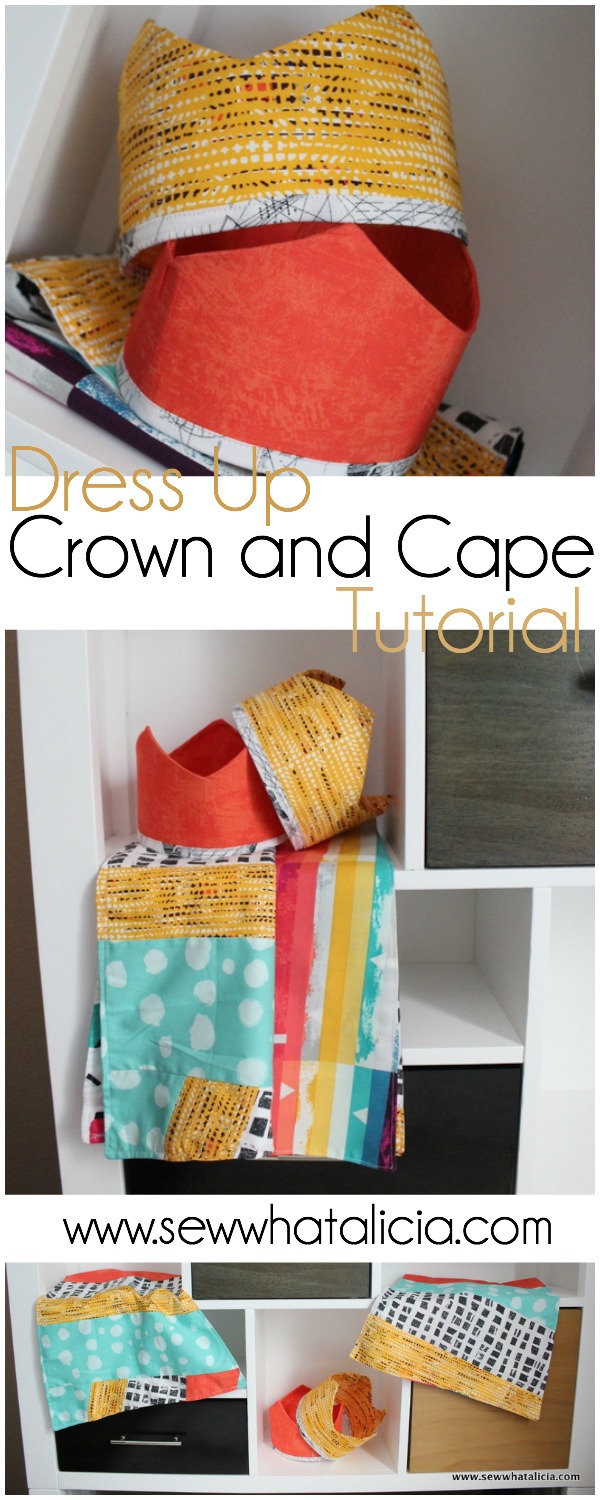
Dress Up Crown and Cape Tutorial
My youngest son loves to play dress up. He is always in a costume of some sort. His preschool teacher is always saying how great it would be if I made something for the class. So I decided it was time to make a few of these adorable dress up crowns and capes. Would your kiddo love a crown and cape?
Dress Up Crown and Cape Tutorial
This post was sponsored by Art Gallery Fabrics. They provided the fabric for the project and the giveaway. All opinions and ideas are my own. Rest assured that I would never work with a product that I didn’t use and love. Seriously this is my fabric brand of fabric, which is why I reached out to them to collaborate!!
I used the Avant Garde fabric collection from Art Gallery Fabrics designed by Katarina Rocella. Check out the lookbook (<— right there) seriously amazing!
Want a fat quarter bundle of your own?? Enter the giveaway….

As far as supplies go I had 10 Fat Quarters at my disposal, I made 2 capes and 2 crowns and had 2 leftover and lots of scraps! The other thing that you will need is some heavy duty interfacing, you can find the link to buy it in this tutorial. I also used a ribbon to serve as the tie that holds the cape on.
So today we are going to do something a little different. I frequently create a whole pattern and give it to you to print off and use. These capes and crowns however can vary so much in size that a one size fits all pattern isn’t ideal. So now I am going to teach you how to make the pattern yourself! Exciting right?!?!?
When I make a pattern I have this big roll of butcher paper that I tape together to make an even bigger piece. If you don’t have butcher paper you could use freezer paper, parchment paper, or even printer paper.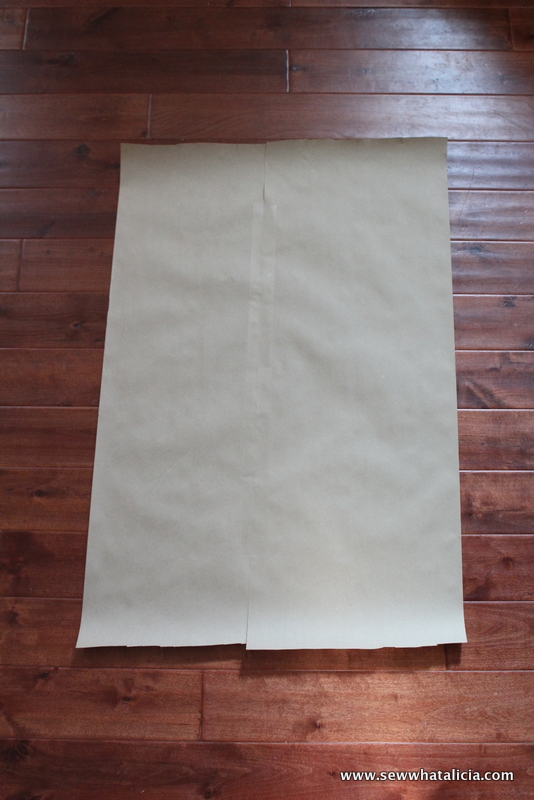
We are going to measure the kiddo first so we know how big to make the cape. My son is TINY so his shoulders measured 9″ across. Then I measured down to just below his bottom which came out to 18″. Add 1/2″ to each number that you get for seam allowance.
At the top of the paper measure to the middle and put a dot in the very top center.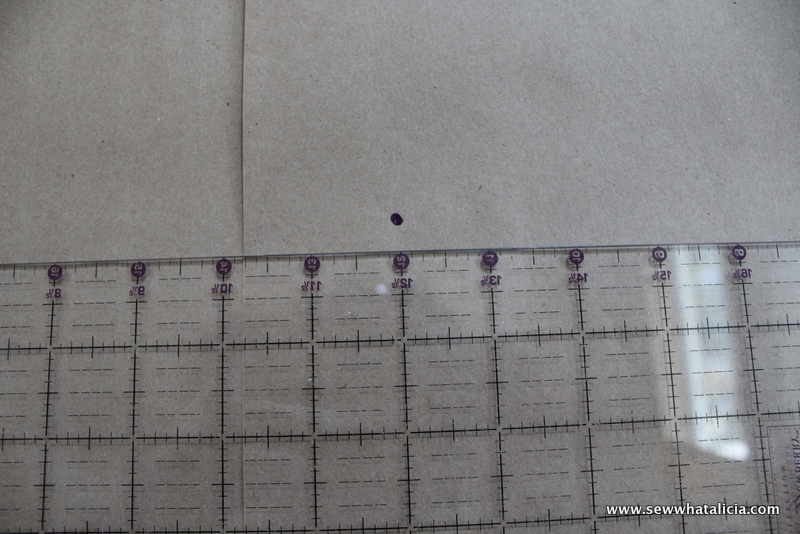
Now take the across the shoulders number and divide it by two. Draw a line from the center dot to the number you just measured. So for me this was 4.5″. Then draw a line the other way 4.5″ as well. You will end up with a line that is 9″ long that is centered at the top of the paper.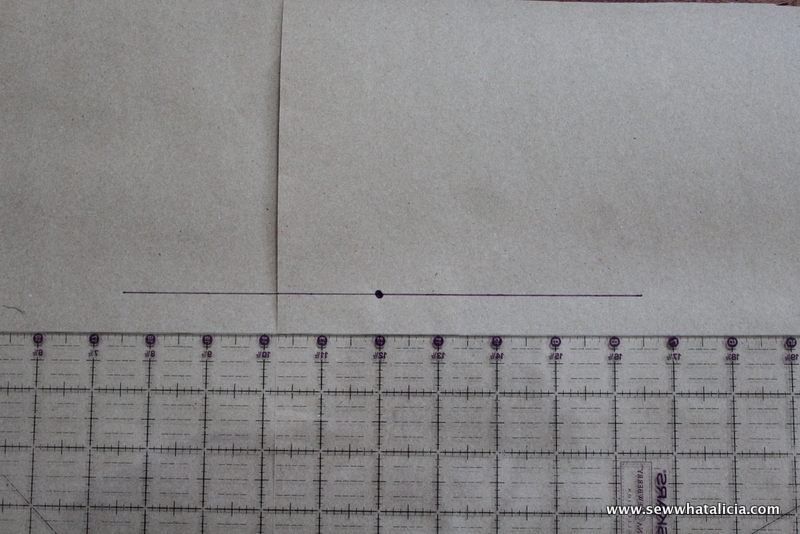
Now measure down 18″ from the center dot (or whatever number you got for length) and place another dot.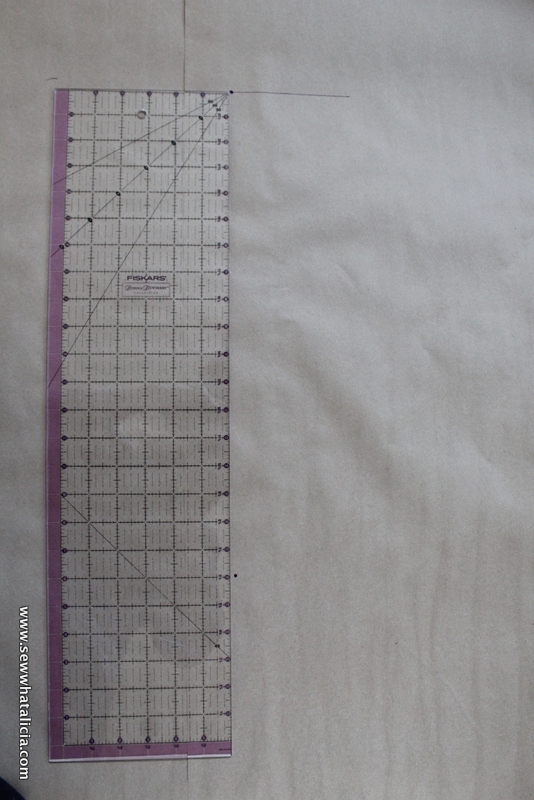
For the bottom line I added 5″ to give the cape that triangular cape shape. The process is the same, divide the number by two and then draw out from the center dot that far.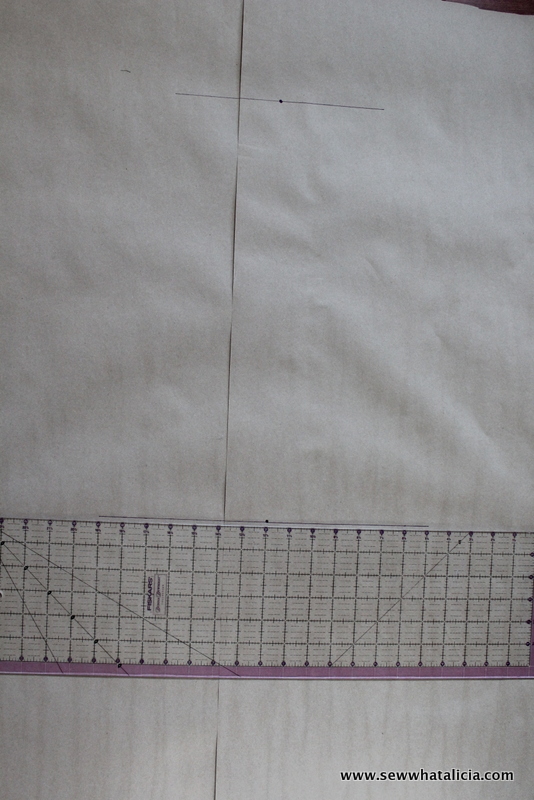
The last step is to attach the sides. Just use your straight edge and draw a line from the top to the bottom on either side.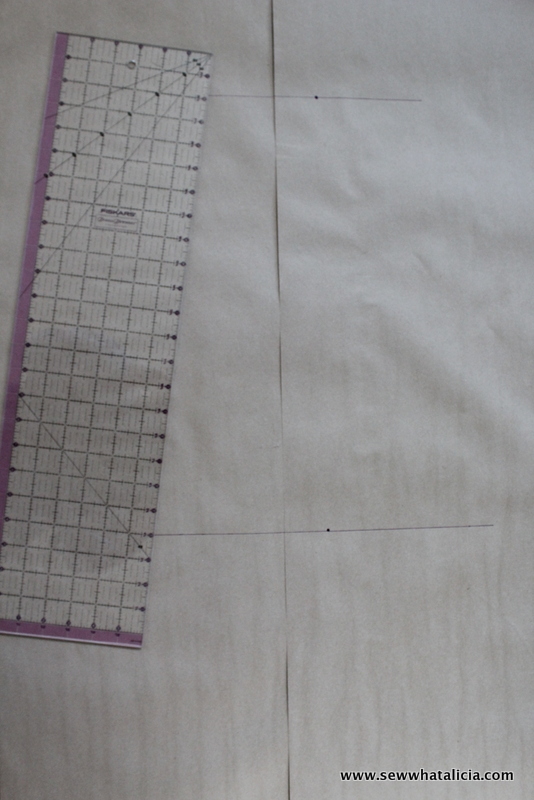
Then the last step is to cut the pattern out.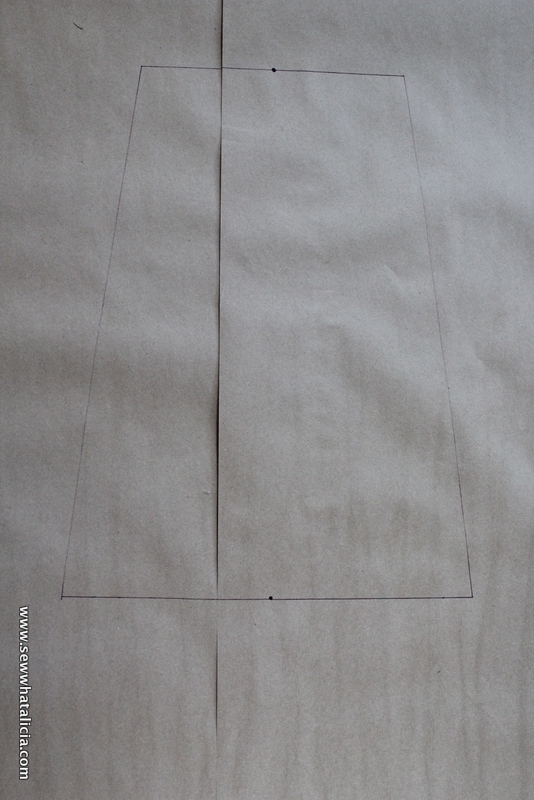
For the crown I measured around my son’s head, which was 19″. Then add your seam allowance, 1/2″. That is the length of the bottom line. I decided I wanted my crown to be 4″ tall so I drew two 4″ lines going up from the bottom. Last I found the middle of the top and made even lines, I am NOT a perfectionist so I just kind of went with the flow for this step! Cut it out and we are ready to move on to the fabric!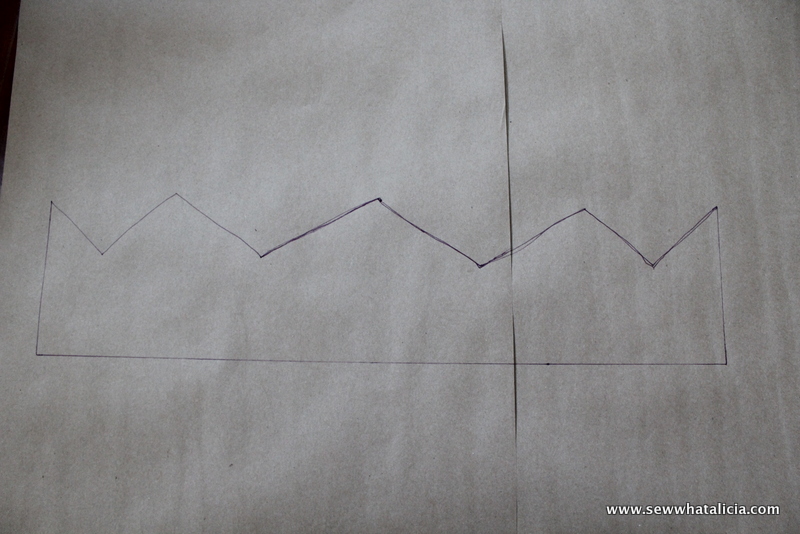
Take one fat quarter and fold the edge over. Just fold it over enough so that the pattern fits, this will save fabric and reduce waste! Go ahead and trace the crown with a pencil or pen, you are going to sew over it so you won’t be able to see the pen marks at the end.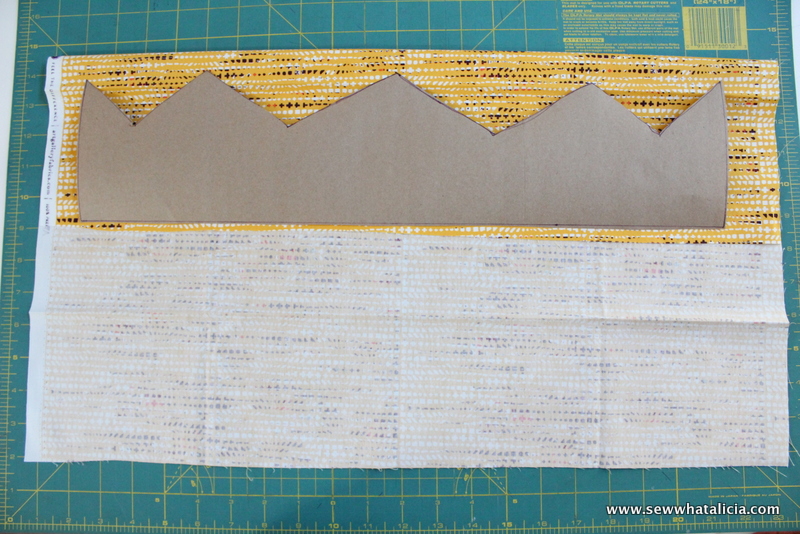
Pin the fabric together and cut the crown out. (I did this step twice to make two crowns. If you are only making one then you just need two matching pieces.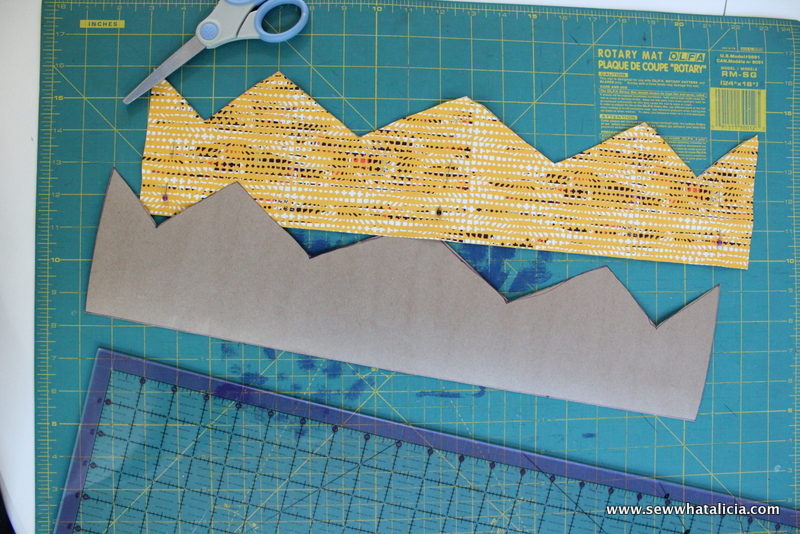
Place the pieces right sides together. We are going to leave the bottom and one side edge open. Sew up one side and across the points.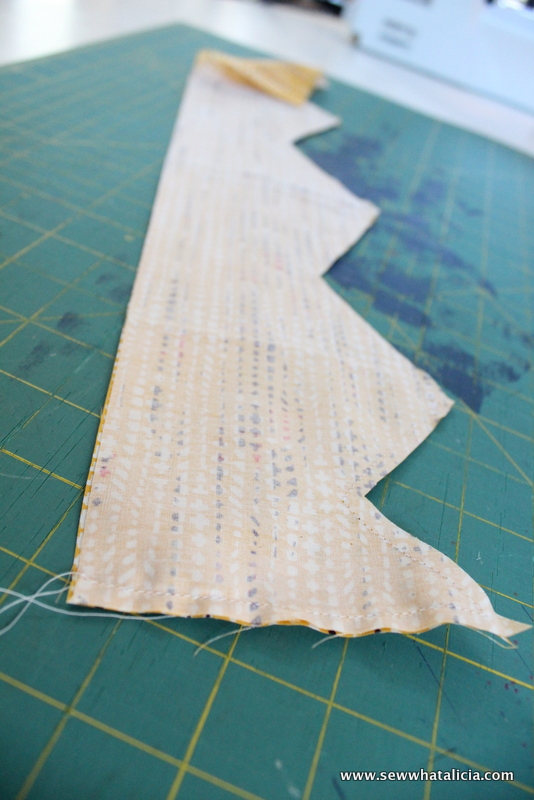
Trim the tip of the points off and then turn the piece out.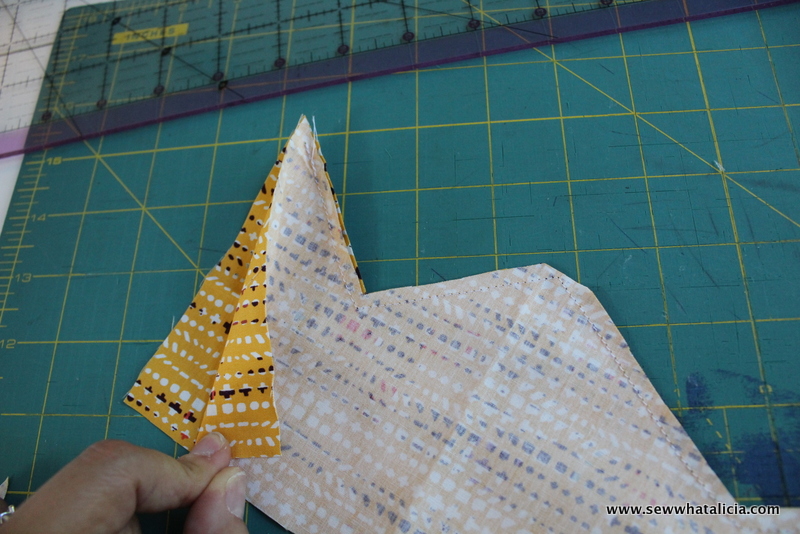
Now we are going to press the points and make them flat.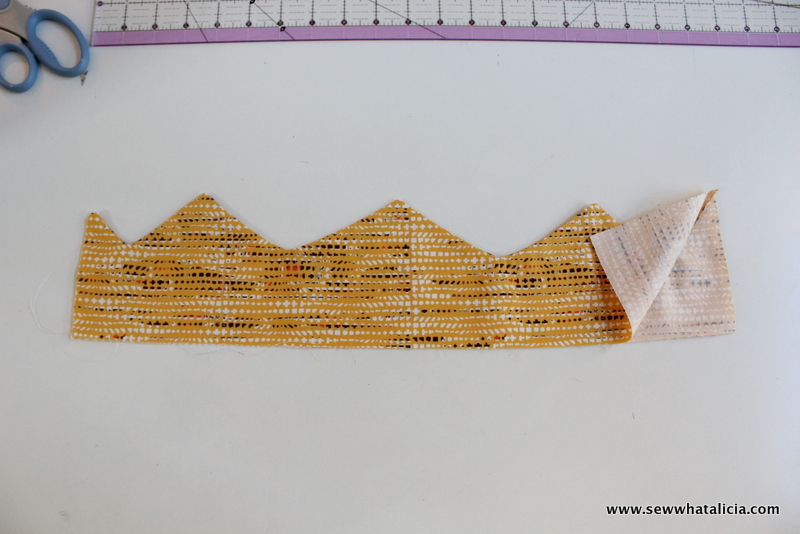
Line the piece up on your heavy duty interfacing. Trace the entire thing. When you cut, cut inside the lines because you want it to be a touch smaller than the actual fabric piece.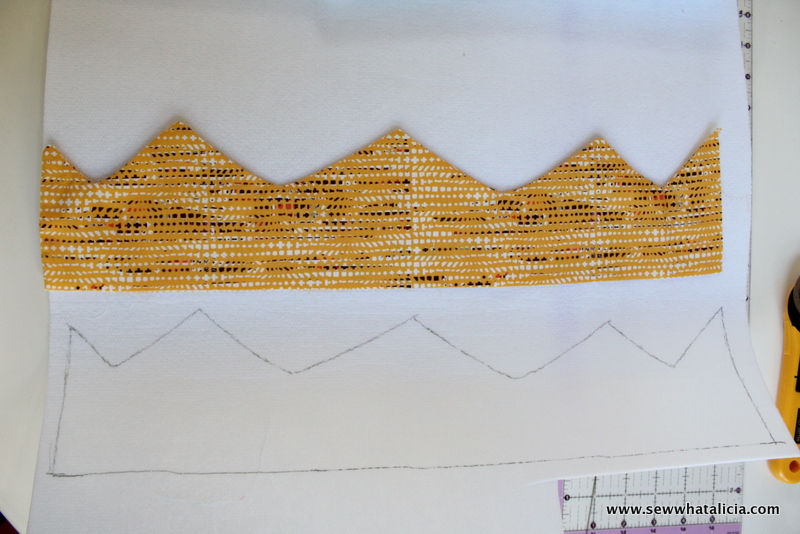
Before you stuff the interfacing into the crown you are going to want to press the open side edge under by 1/4″. Then stuff the interfacing into the crown. Next is the trickiest part. Place the sewn side edge into the open side edge and use the pressed under edges you just created to enfold the side. Sew along the entire length of the side edge. Because of the interfacing I had to sew half and then remove the piece and turn it around and sew the other half.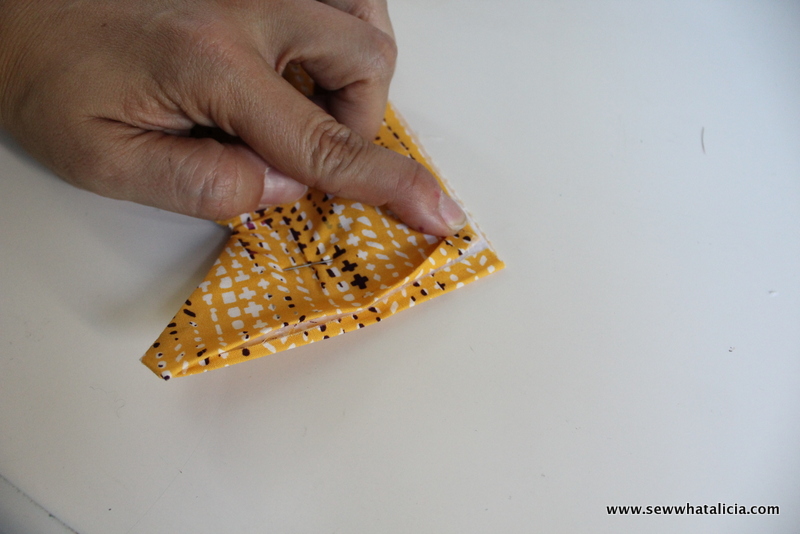
You should have a circle like this now. You can see in the picture that the front seam didn’t line up exactly evenly so I went ahead and did another top-stitch on the front side as well to make the fabric lie flat.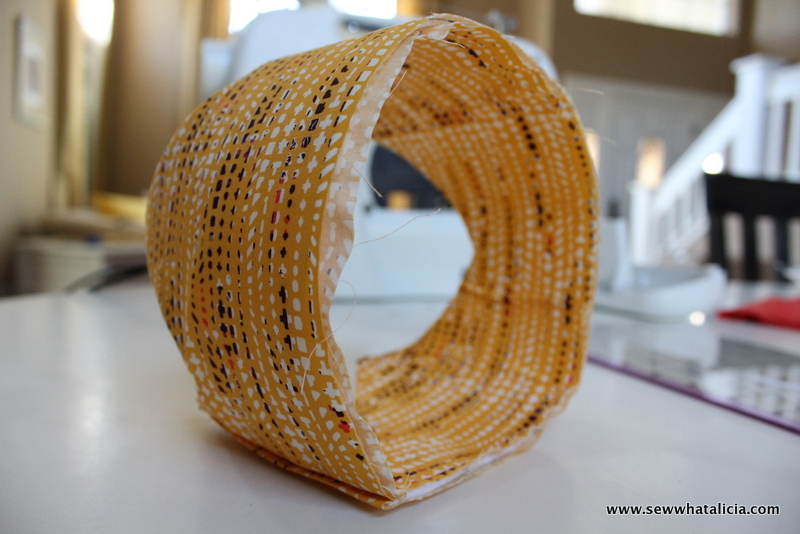
The last steps for the crown are cutting a 2″ strip of binding. Fold the 2″ strip in half longways and then attach the raw edge to the inside of the crown lining up the raw edge of the crown and the raw edge of the binding.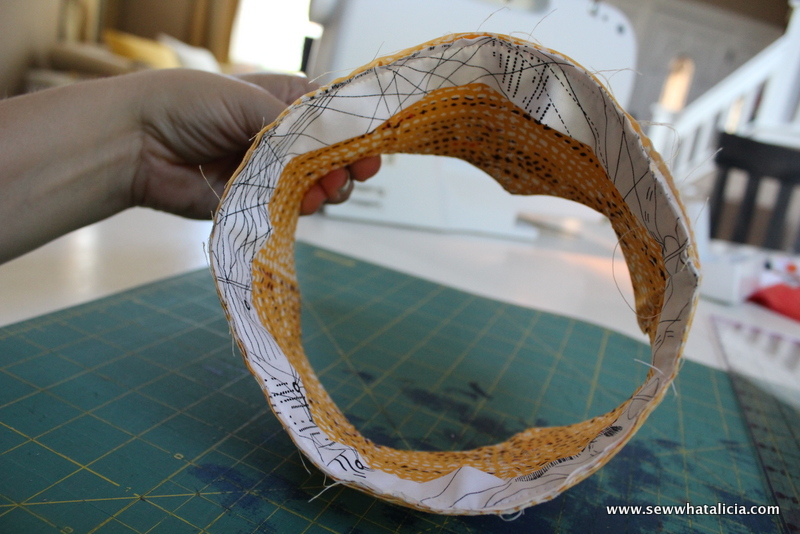
Then fold the binding over to create a nice clean line and top-stitch it in place. Here are the finished crowns.
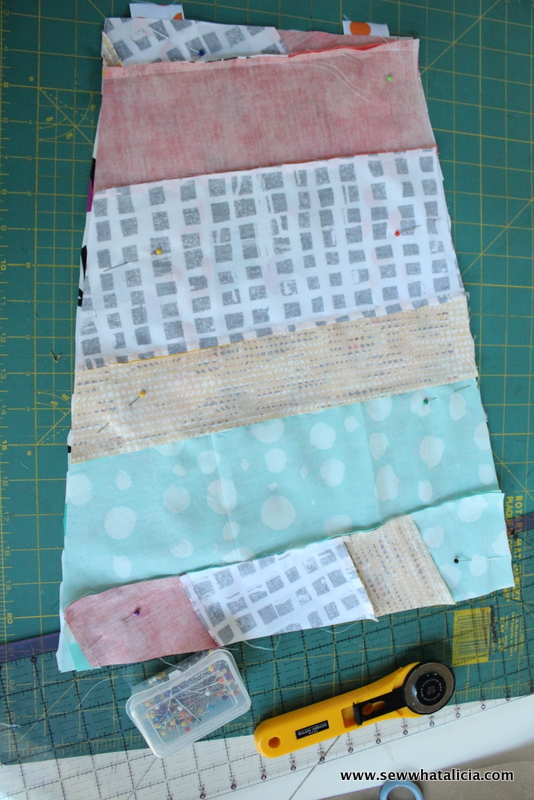
Now for the capes. I cut strips of varying widths out of the fat quarters. I attached them with a simple straight stitch. Next I lined the sewn together strips up diagonally on my cape pattern piece. Then trim off the excess using your pattern as a guide.
Then I lined up the piece that I had just trimmed along the bottom and sewed it in place. 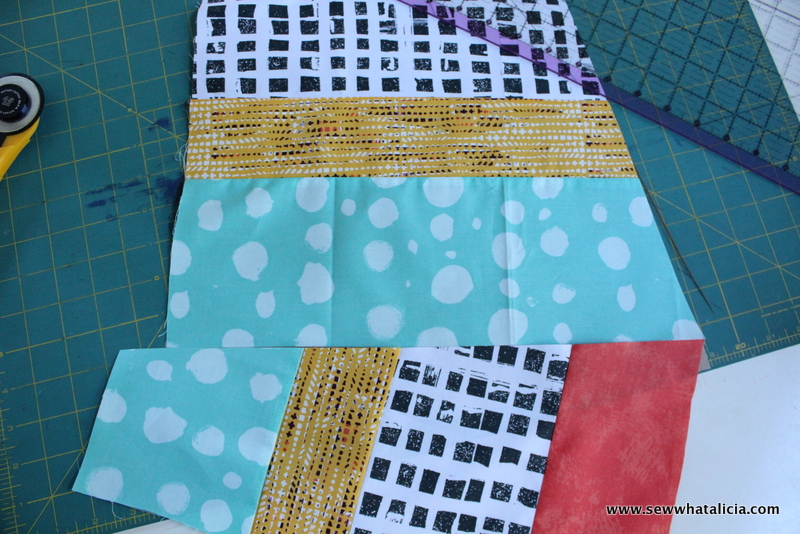
I continued to do this until I had a piece that was the exact size as the pattern.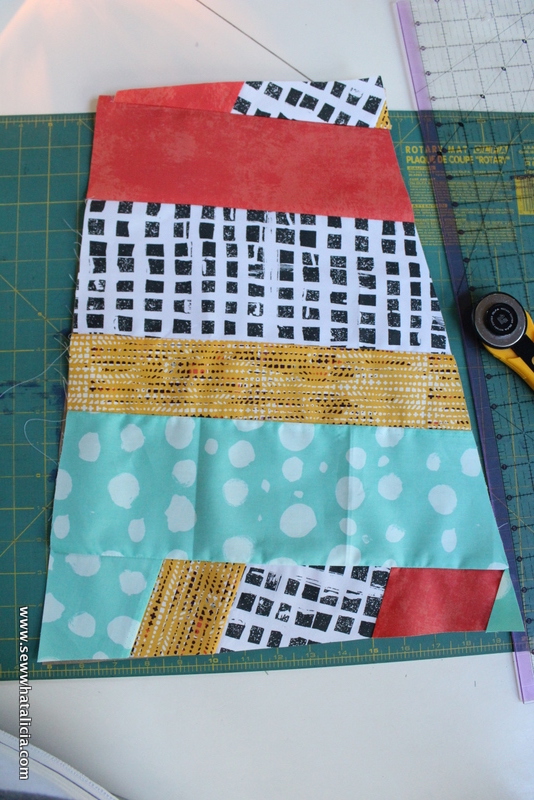
I used the pattern to cut one of the fat quarters to the size as well. Just a solid piece for the lining/back of the cape. Line the two cape pieces up right sides together. Now is the time to attach the ribbon to the top of the piece. Place it inside with the raw edges poking out as you can see I have done below.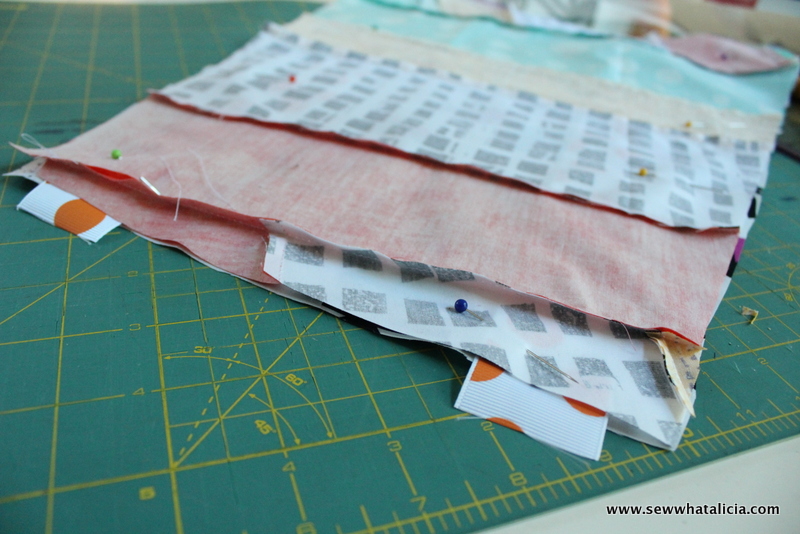
Sew around the entire piece leaving a small edge open to turn the piece out. Make sure that you sew where the ribbons are (don’t leave that area open for turning out.) Trim the corners and turn the piece out. Press the seams in place. Top-stitch around the entire piece and it is finished!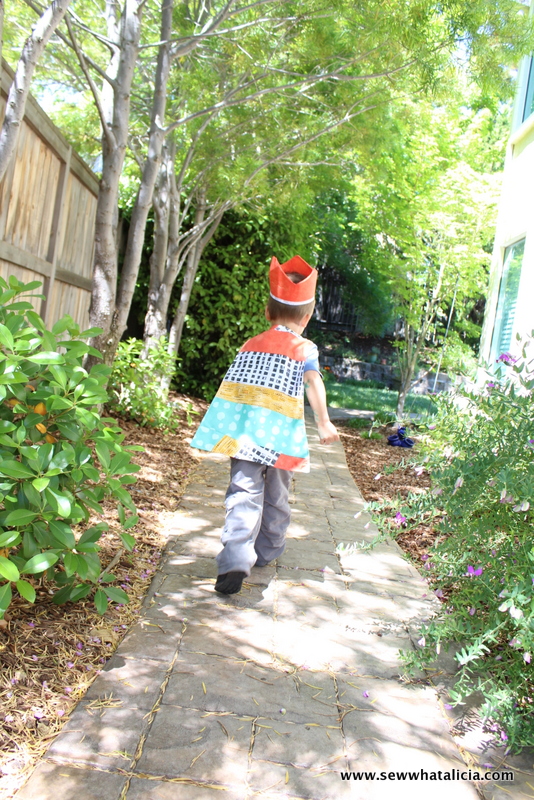
What do your kids like to use for dress up??
Happy sewing!


Leave a Reply