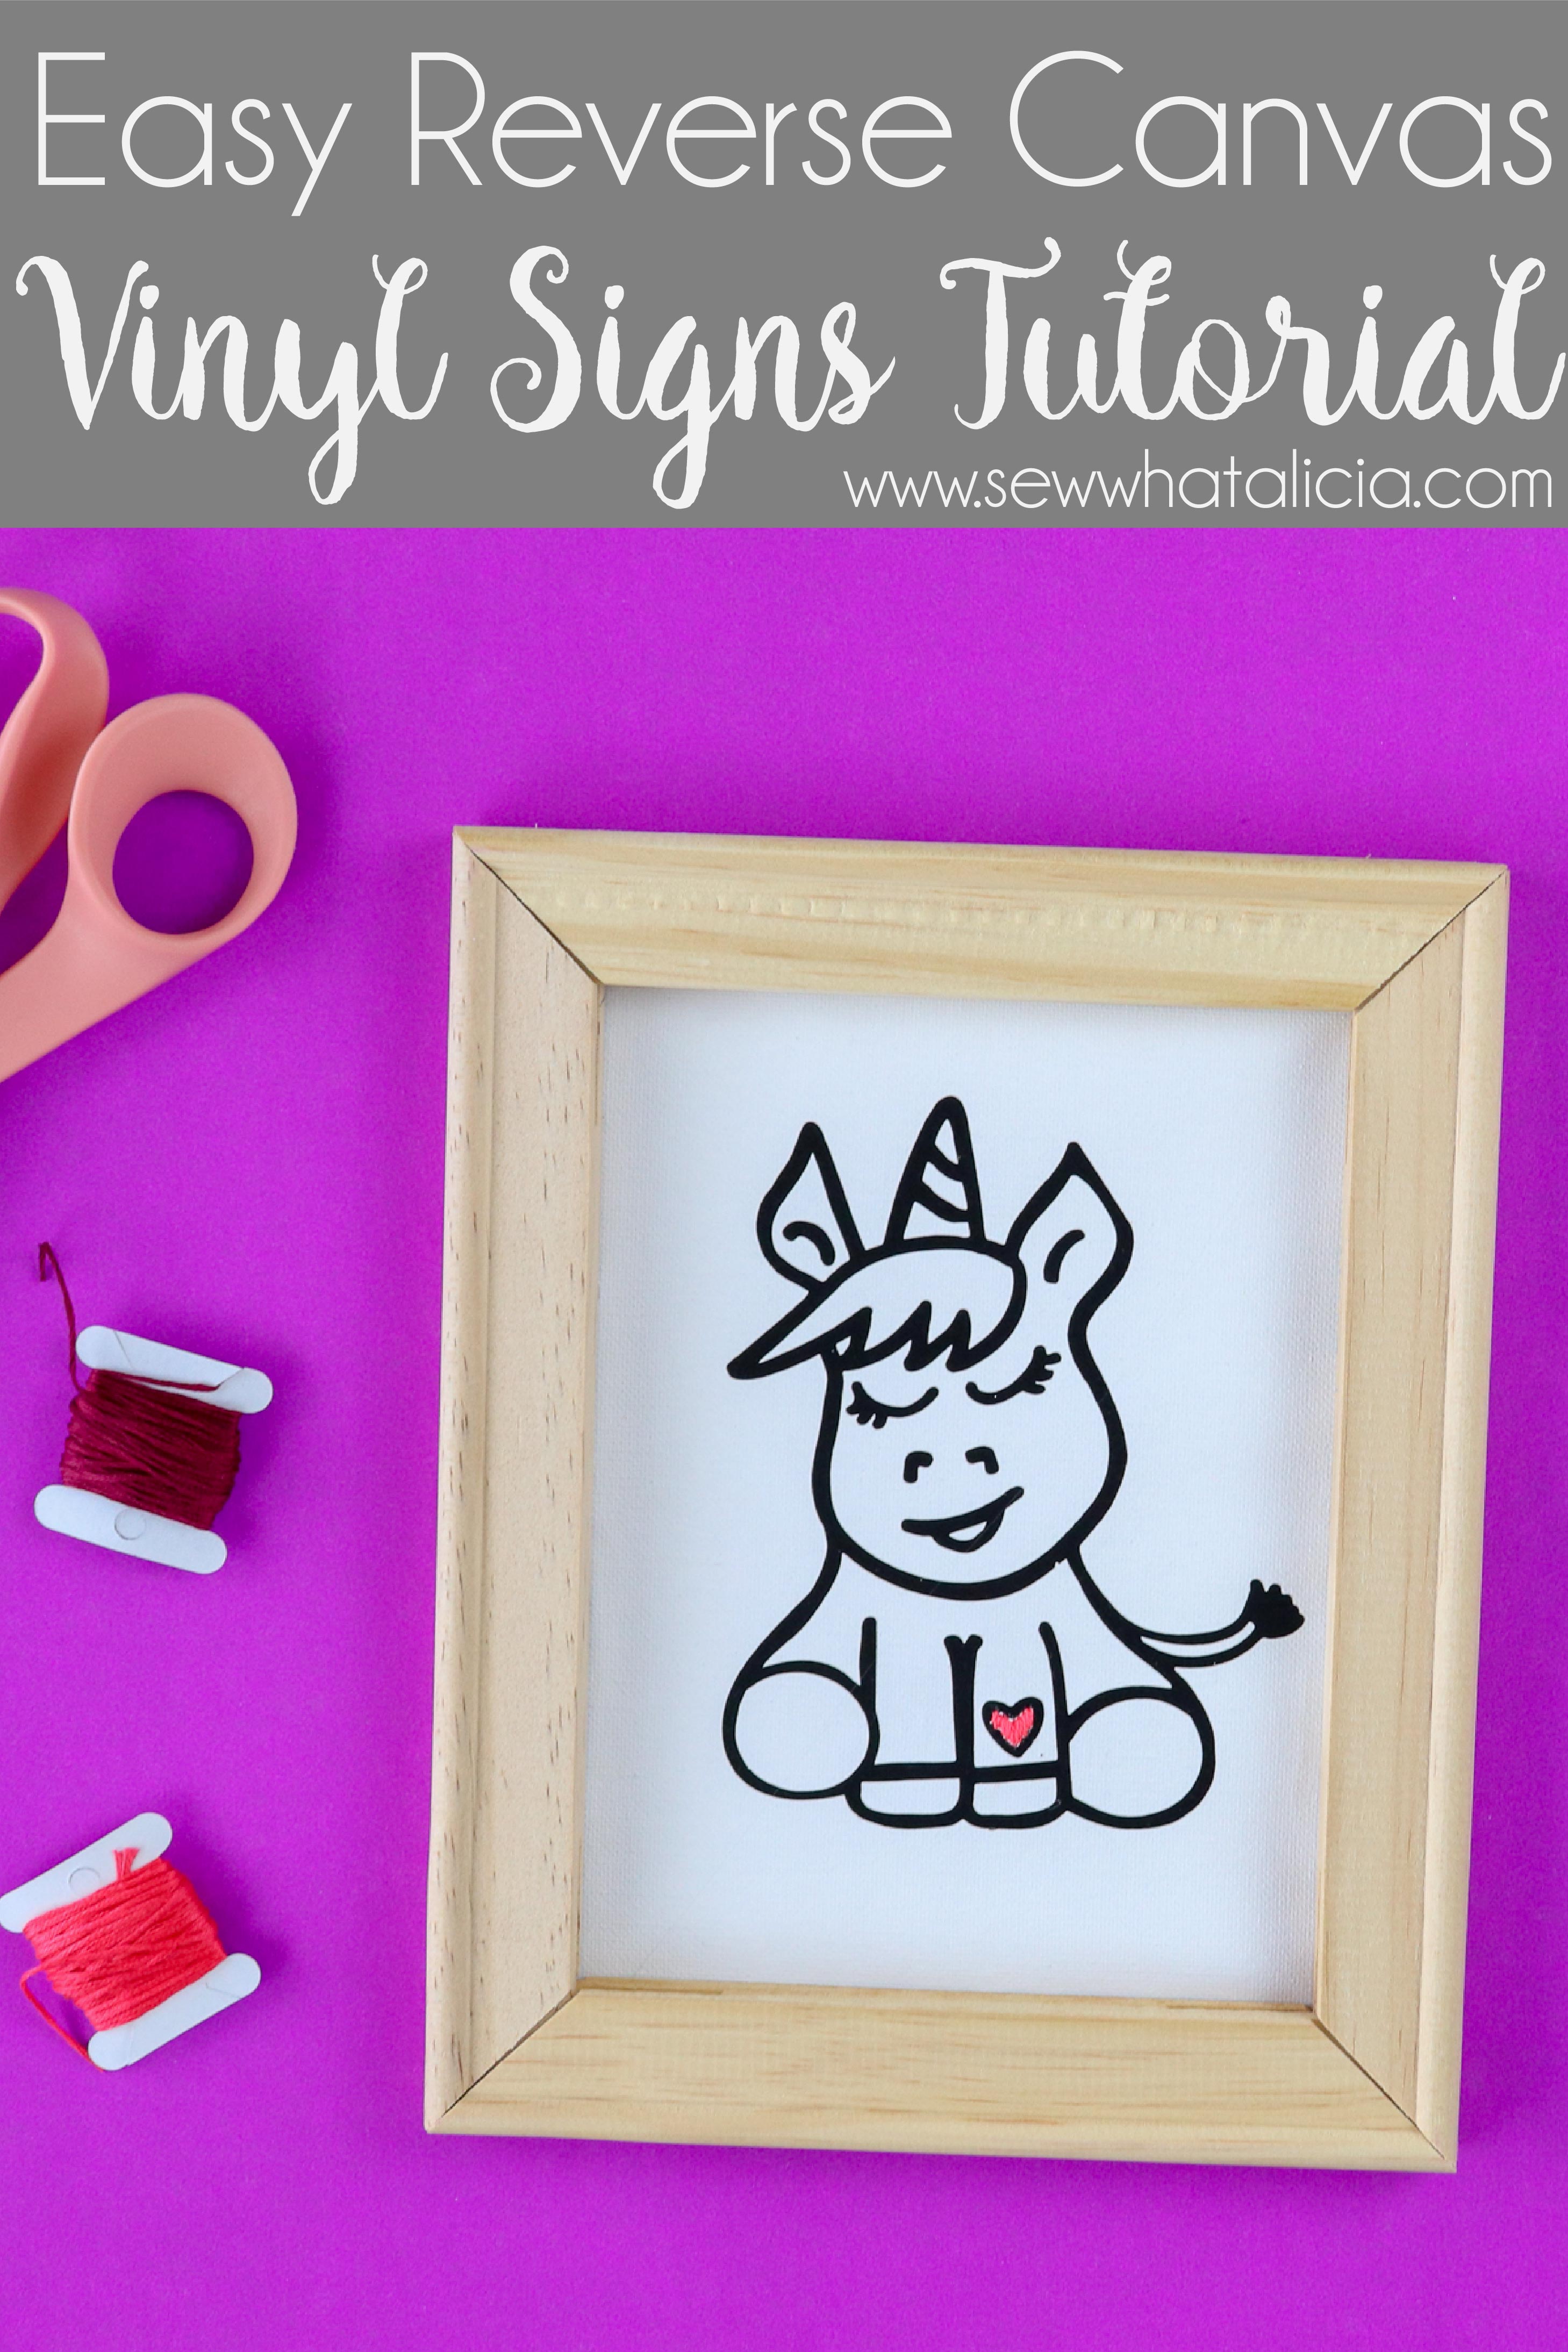
Reverse Canvas Signs Tutorial
I have been waiting for the perfect reverse canvas project to share with you! The newest Fresh Cut SVG Files Bundle has given me the perfect opportunity to show you some reverse canvas ideas. So check out the bundle and then create this fun project for yourself!
Reverse Canvas Signs Tutorial
Here is what you will need:
Fresh Cut SVG Files Love Notes Bundle
Cutting Machine – Cricut Explore Air 2
Canvas (5 x 7 pictured)
Glue Gun or Staple Gun
Cricut EasyPress or Iron
Reverse Canvas with Vinyl:
First use a blade to cut around the edge of the canvas. You don’t need to pull the staples out and preserve the entire canvas because you won’t use it. You just need enough to cover the back of the frame, so cutting around the outer edge of the canvas will give you plenty of space to work with.
Then remove the excess canvas from the back. You don’t need to pull the staples. Just pull the extra canvas out and push the staples down if they happen to be sticking up.
To find the size of your workspace I recommend tracing around the inside of the frame onto the back of the canvas. This gives you a nice flat place to measure. You could also measure the inside of the frame, whatever is easiest for you.
Now size your cut file so that it will fit nicely within the boundaries of your frame. The larger the canvas and frame the larger you will want to make your file.
Note that I have used just the black outline for this tutorial. You could use various colors of heat transfer vinyl and transfer the colored parts of the image as well if you prefer a more colorful finished project.
Reverse Canvas Cricut EasyPress:
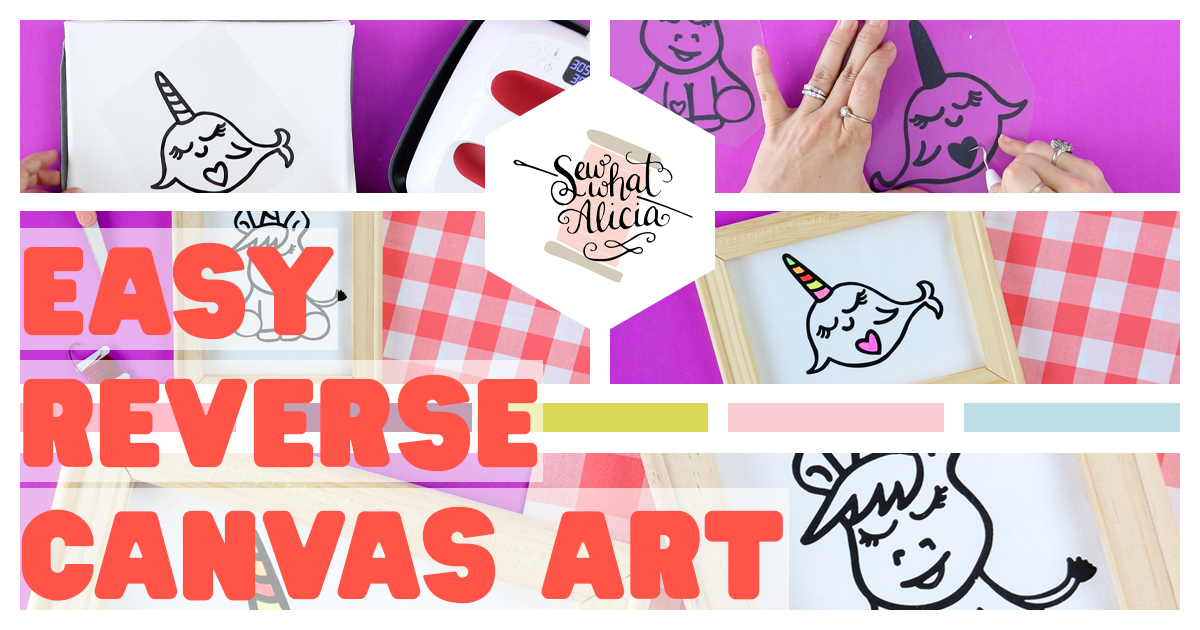
Grab your Cricut EasyPress (or your iron) and press the weeded heat transfer vinyl onto the front of the canvas. Be sure that it is centered on the canvas so that it will frame nicely at the end.
The EasyPress set to the correct temperature for the HTV will not harm your canvas. Note that I did not try with glitter vinyl which requires more heat. Proceed with caution if you are using a vinyl or material that requires a higher heat. Do a small test area with the excess canvas from the first step to make sure that the canvas doesn’t scorch or warp at higher temperatures.
Reverse Canvas Tutorial Finishing:
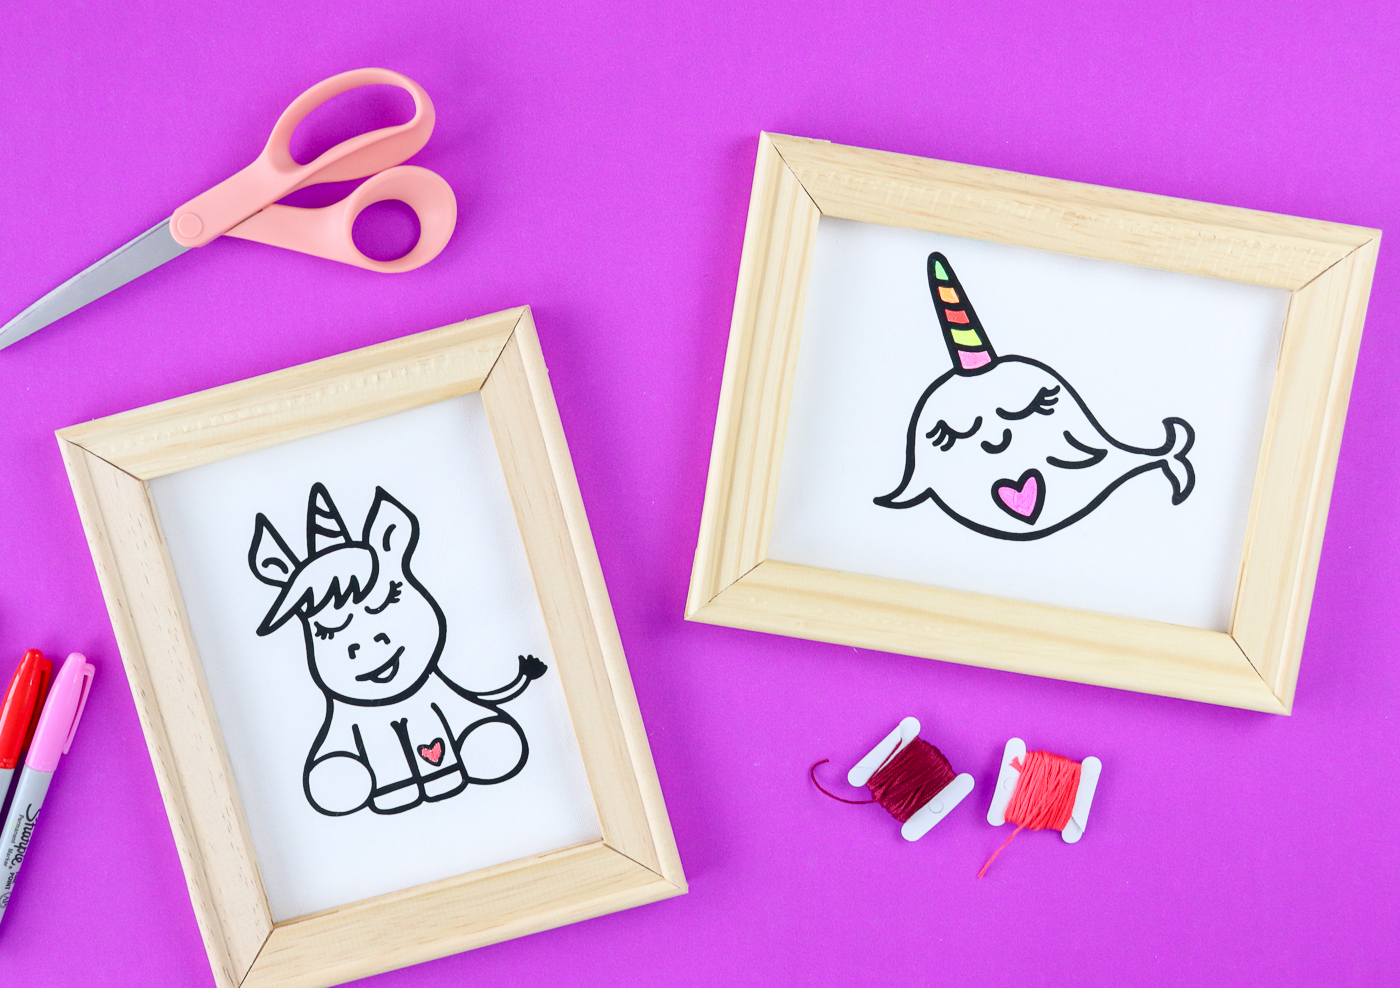
To finish the canvas choose your favorite method for adding color, depth, and dimension. The video below shares two different ways to finish the canvas.
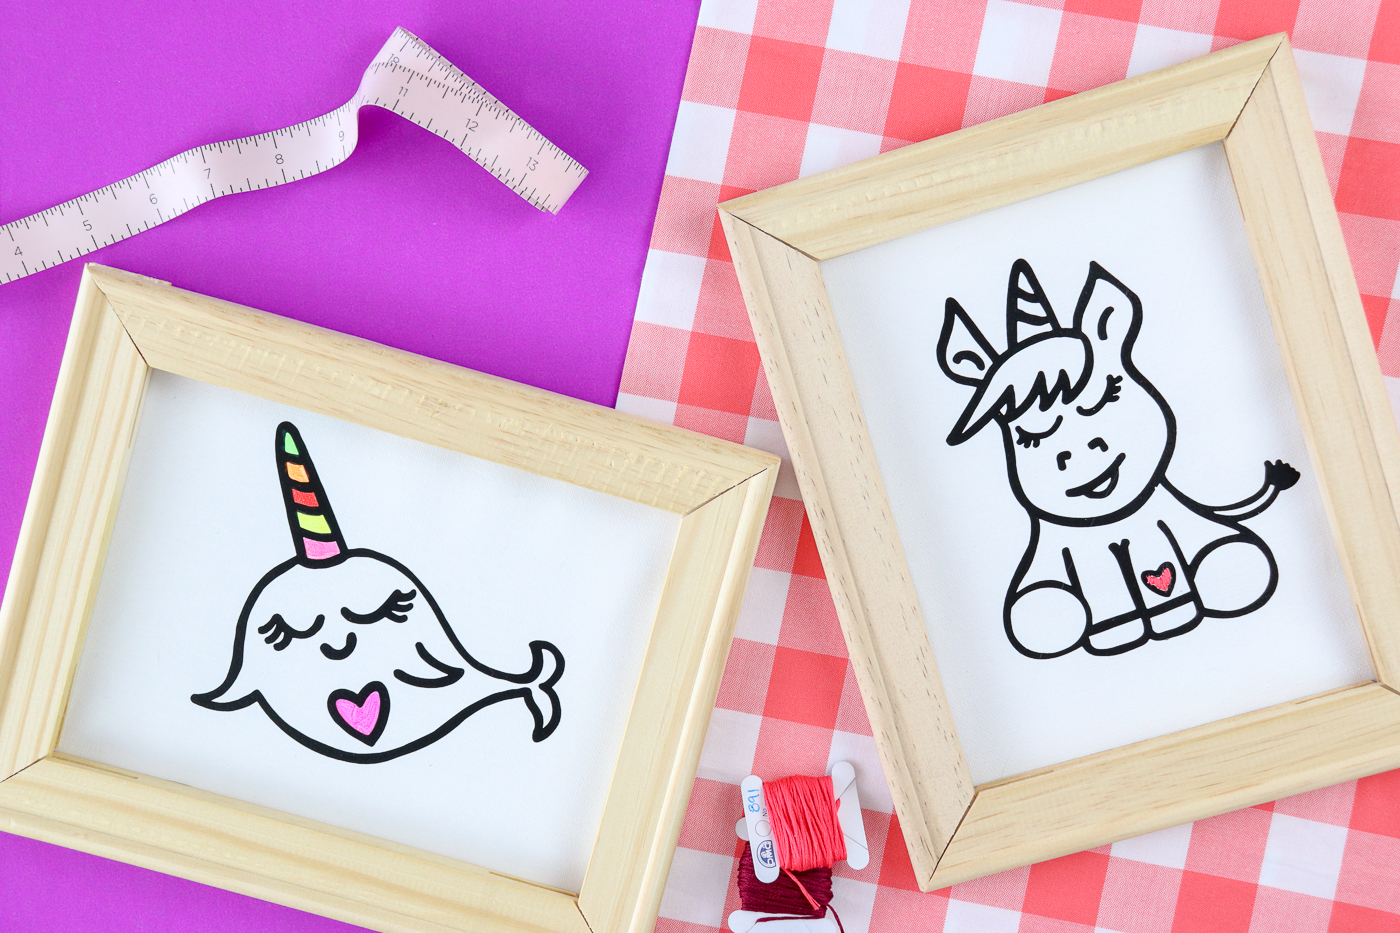
The first is to add embroidery to add a fun pop of color. The second is to use markers to color in various details on the canvas. Of course you could also use paint to add some detailing, or even paper. The possibilities are endless and it is up to you to choose your favorite medium to work with when finishing the canvas.
Last you will want to reattach the canvas to the back of the frame. This time we are attaching the canvas on the back of the frame rather than stretching it around the front towards the back of the frame.
There are several methods that will work to attach the canvas. I have used hot glue because it is super easy. You could also use a staple gun. Or attach it with flat thumb tacks. Regardless of the tool you use be sure to pull the canvas tight as you attach each side.
Then use a fixed blade to trim any excess canvas along the back of the frame.
Now you have a finished reverse canvas project! There are so many fun applications you can use this method for so let your imagination guide you to tons of fun projects! Don’t forget to try customizing your frame as well. Use paint, stickers, washi tape, or anything else you can imagine to make the frame as much fun as what is on the canvas!


Leave a Reply