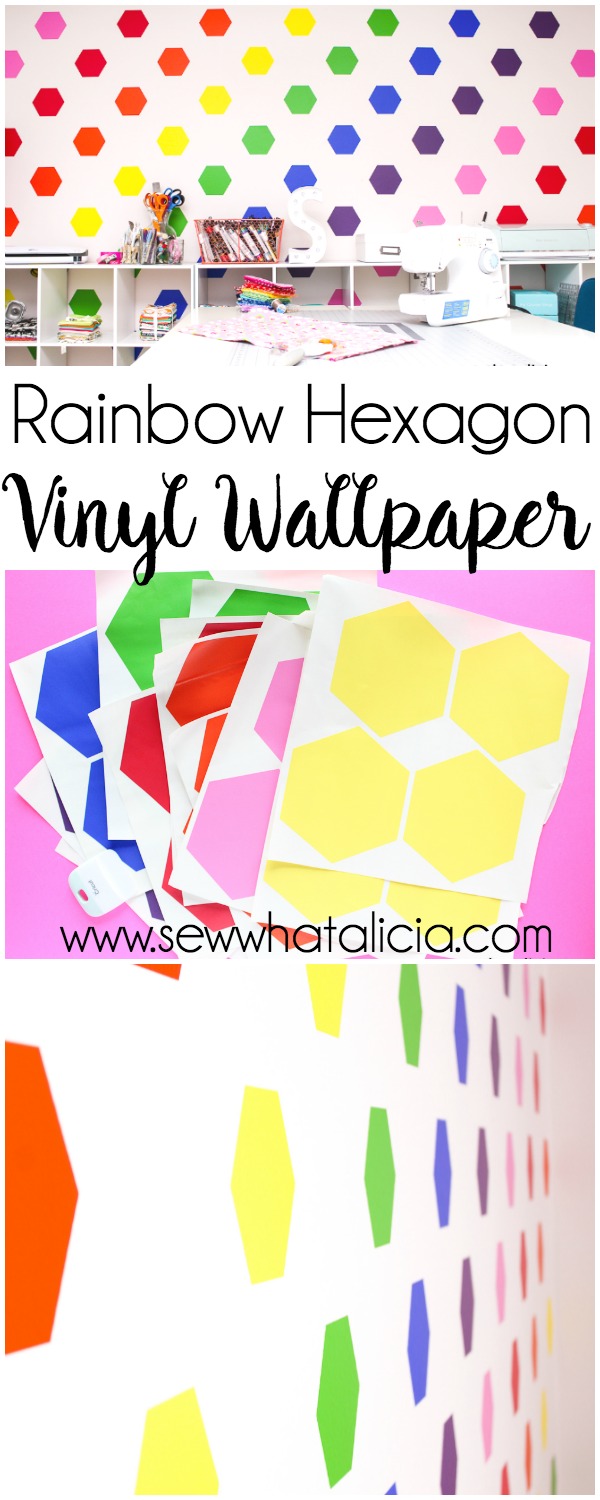
How to Make Your Own Wallpaper Using Vinyl
I recently moved into a new home. I went online and looked at wallpaper and murals and all sorts of crazy wall treatments. Then I decided I would just make my own! This project took a little time but it came out even better than I could have imagined! Here is how to make your own wallpaper using vinyl. Be sure to check out my video of putting the wall together at the end of this post.
How to Make Your Own Wallpaper Using Vinyl
Expressions vinyl provided the adhesive vinyl for this project but all opinions and ideas are my own.
Supplies: Click the name to be taken to the supply.
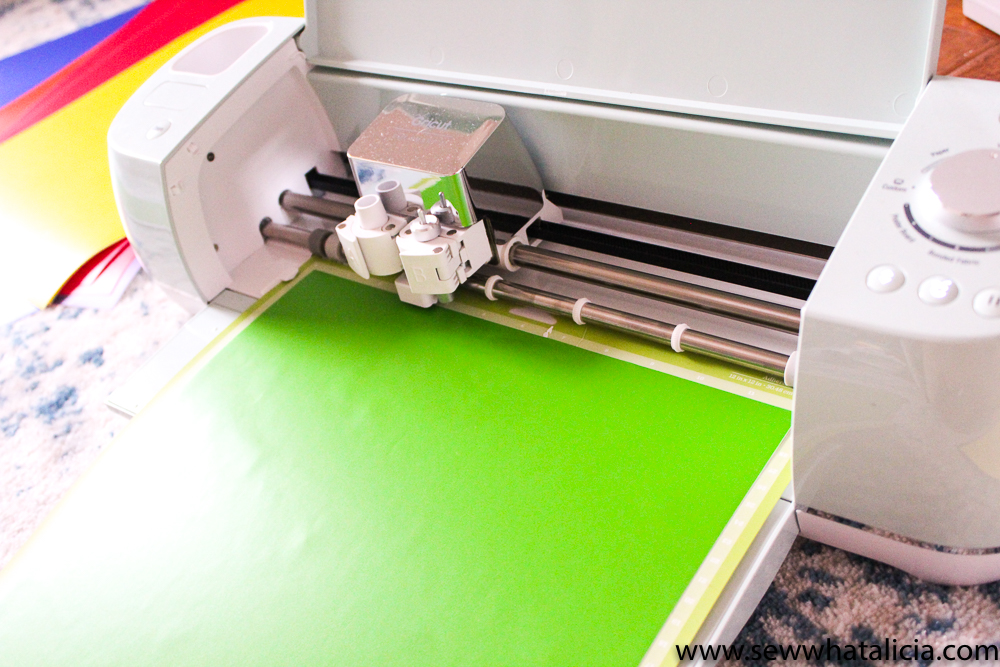
Cricut Explore Air 2 (or comprable cutting machine)
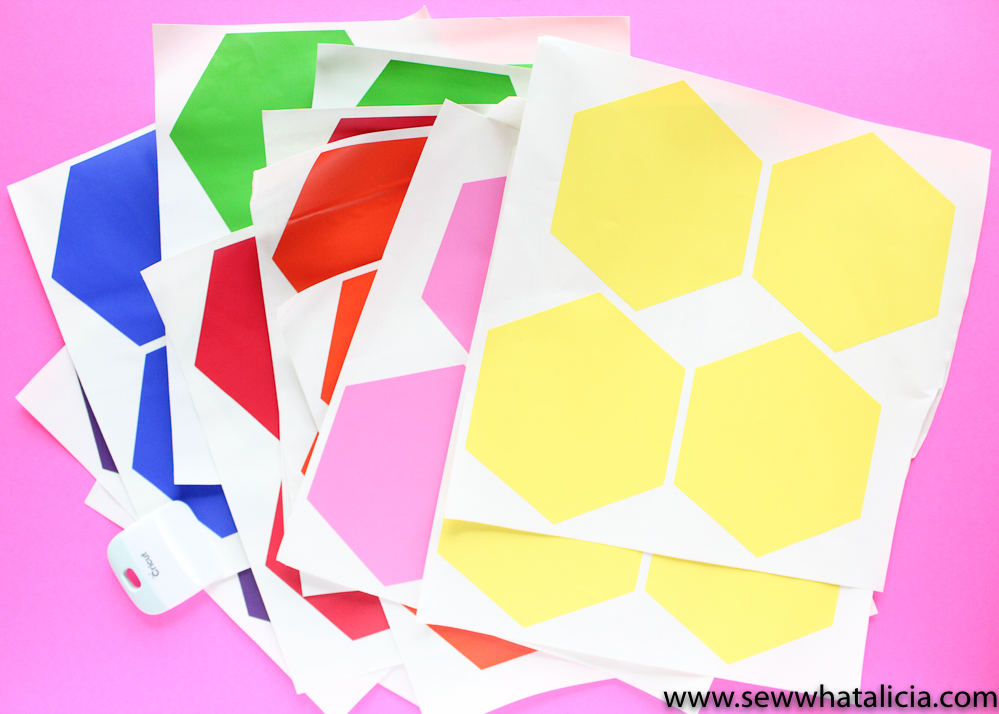
For my wall that measures 11’6″ by 8′ I used 3 (12″x24″) sheets each of these colors of adhesive vinyl from Expressions Vinyl.
Instructions:
Cricut Design Space has shapes that you can put onto your canvas. Choose the hexagon and then resize it to be 6 inches from the farthest point on the left to the farthest point on the right. You should be able to fit 4 hexagons on one 12 x 12 canvas, 8 on the 12 x 24 canvas.
Find the center of your room with the measuring tape, mark the center both horizontally and vertically to find the exact center. Next find that same height on a different part of the wall and set up your level. Now place your first hexi on the center mark using the laser level to be sure that both edges fall directly on the level line.
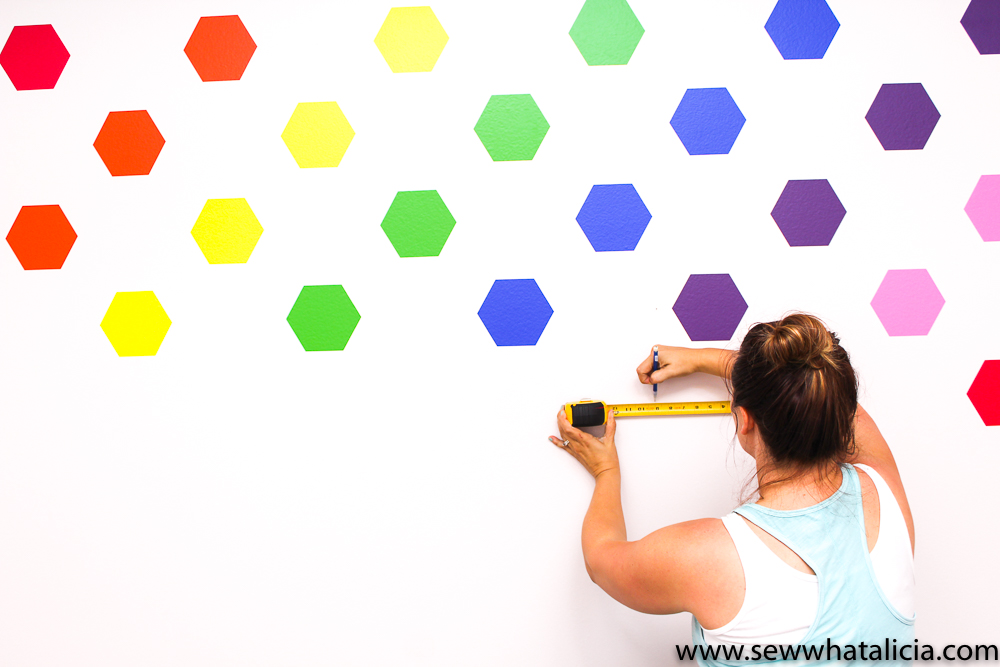
You can use different measurements than I did as long as you are consistent but here are the measurements I used to space my hexagons. From left point of one to the right point of the next is 9″. There is 4.5″ from the level line on one row to the top of the hexagon on the next row. To find this line place your tape measure between the two hexagons and find the 4.5″ (halfway) point. Then use another tape or a ruler to measure up or down 4.5″ and place a mark. This mark will be the center top or bottom of the first hexagon on the next row.
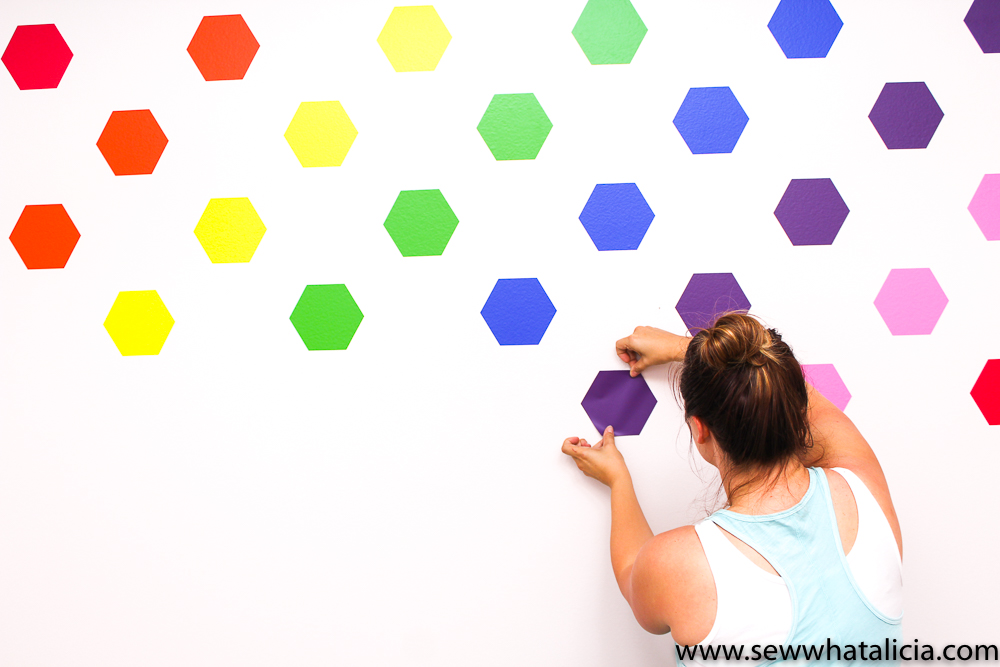
The color order I used was red, orange, yellow, green, blue, purple, pink, red… If you have a hexagon that meets up with the wall or the ceiling or base board simply place it as close as you can to the seam and then use a straight edge to trim the hexi. You will probably have to do an entire row on top and bottom that will have to be trimmed. I also had one every other row on the left side of the wall that had to be trimmed.
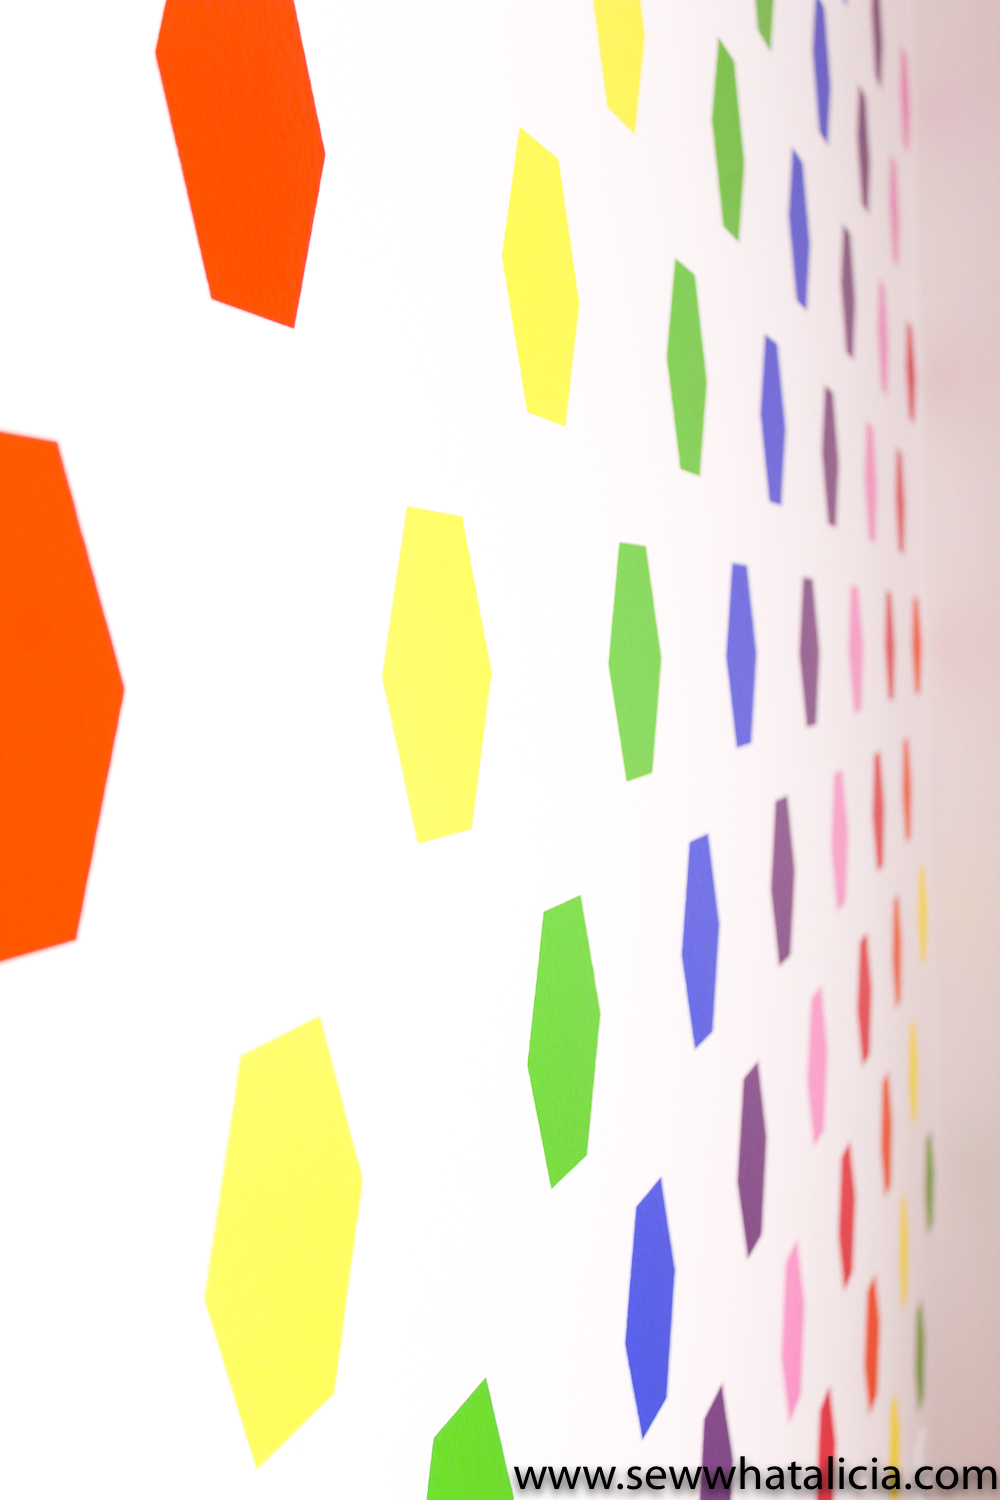
This was time consuming but it was totally worth it! I love the fun pop of color. The adhesive vinyl peels right off if you put it on crooked and you can re-use it as long as you peel carefully. I didn’t ruin any of my hexagons when re-positioning and I am not the most gentle person! This vinyl is seriously my favorite! I have used vinyl from several place and Expressions always has the absolute best quality! It cuts well and this adhesive vinyl stays put!
I don’t do many non-sewing tutorials so tell me your questions in the comments if you have any!! Check out the video of me putting the wall together down below.
I have been on a rainbow tear lately but I promise to lay off the rainbow for a bit now! Check out my rainbow mini quilt’s if you love rainbow as much as I do! (links just below)
 I am totally obsessed with the end product!! Thanks for checking out how to make your own wallpaper with vinyl!!


Leave a Reply