Kid’s First Wallet Tutorial
My kids have been bugging me to make them a wallet for a while! And like the blogging mom that I am I have been putting it off because I wanted to blog about it! I know kids of a blogger problems!! So as promised to them and now you here is my kid’s first wallet tutorial!
This is just one of my 50+ easiest sewing tutorials. Check out the rest HERE.
Kid’s First Wallet Tutorial
This is a quick and easy project! I know I find myself saying that a lot but this one really is easy! There are only a few supplies and it comes together in just a few quick minutes!
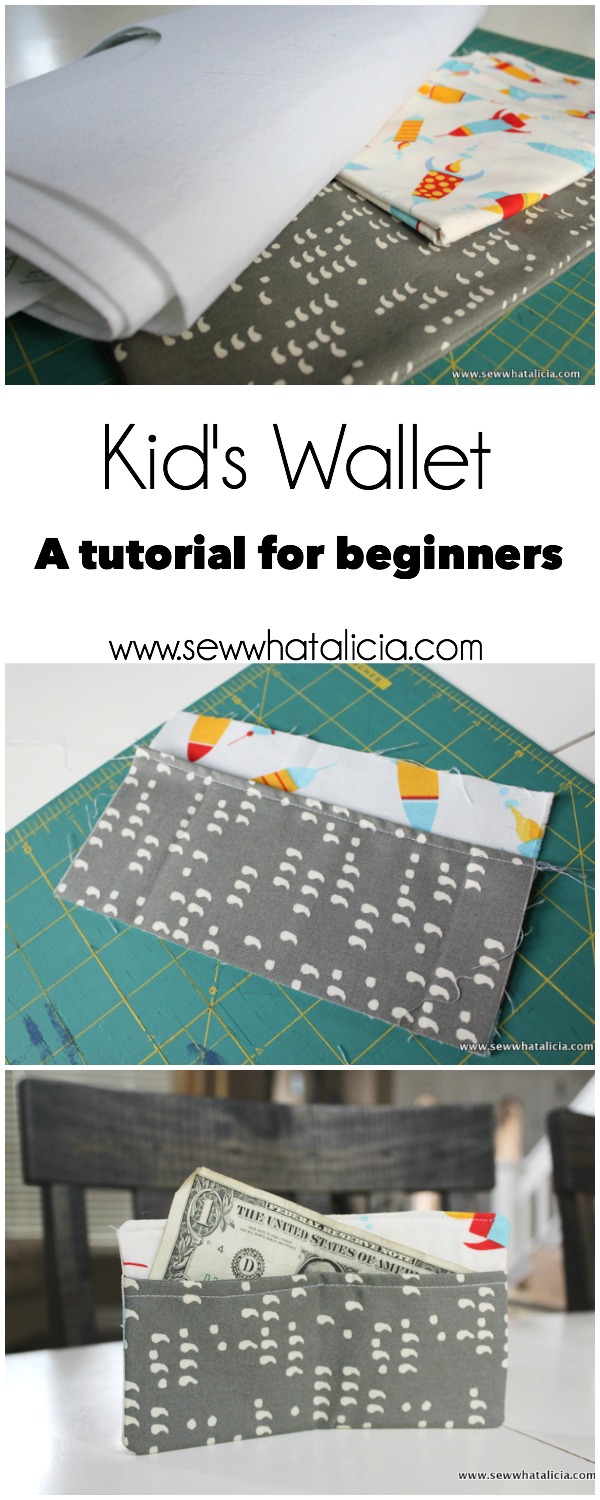
 What you need:
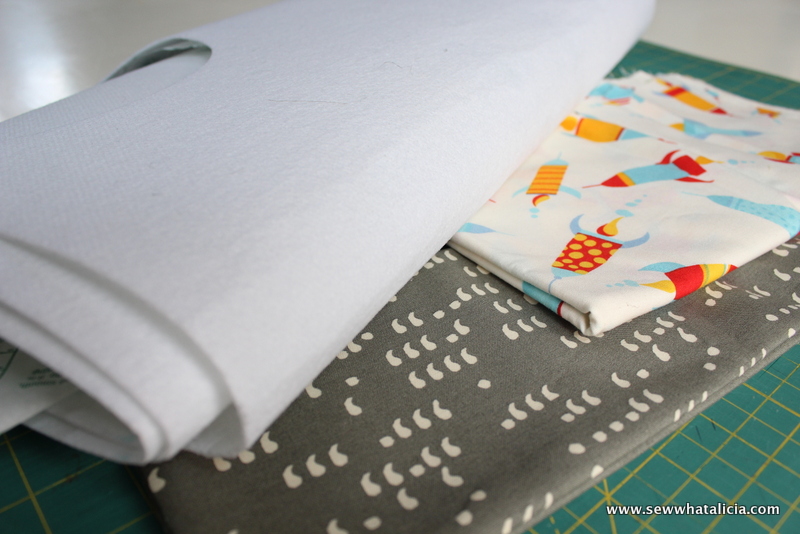
Main fabric: 2 pieces measuring 7.5 x 4.5
Coordinating Fabric: 2 pieces measuring 7.5 x 3.5
Heavy Duty Interfacing: 1 piece measuring 7 x 4
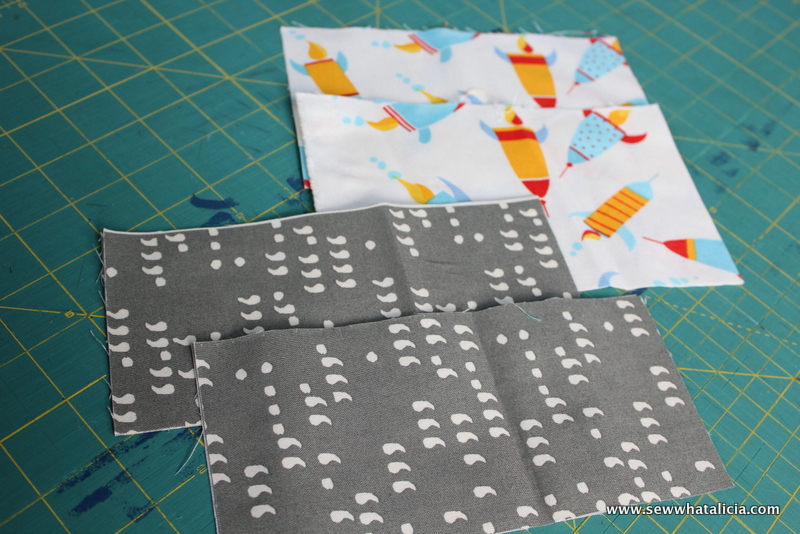
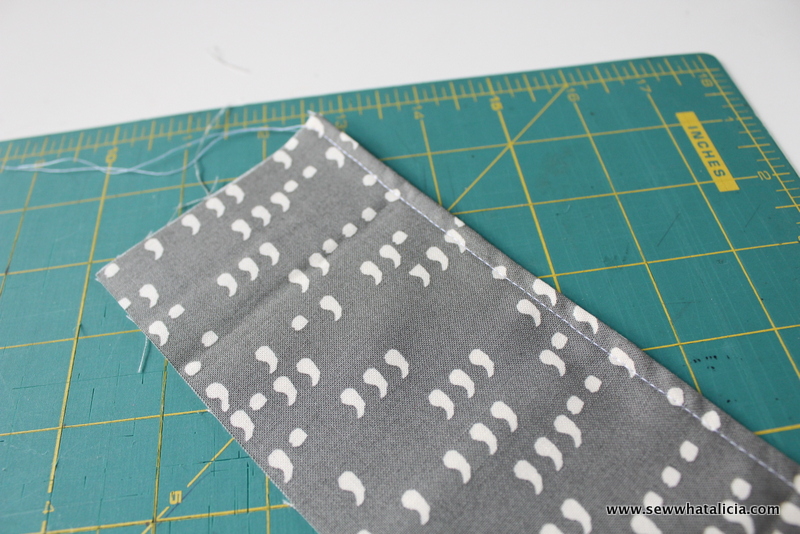
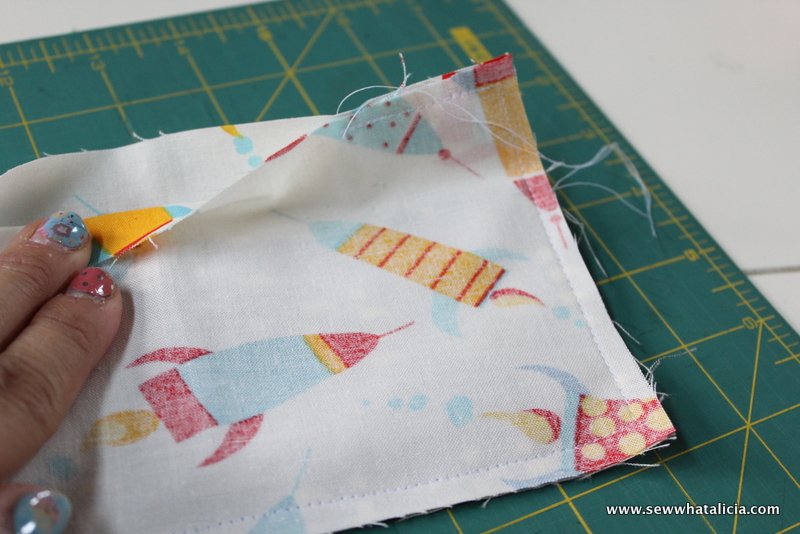
So we will start with the smaller coordinating fabric pieces. Place them right sides together and sew one seam along one of the long edges.
Then turn the piece so that the right sides are out press the seam into place and then sew a top-stitch along the same seam you just made.
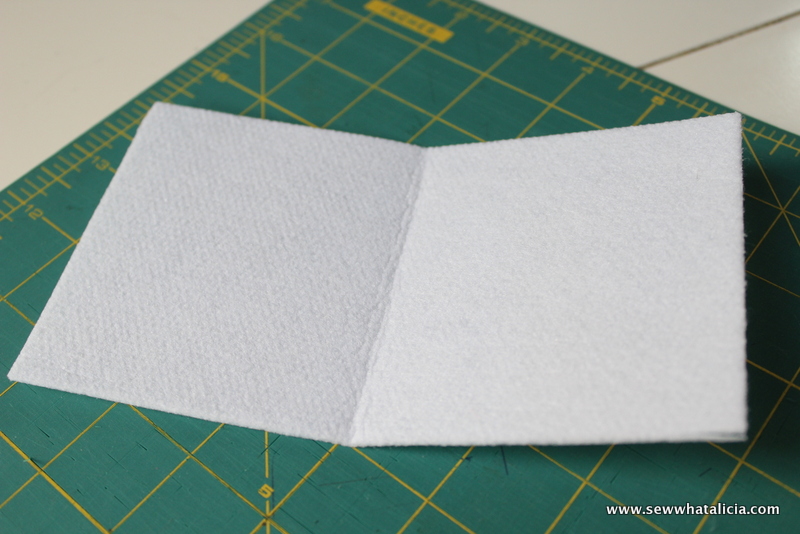
Now while you are preparing everything else take the heavy duty interfacing and fold it in half and weight it down. We want to start creating the wallet fold and it is going to take some muscle!
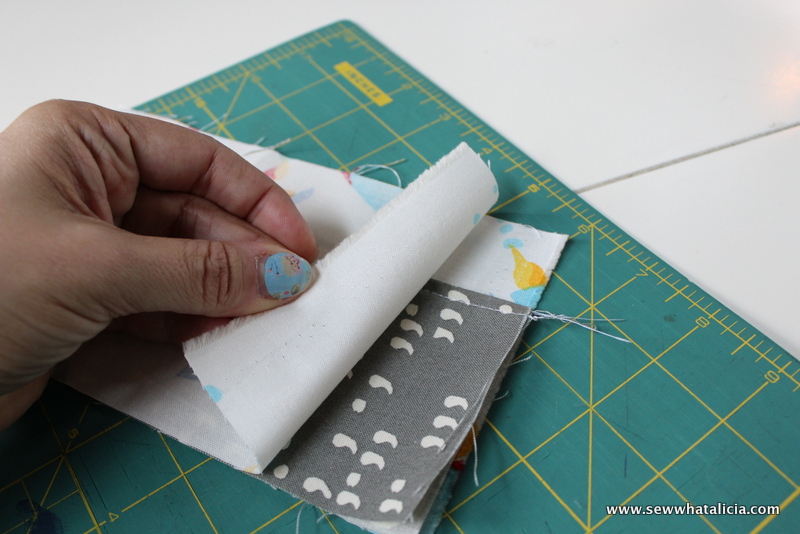
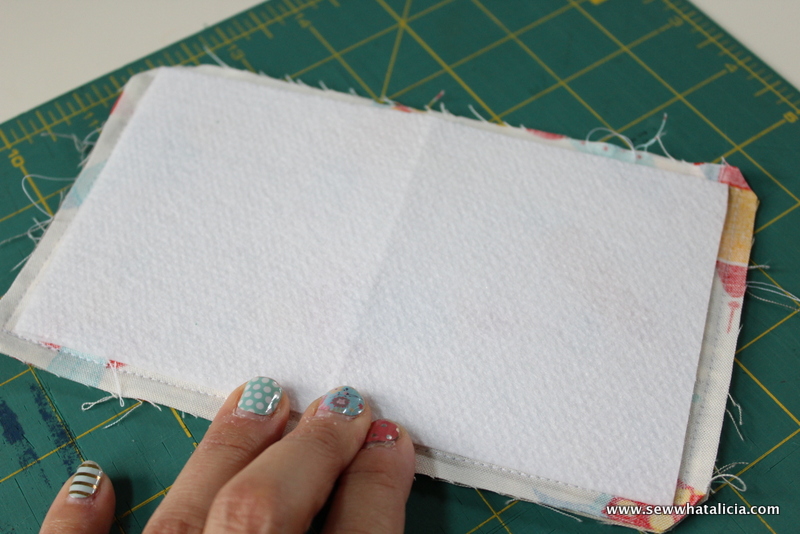
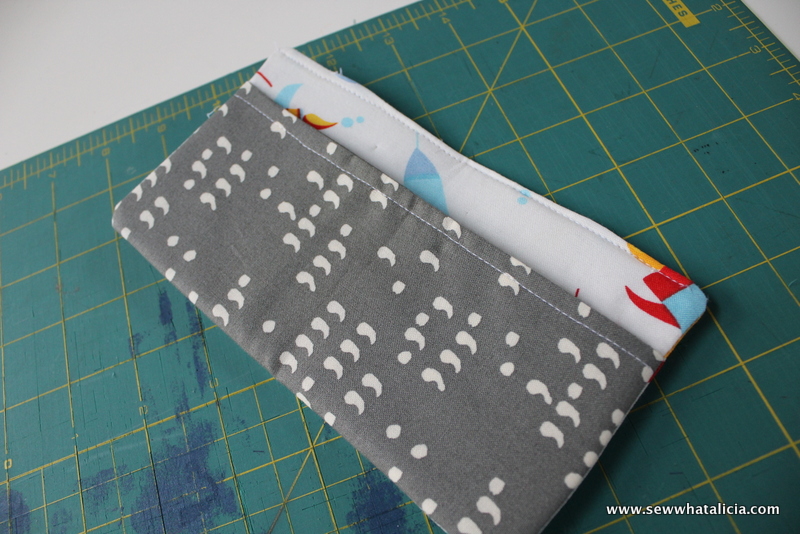
We are ready to line up the pieces and sew the wallet together! Yup it is that easy! First place one of the main pieces of fabric right side up and line the coordinating piece up on top.
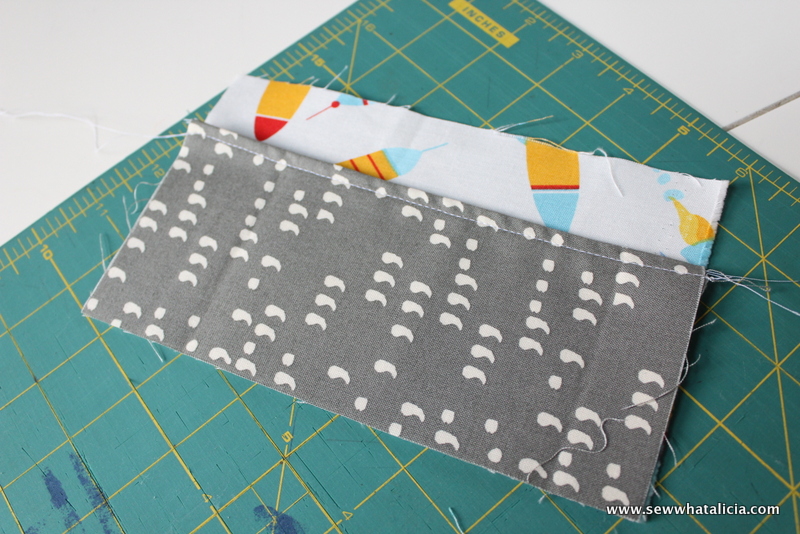
Now place the other main piece over top.
Pin this in place. We are going to start sewing at the top right corner (where I am pointing in the picture.) Then sew down the right side, across the bottom, up the left side, and just a smidge on the top left corner.
Leave the majority of the top open as pictured below.
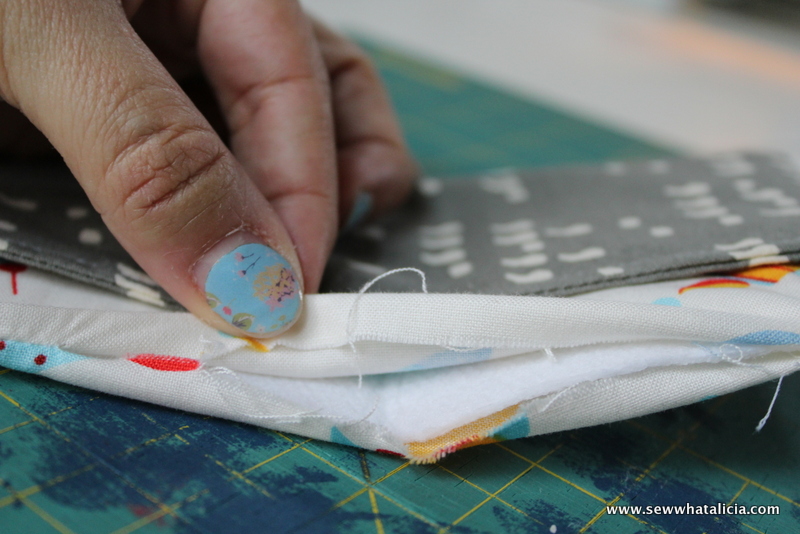
Trim the corners. Now is the time to check that your interfacing is the right size. I did have to trim mine down a bit so that it would fit comfortably into the piece.
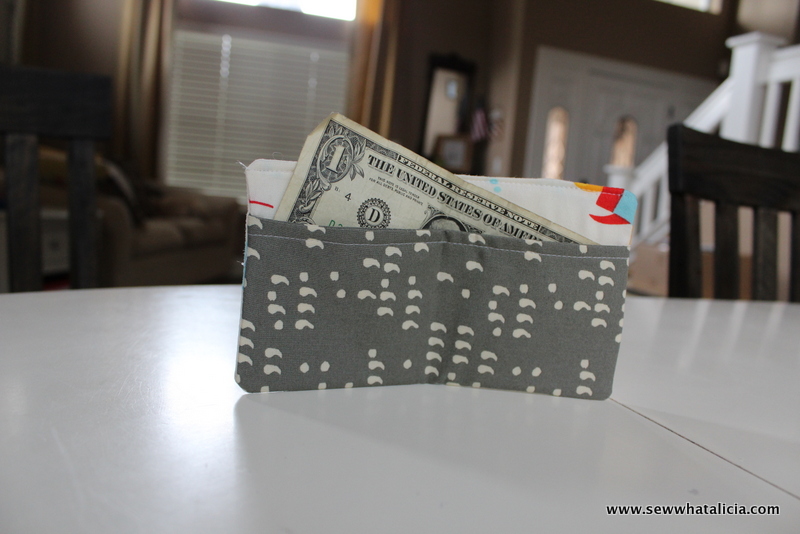
Turn the piece out and stuff the interfacing inside. Make sure that you put the fold the right way so that the wallet will fold in on itself rather than out!
Now fold the raw edge over the interfacing and press to get a clean edge. Pin the edge to prepare for sewing.
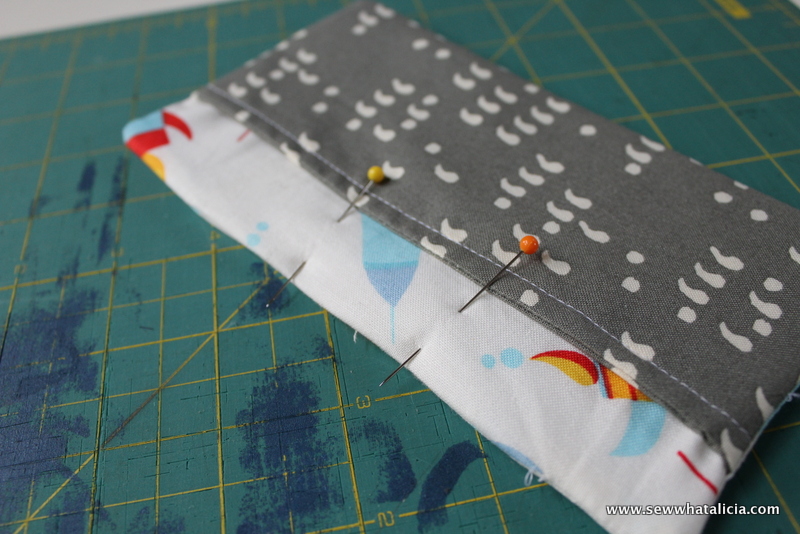
Top-stitch the top edge in place and you are done!
You will probably need to weight the whole thing down overnight so that the interfacing takes the fold.
Are you looking for more kiddo tutorials? Check out a few of these:
Happy sewing!


Leave a Reply