How to Sew a Planner Organizer
It is that time of year. You are all ready to plan out the new year. You have seen all the fun stuff at the store or online for planning. You bought a new planner. You bought the pens and all the stickers and goodies. Now what? What do you do with all those planner “extras?” I have the solution! Here is how to sew a planner organizer.

How to Sew a Planner Organizer
I am so excited to be over on Hey, Let’s Make Stuff today! I am always so inspired by the fun projects on her site and I am so excited to be sharing a fun project over there!!
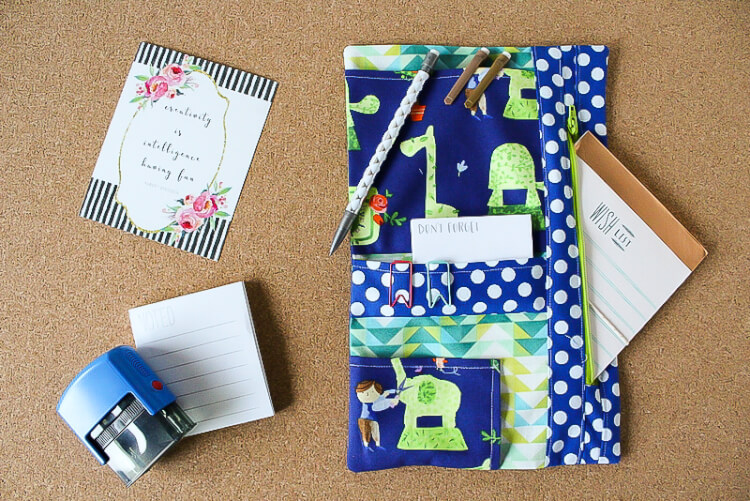
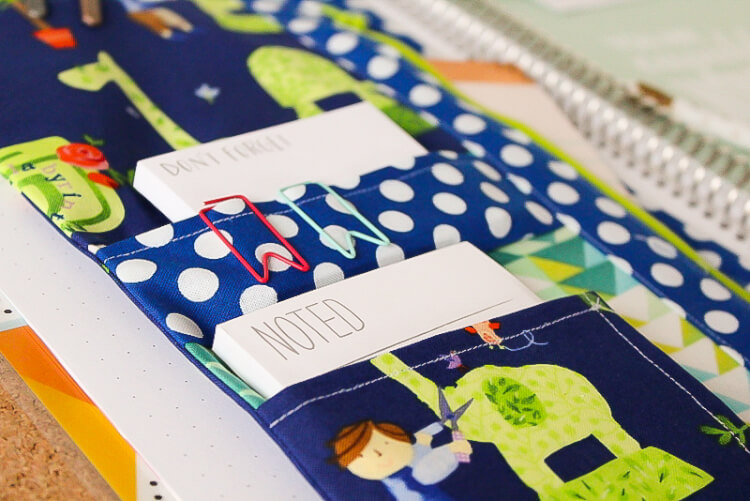
Click here for the full tutorial. I am just so tickled with how this turned out! I love the cute fabrics and how they play off of each other! This organizer has a zipper pouch, two pockets and a third flap to hold all your goodies! In the tutorial we use the zipper to turn the piece out which makes for a nice clean finished look. I also used a fun elastic that you will use to attach the organizer to the planner and keep it handy.
Do you use a planner?? Or do you perhaps bullet journal? Check out how I use my bullet journal to plan my sewing projects—> here.
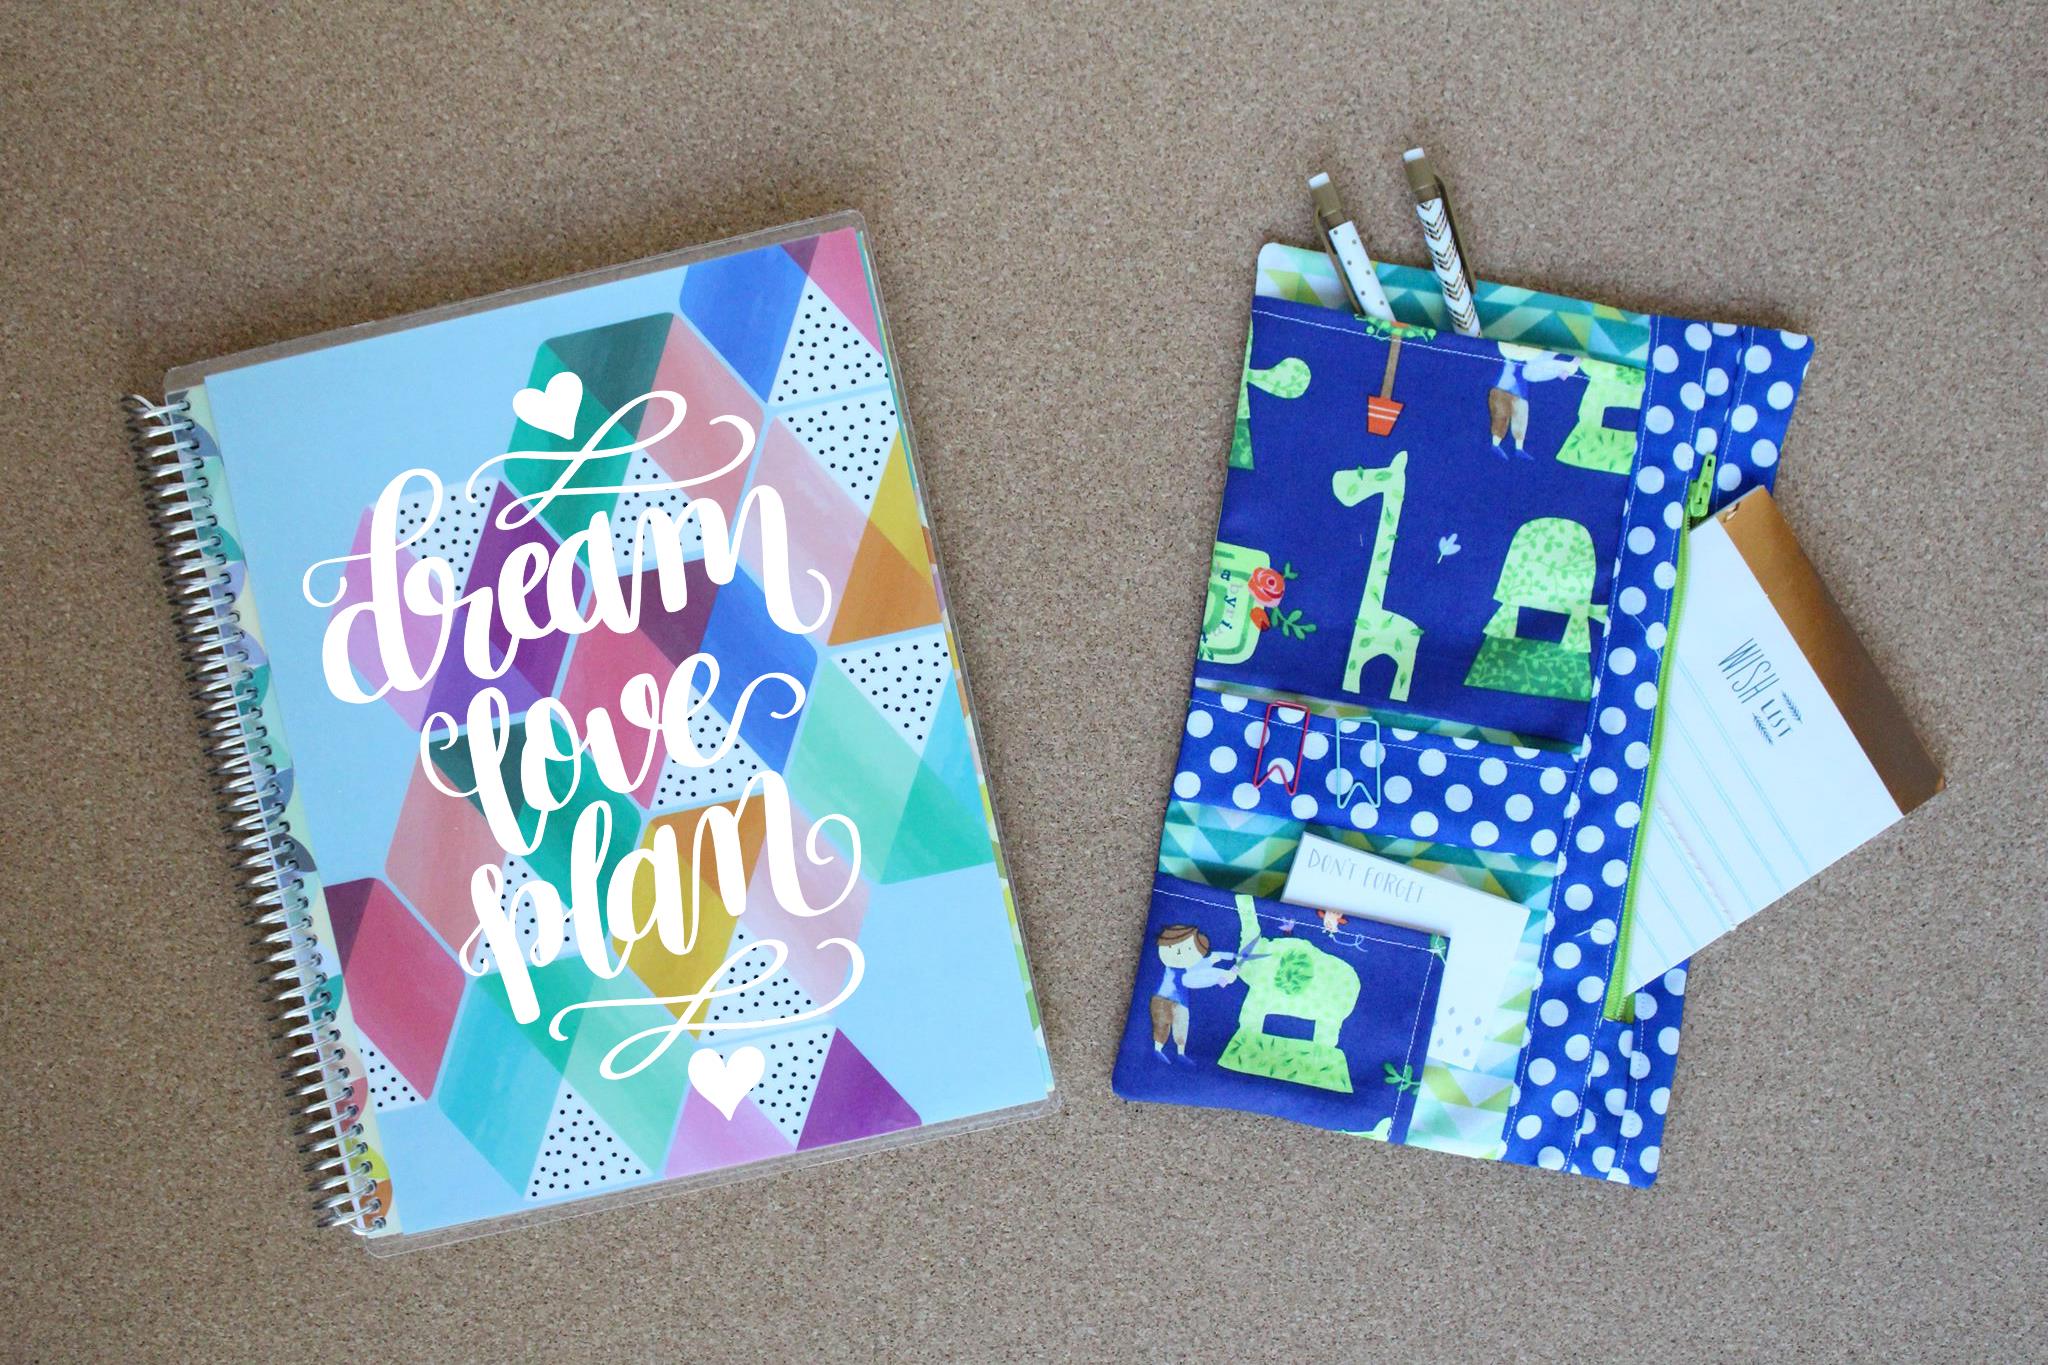
If you are a planner addict like I am then you might also want to check out this adorable “dream love plan” cut file! Use it with your Silhouette or Cricut to create a cute customized vinyl planner! Or use it to make a stencil to create a cute tote. The possibilities are endless! Get the “dream love plan” file HERE.
I hope you enjoy the tutorial! Happy Sewing!


Leave a Reply