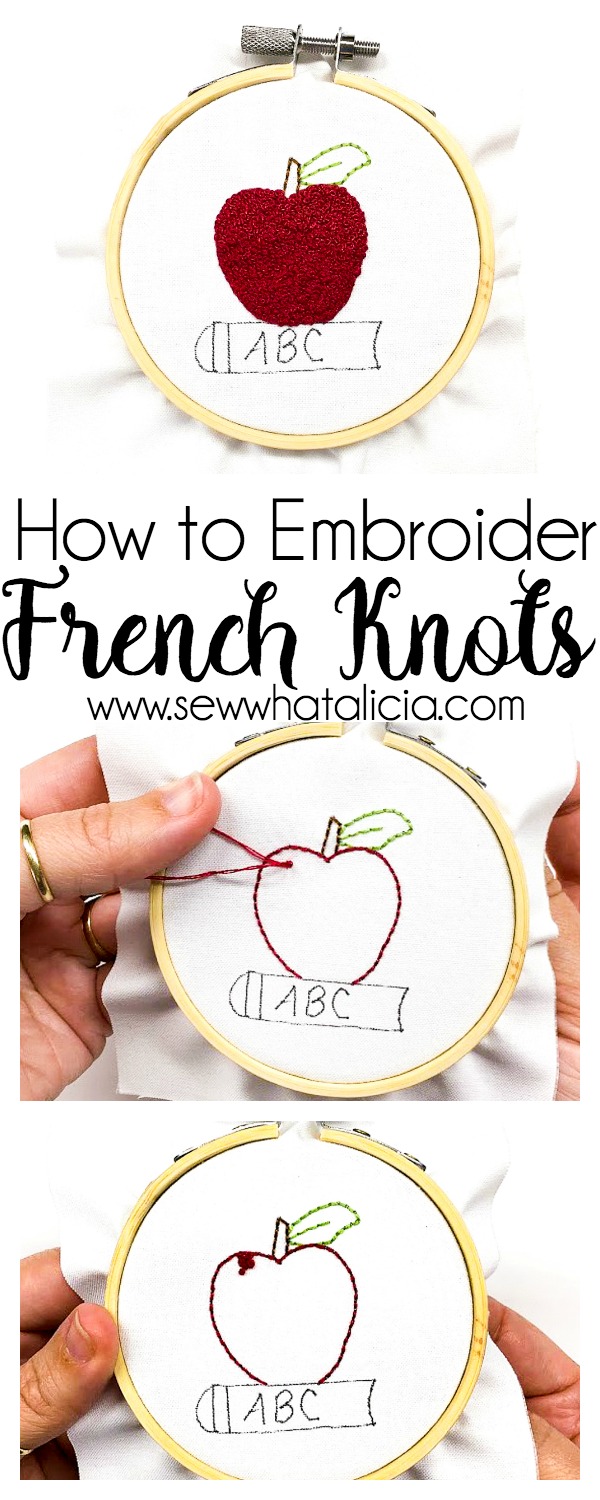
How to Embroider a French Knot – Back to School Apple
Happy Back To School! Olivia here from Pumpkin Hollow Quilting and today I’m sharing with you a sweet little Back to School Apple embroidery project, stitched up using French Knots. Don’t let the French Knot part scare you! Once you’re finished stitching up your apple, you’ll be a pro at making and adding French Knots to any project. Also think how cute this apple would be as a Christmas Ornament for a special teacher. So grab your stitching supplies and I’ll show you How to Embroider a French Knot and make a Back to School Apple.
How to Embroider a French Knot – Back to School Apple
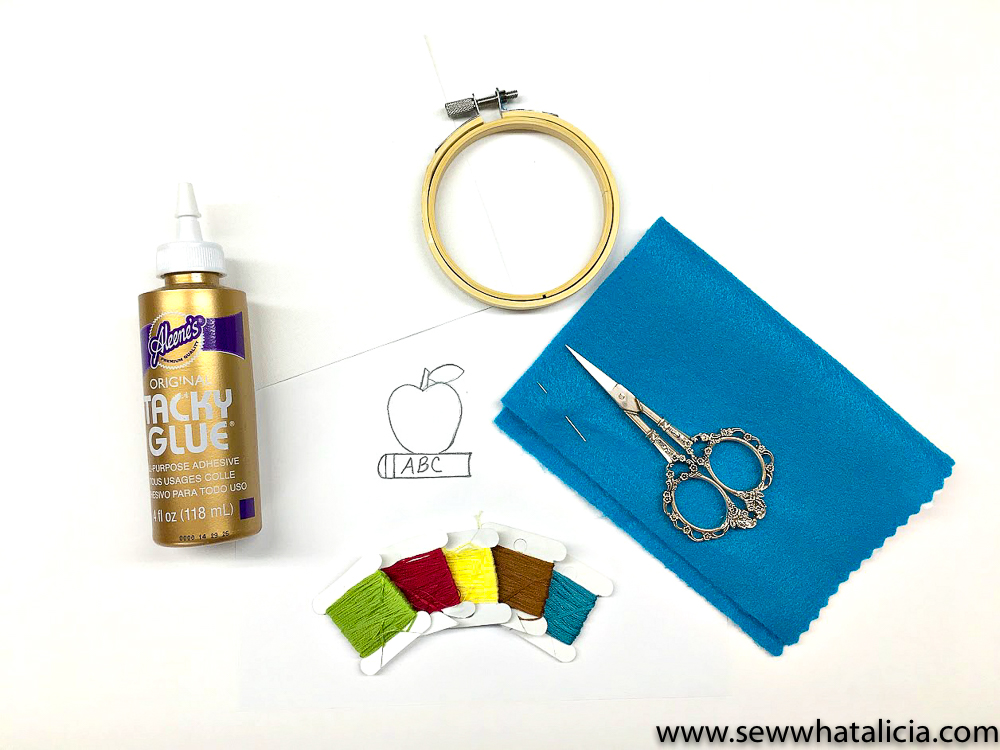
Supplies:
Click the supply to be taken to the supply listing on Amazon.
5 inch square of white fabric
Scissors
3 inch scrap of felt
Glue
DMC Floss needed for our project
Apple – 304 (You’ll need a whole skein of floss for your apple)
Stem and Book – 433
Leaf – 704
Label on Book – 727
ABC letters – 3810
How to Embroider a French Knot – Back to School Apple Instructions:
First thing you’ll want to do is print out your apple pattern.
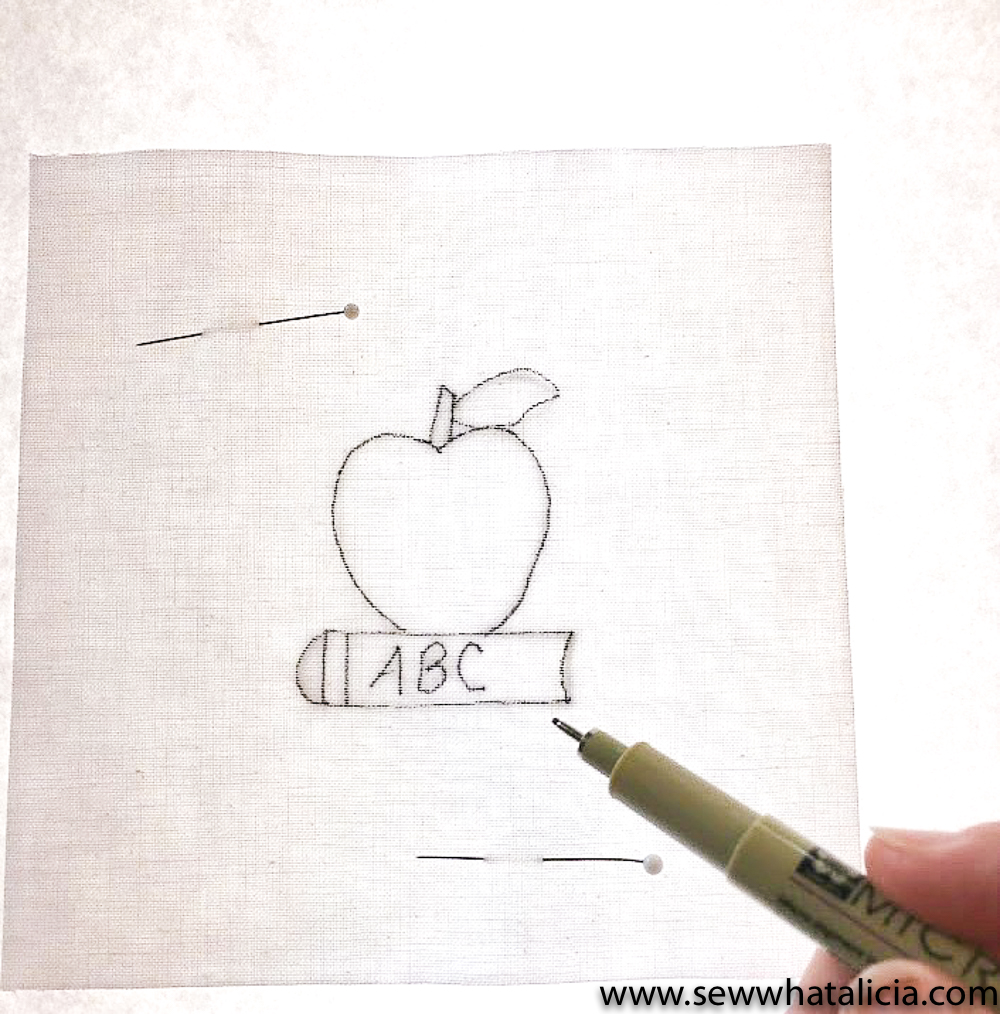
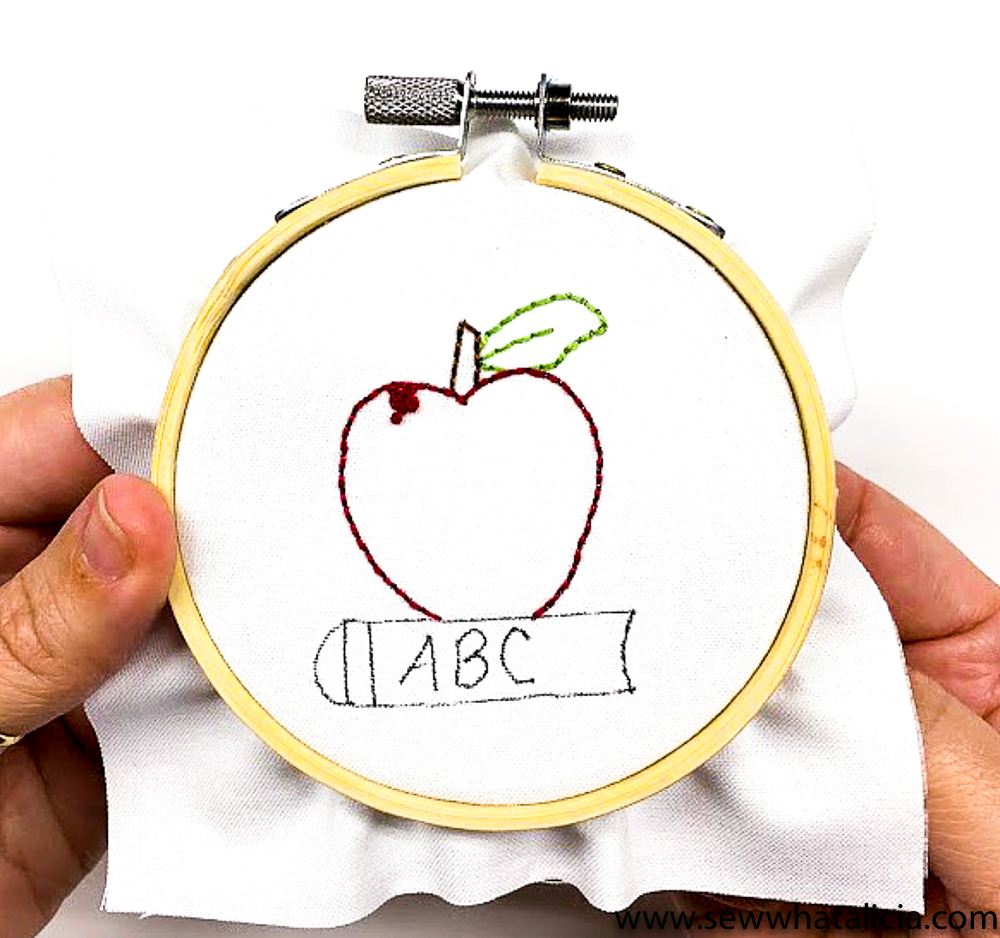
Center your pattern onto the backside of your stitchery fabric and pin in place, then using either a lightbox or window you’ll trace the pattern onto the fabric using a Micron Pen.
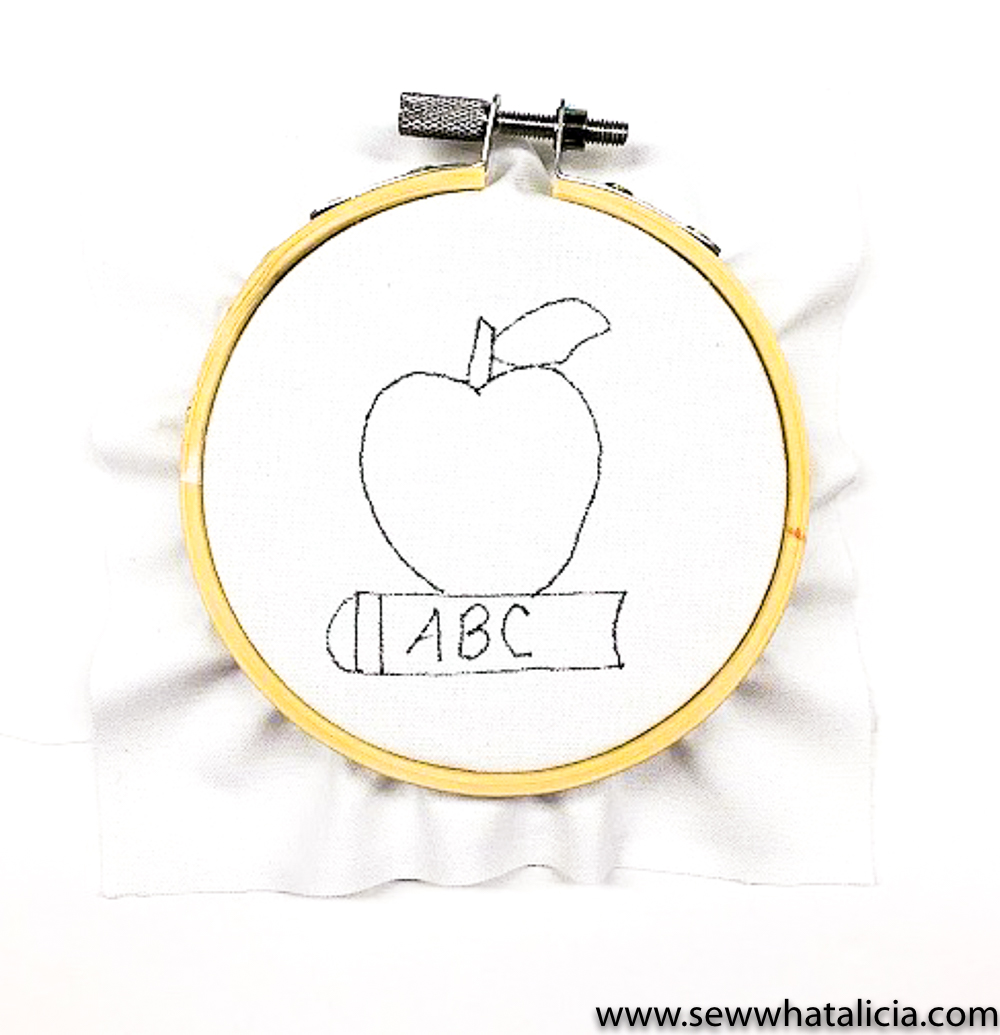
After your design is traced onto the fabric it’s time to stitch! Load the stitchery into your embroidery hoop and thread your needle. For this project we are going to be using 2 strands of embroidery floss.
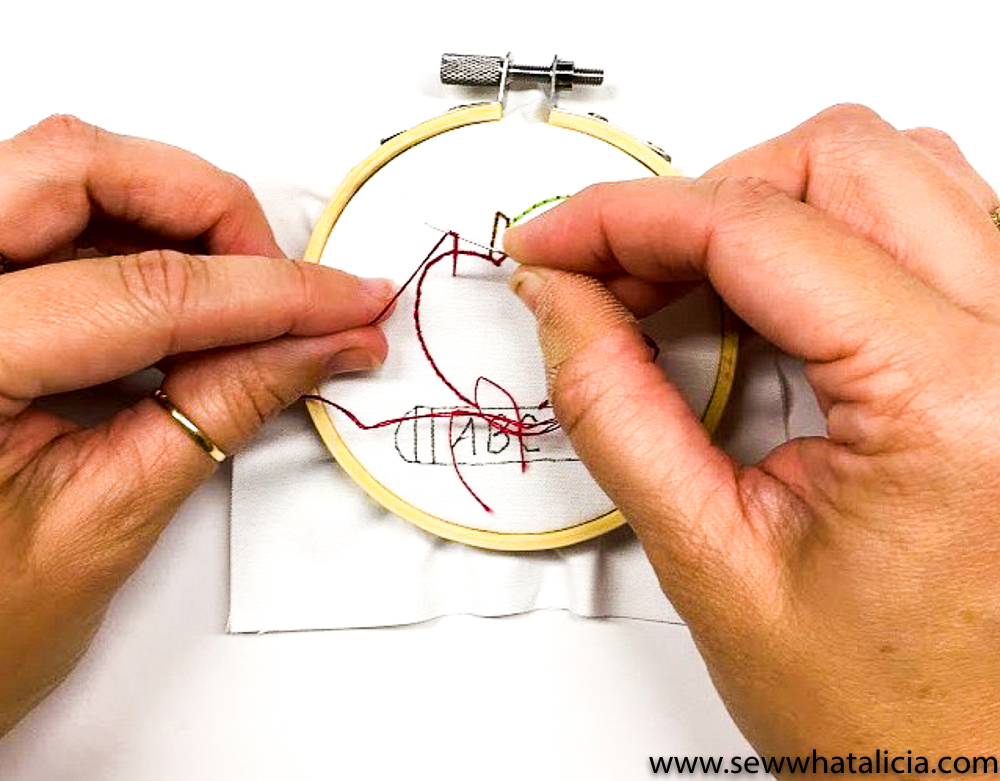
We are going to start stitching our apple on the stem, make sure your thread is securely knotted at the end before you take your first stitch. Pick where you’d like to start stitching on your stem and bring your needle up from the back, go over a smidge and drop your needle back down through your fabric.
Go over a smidge more and bring your needle up from the back.
Then you’ll take the needle back down through where your first stitch ended, completing your back stitch!

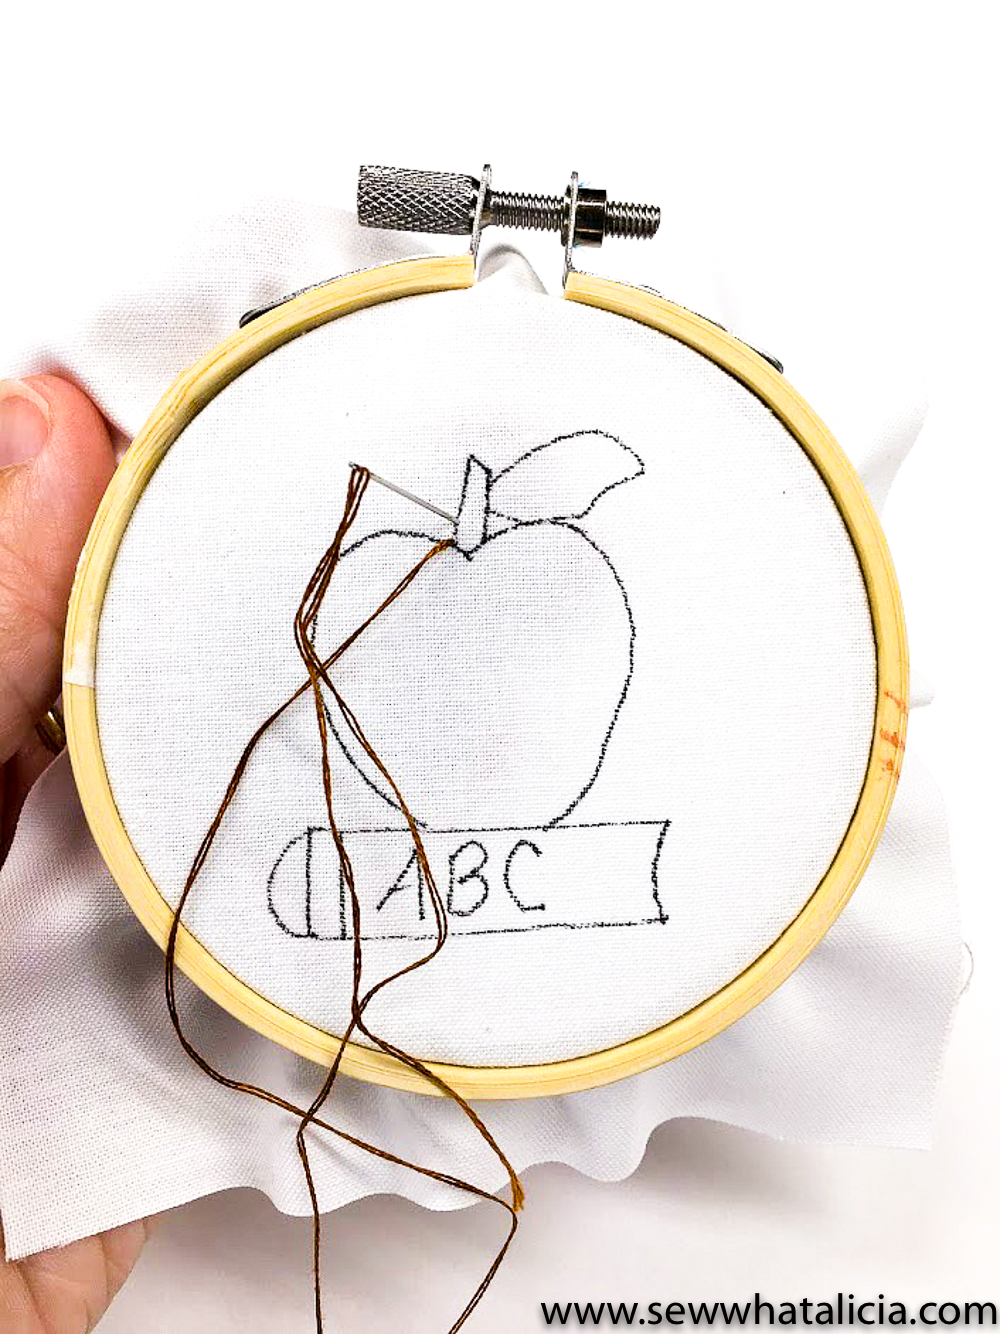
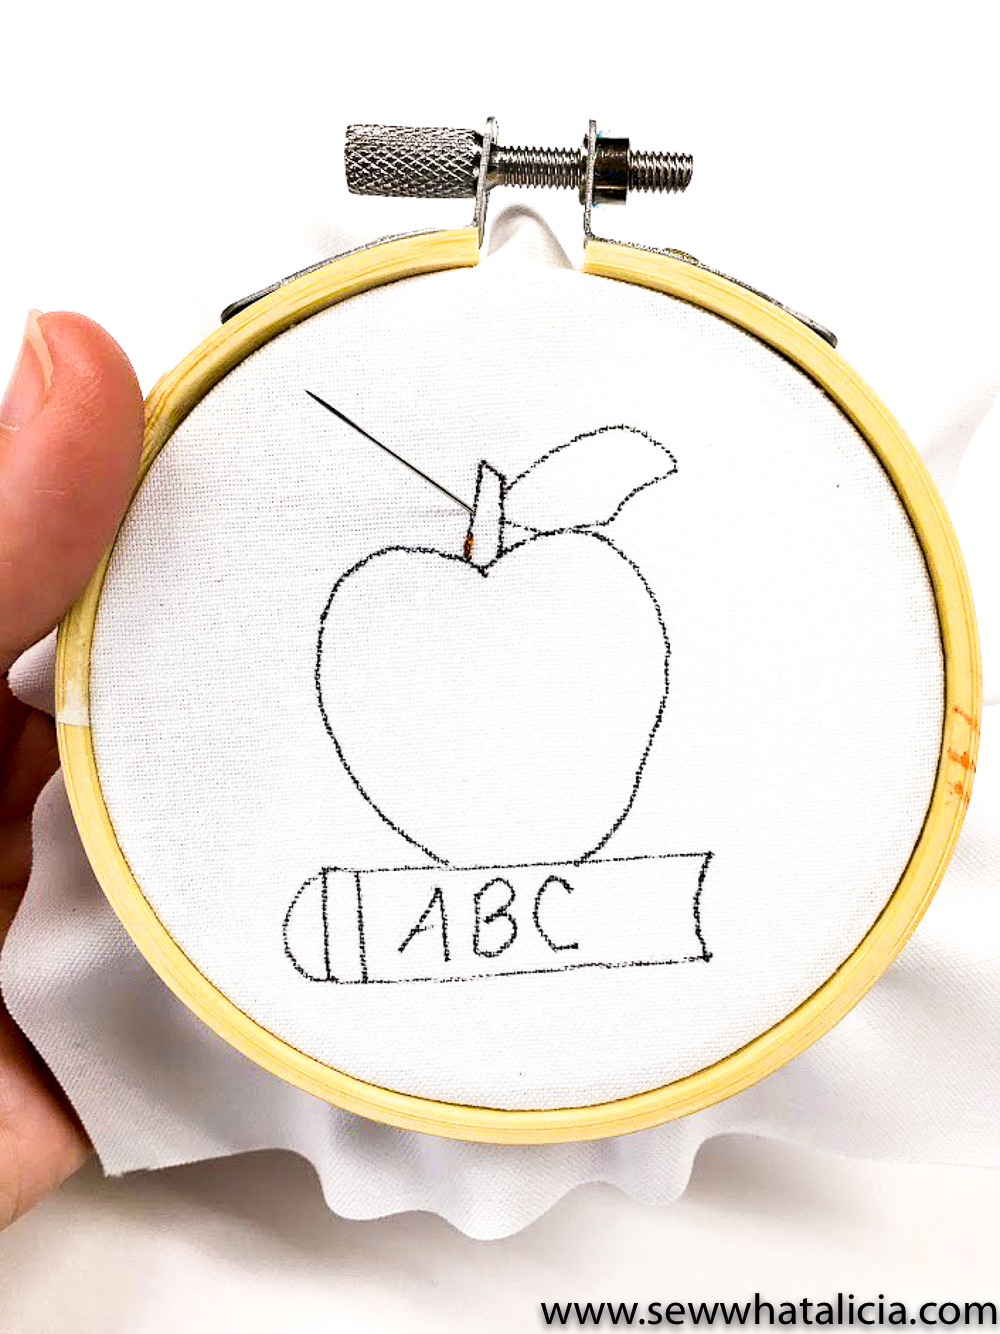
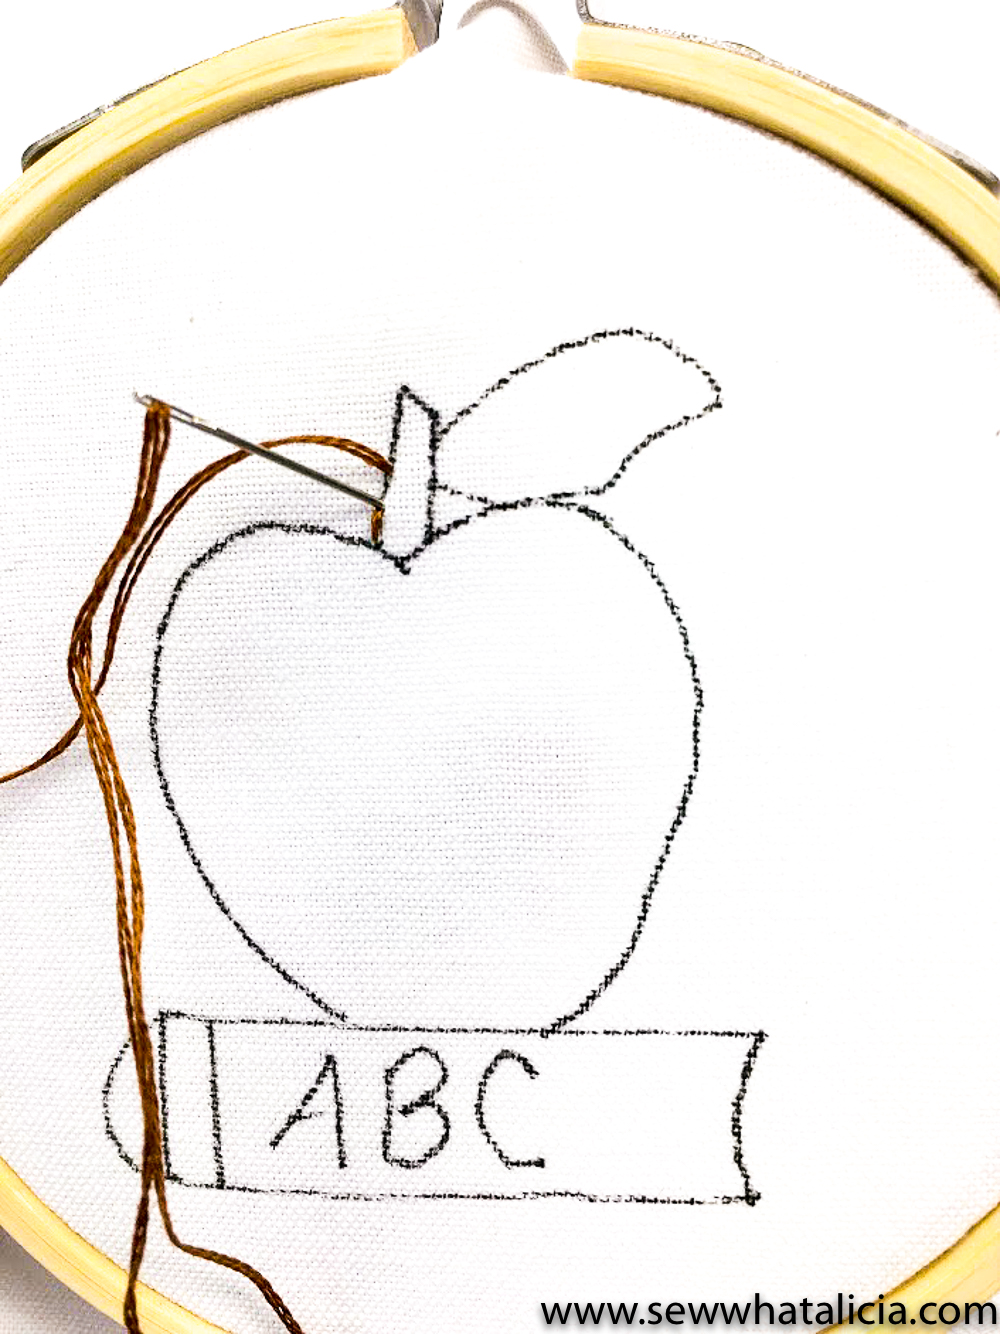
Continue on until you’ve stitch up the stem. When you get to the end of your stem, make sure to securely knot your thread on the backside and snip your threads.
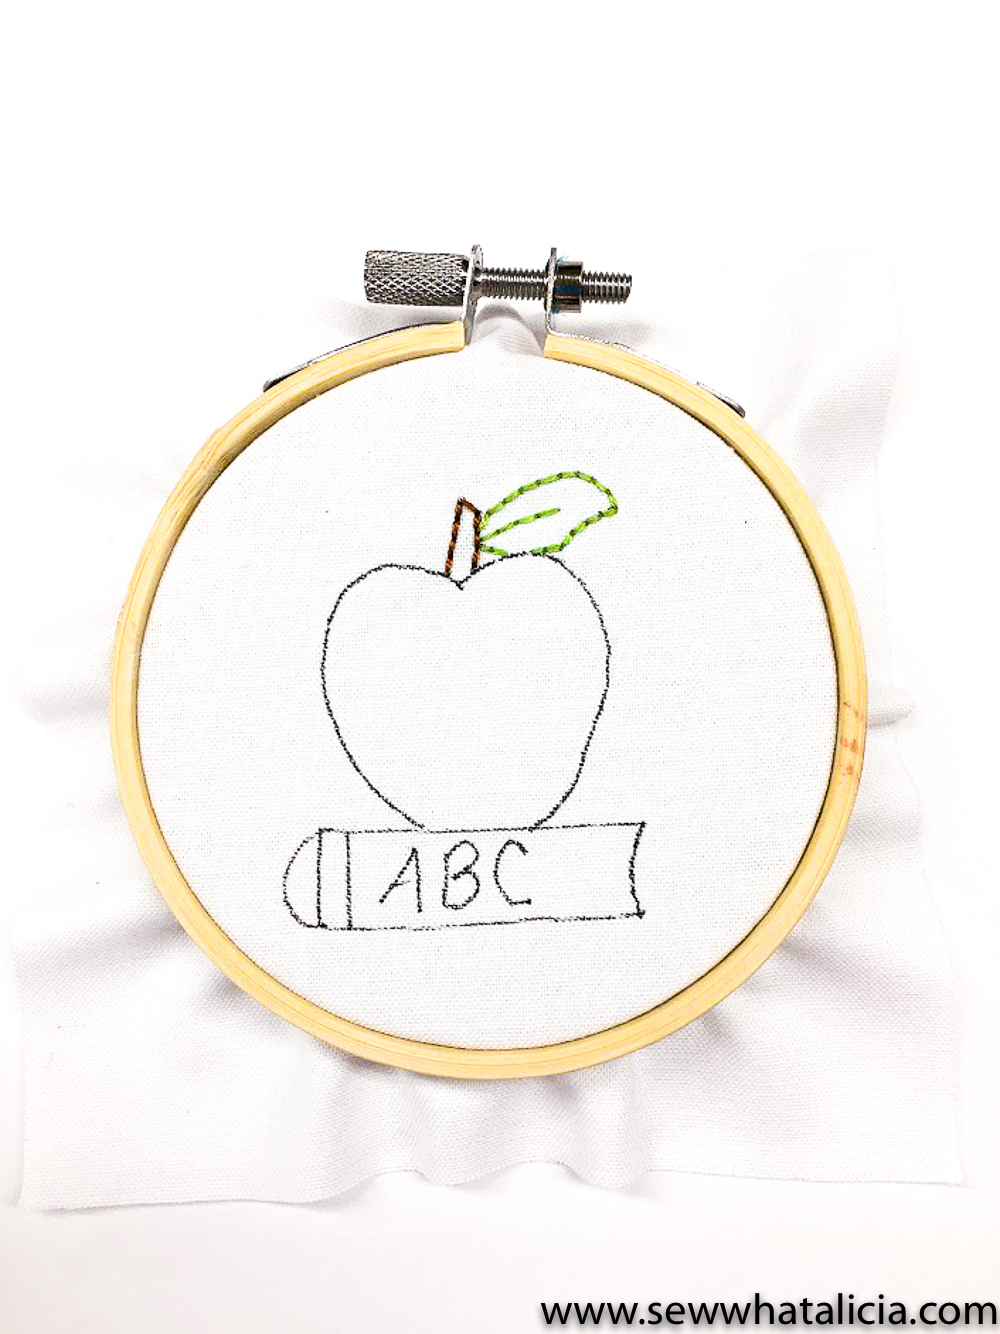
Repeat the steps above for backstitching your leaf. You might have noticed I added a little vein in my leaf, but not to worry as I made sure to add it to your pattern.
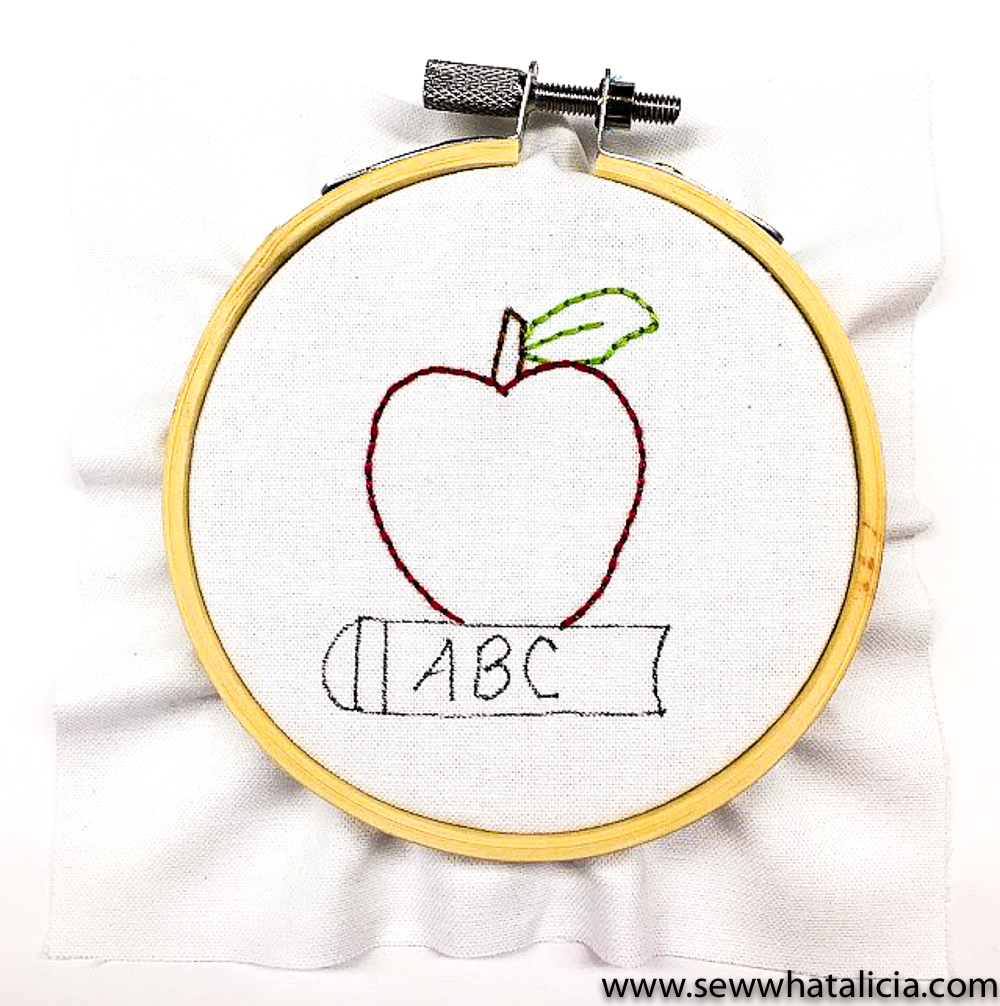
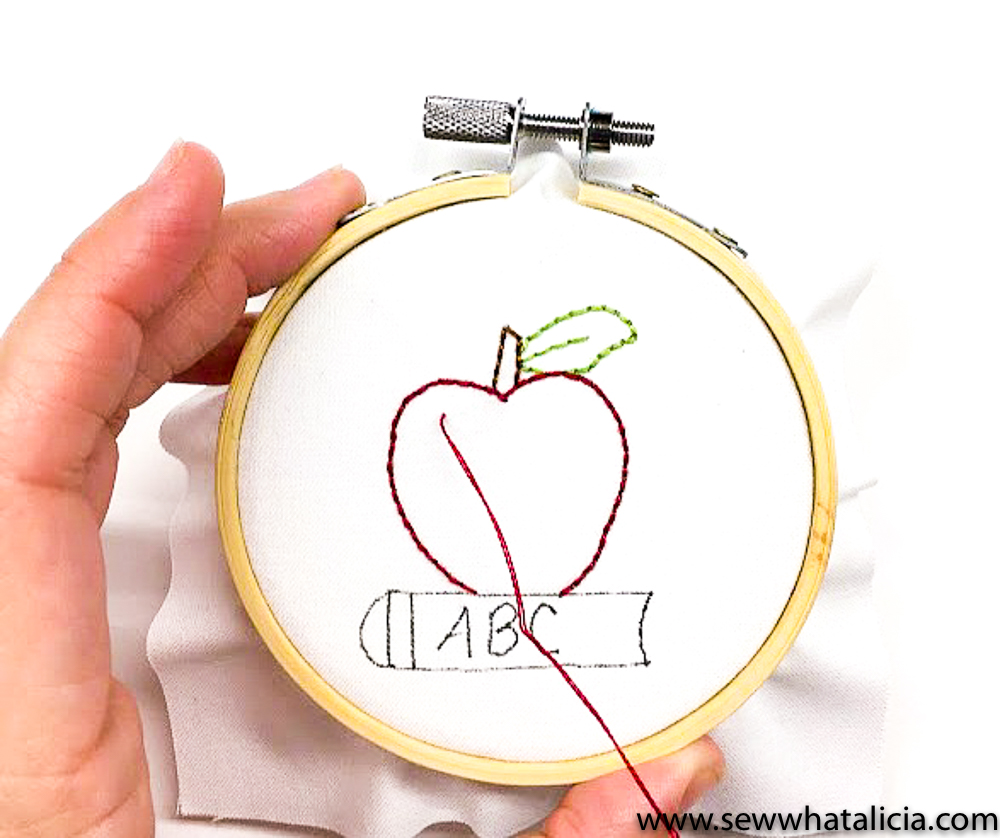
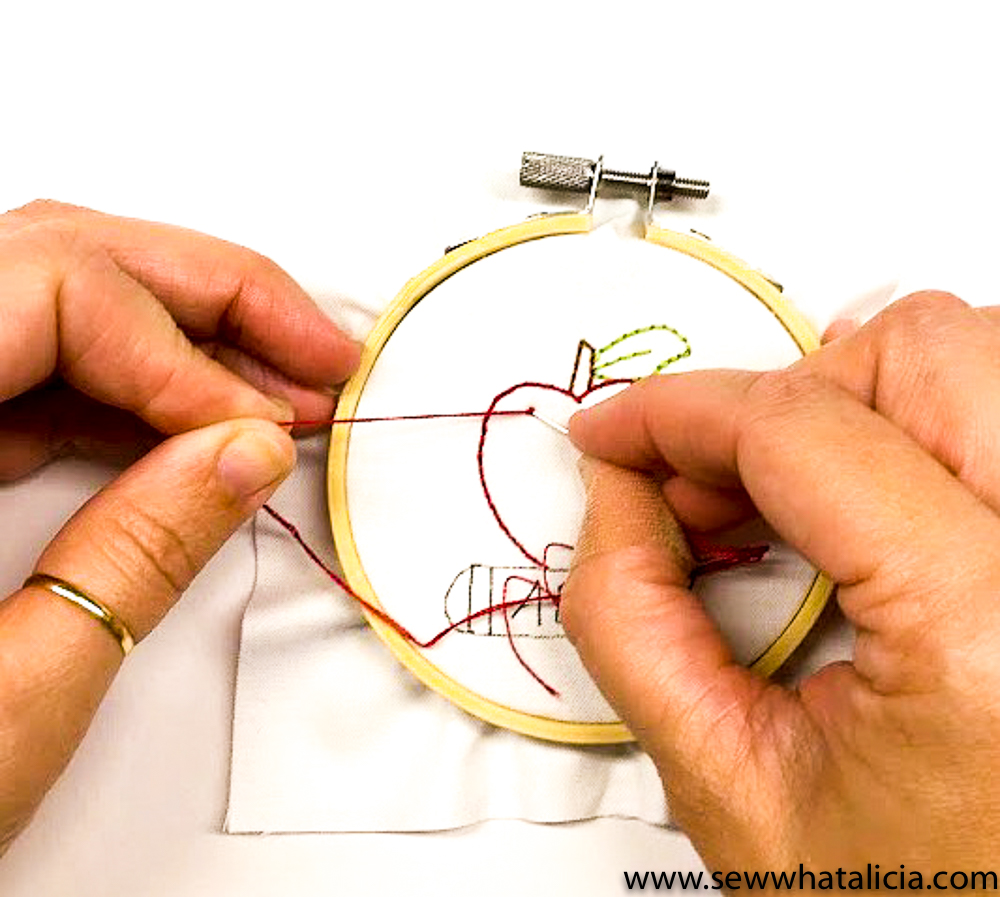
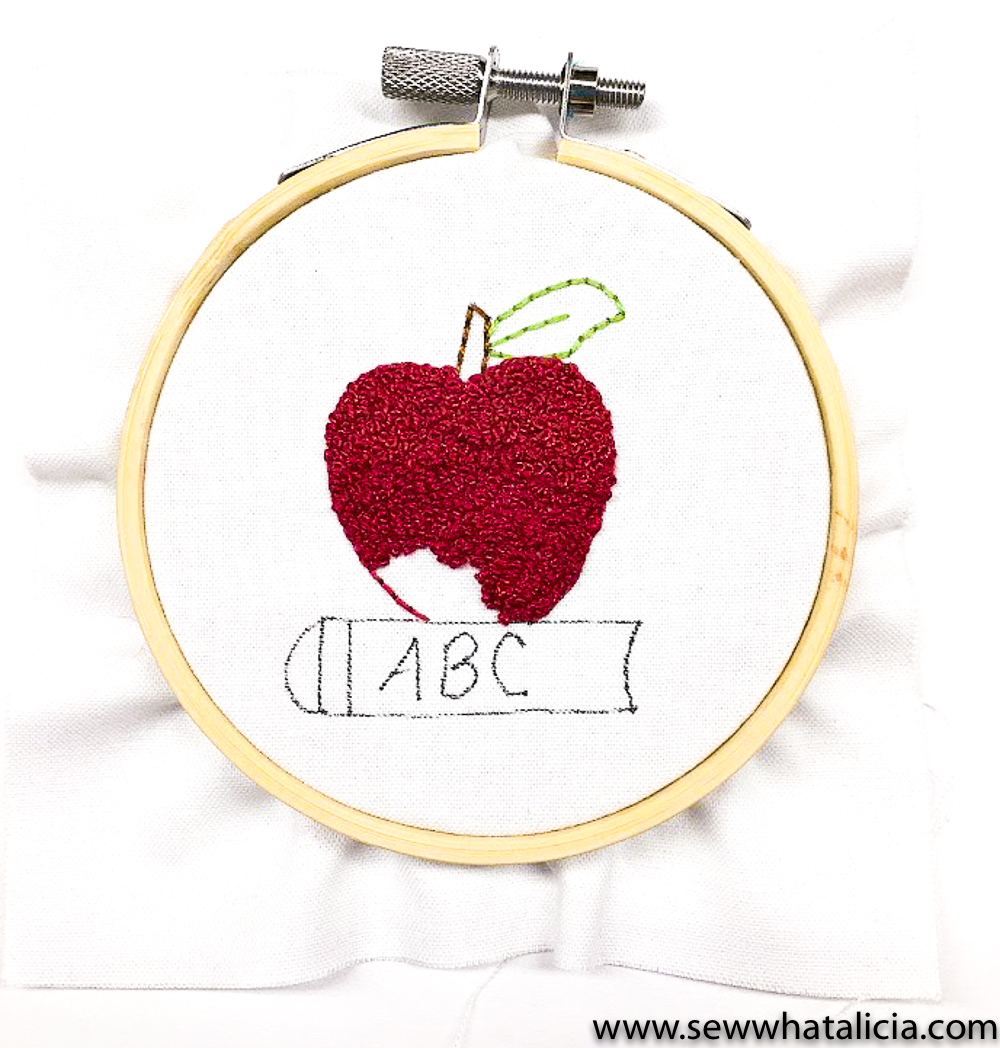
When I got to my apple, I went ahead and back stitched around it first before adding my French Knots. It helps to cover up the drawn line and just adds a little definition.
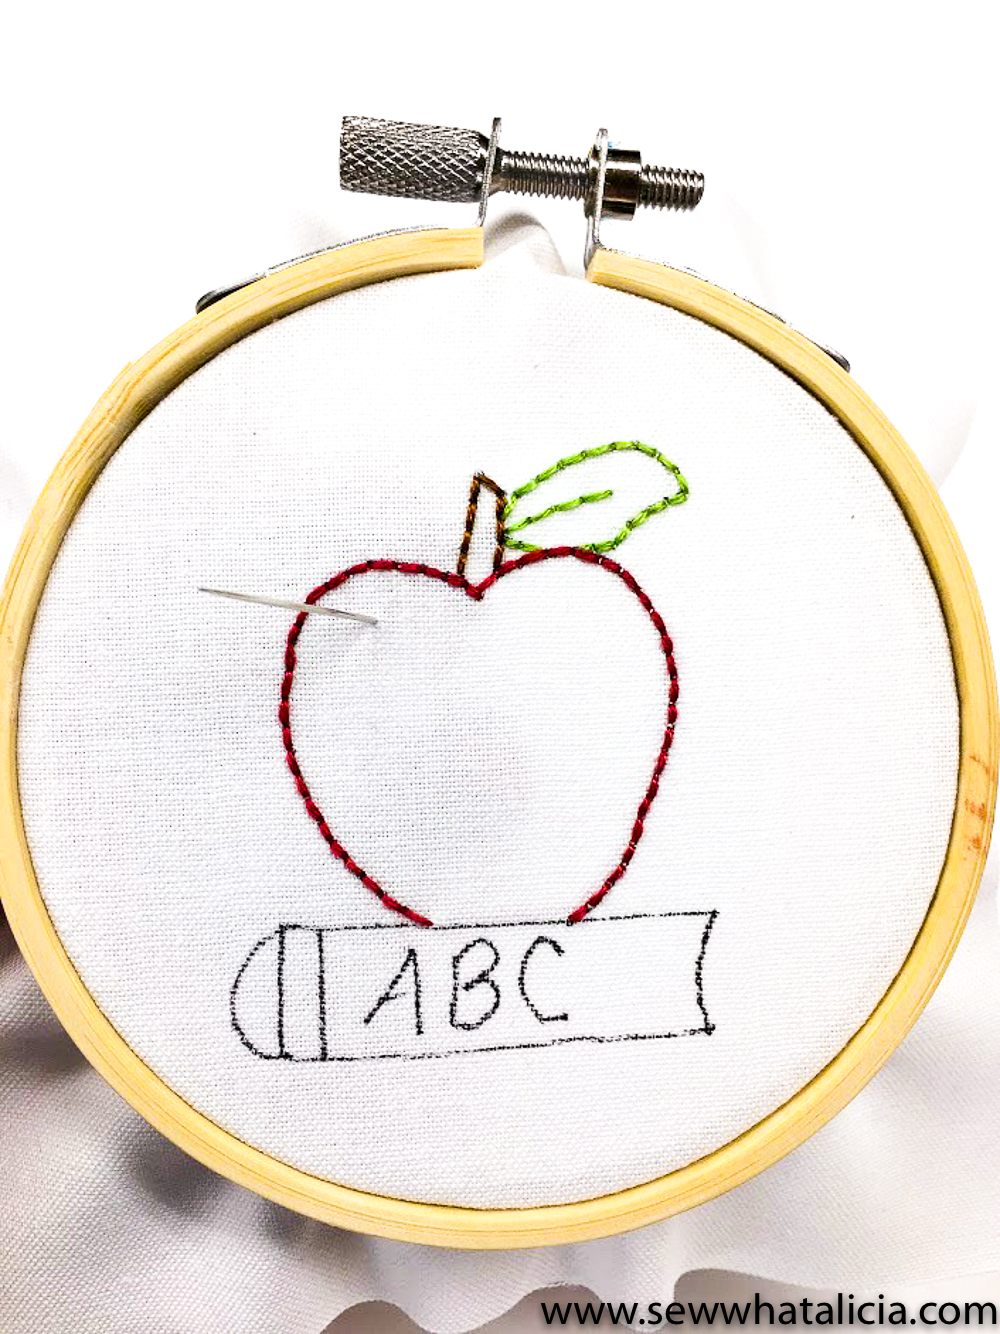
Time for our French Knots! I love the look of filling in my stitches with these little knots, they make your design pop right out! For this project we are going to do a Two Wrap French Knot. First thing you’ll want to do is knot the end of your thread and bring your needle up from the back.
Make sure the knot catches in the back.
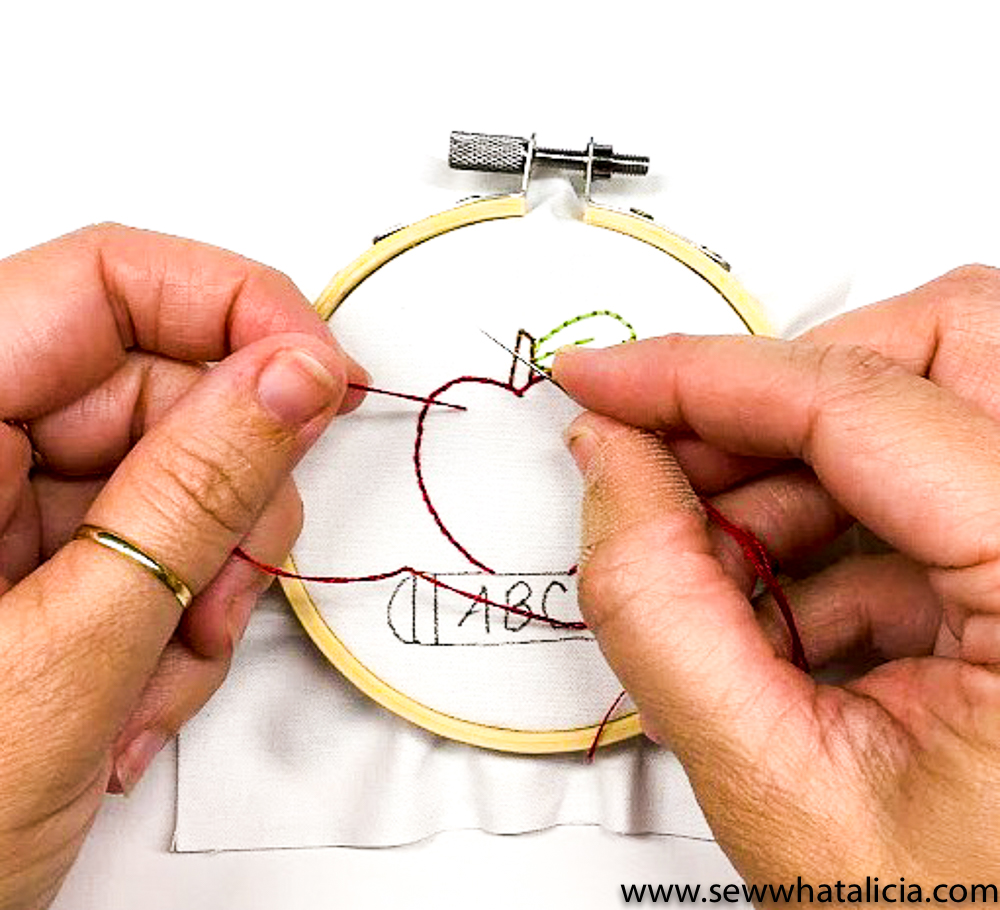
Hold your thread in one hand and your needle in the other.
Make sure to hold your thread securely and wrap it twice around your needle. Don’t let go of your thread!
While holding onto your thread, put the needle back down into the fabric.
Grab your needle from the backside and start pulling…Keep holding onto your thread until the last second and let it go.
Ta-Da, your first French Knot is finished!
Repeat the French Knot process and start filling in your apple.
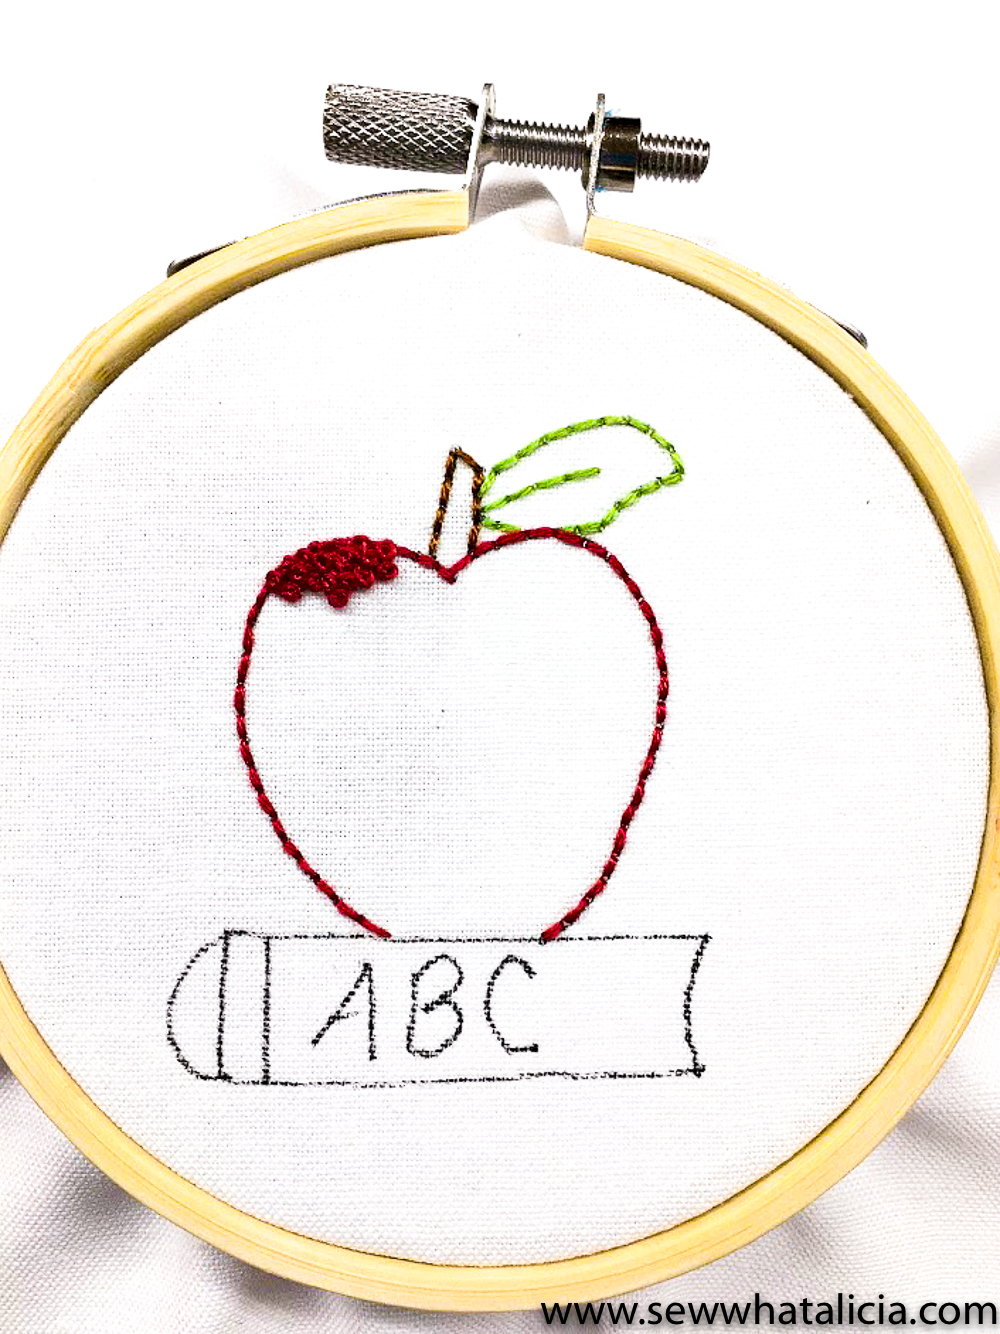
Make sure those stitches are tightly against each other. Don’t worry if a few of your French Knots are wonky looking because once you get to filling up your apple, those wonky knots will disappear.
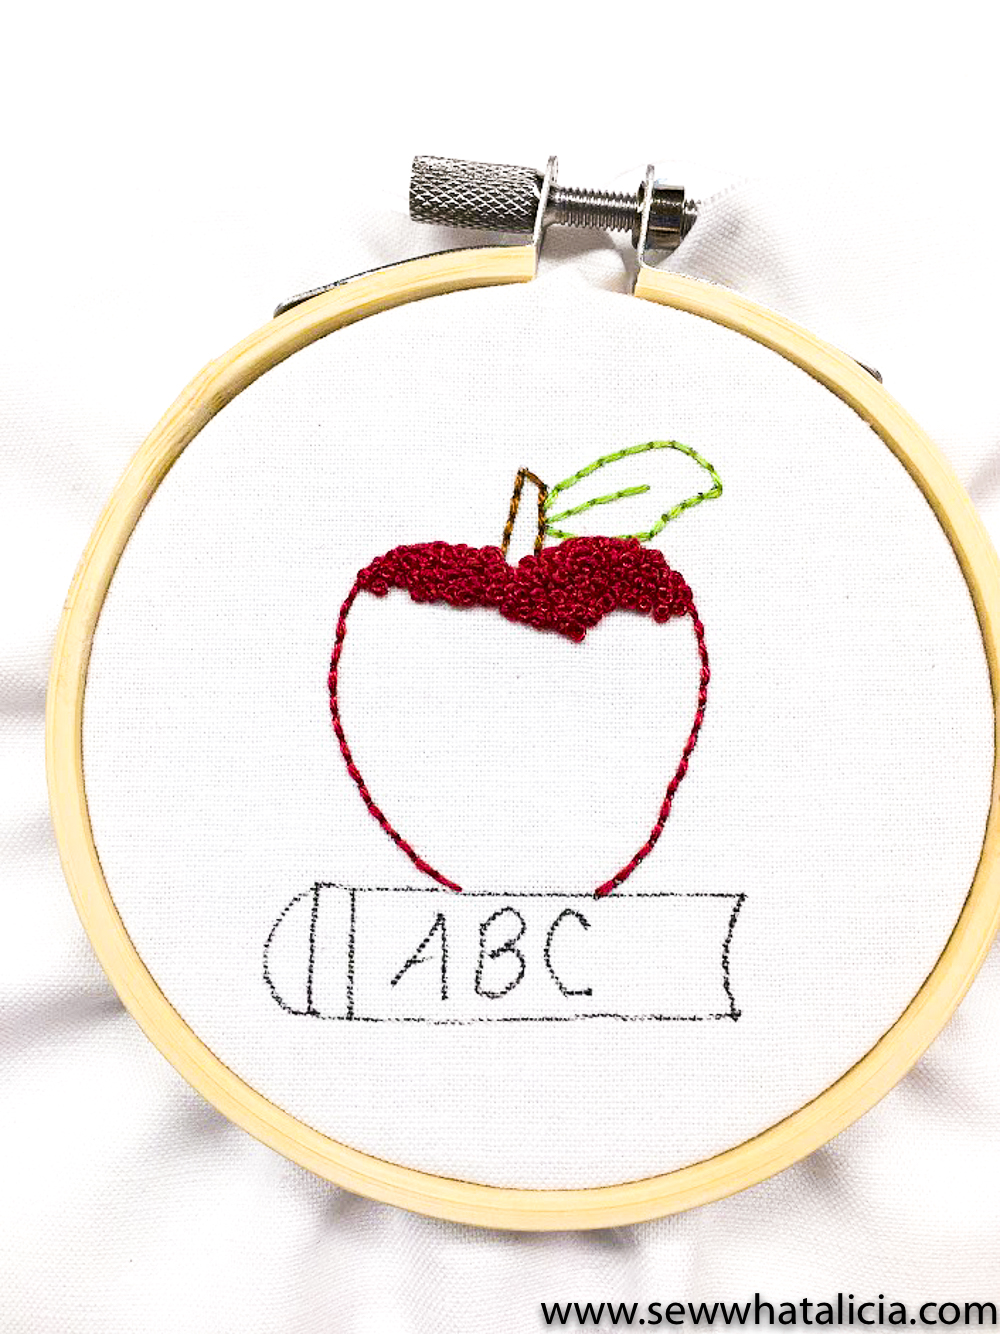
Just keep adding those French Knots!
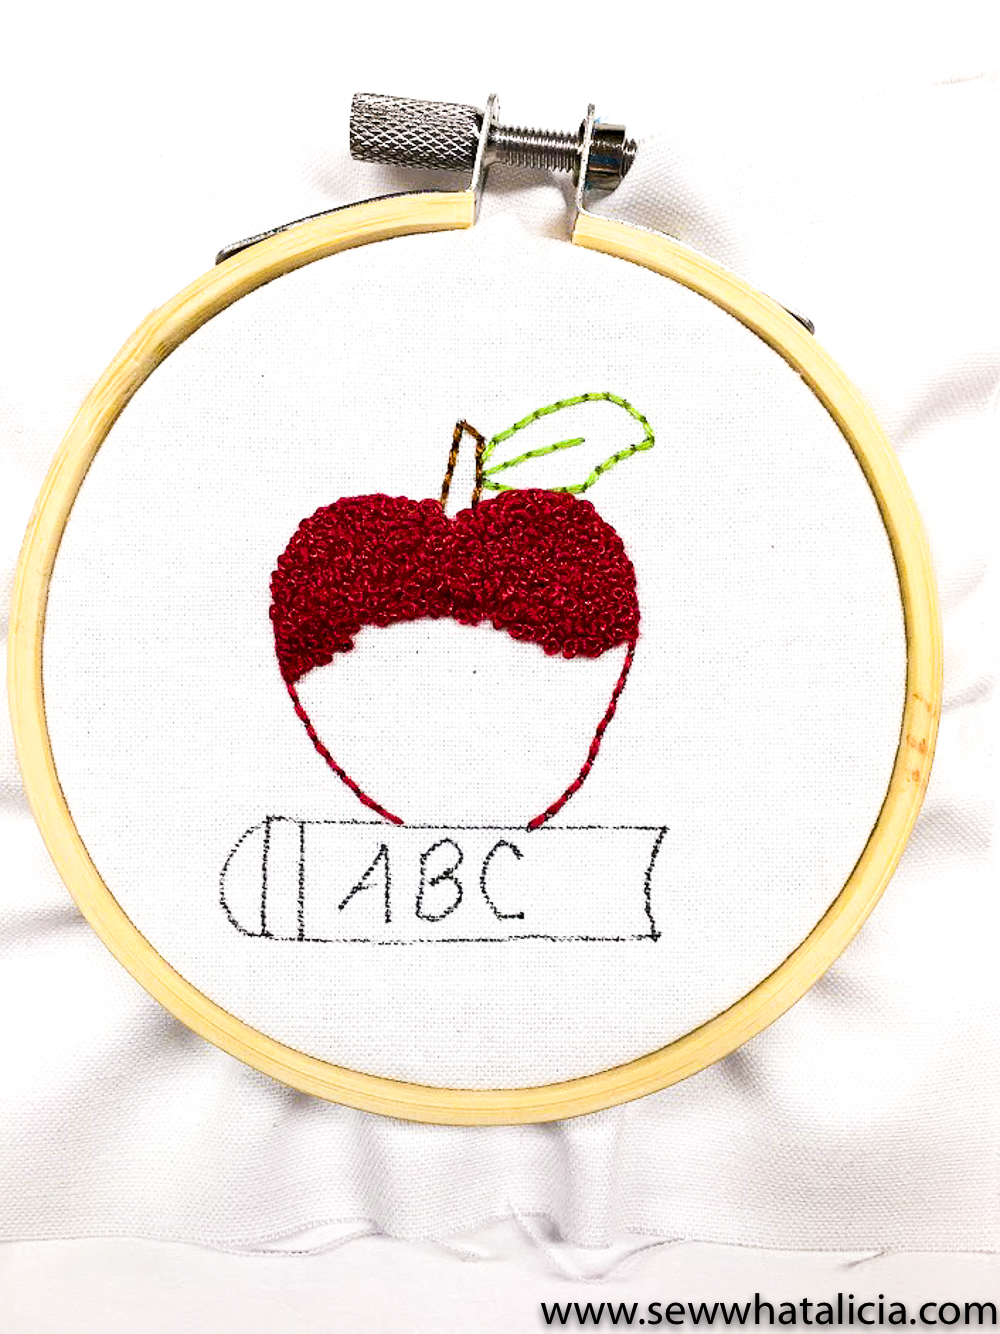
Its looking cool so far!
If you find any areas where you can see the background fabric, just pop in a knot or two and fill it in.
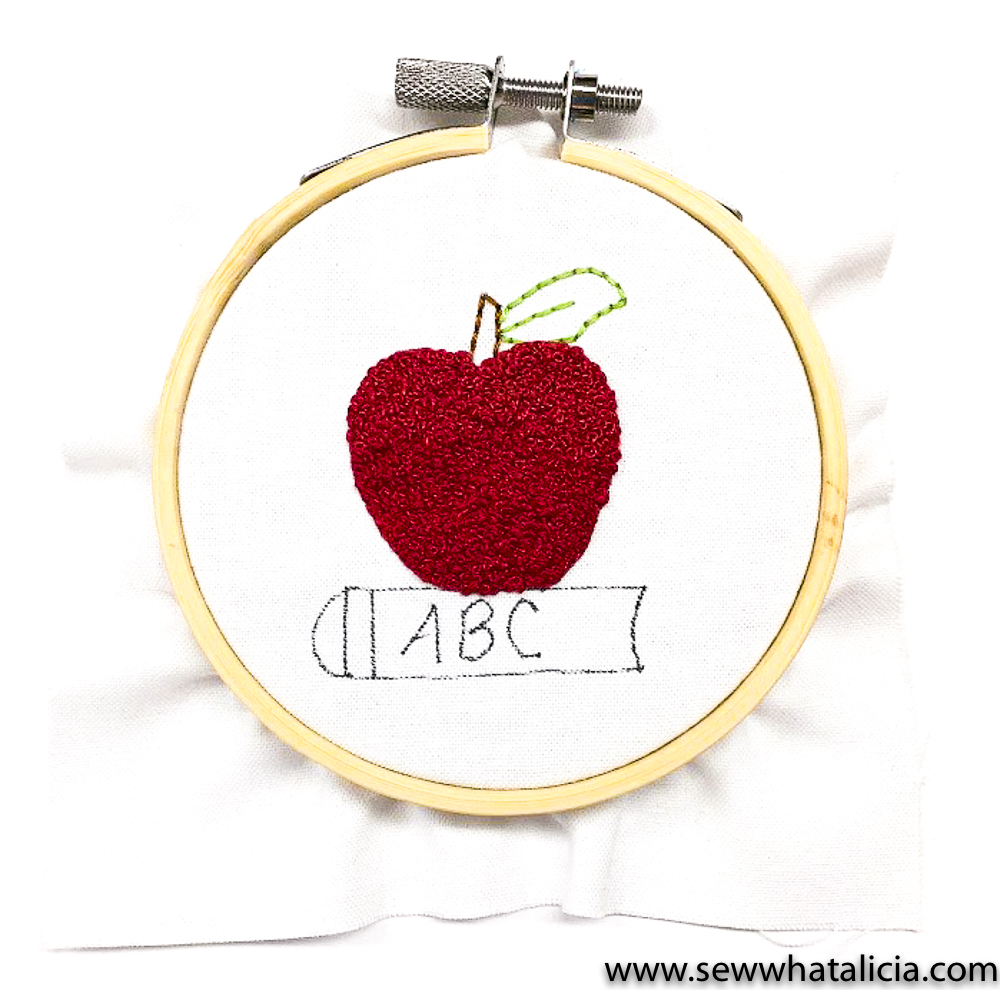
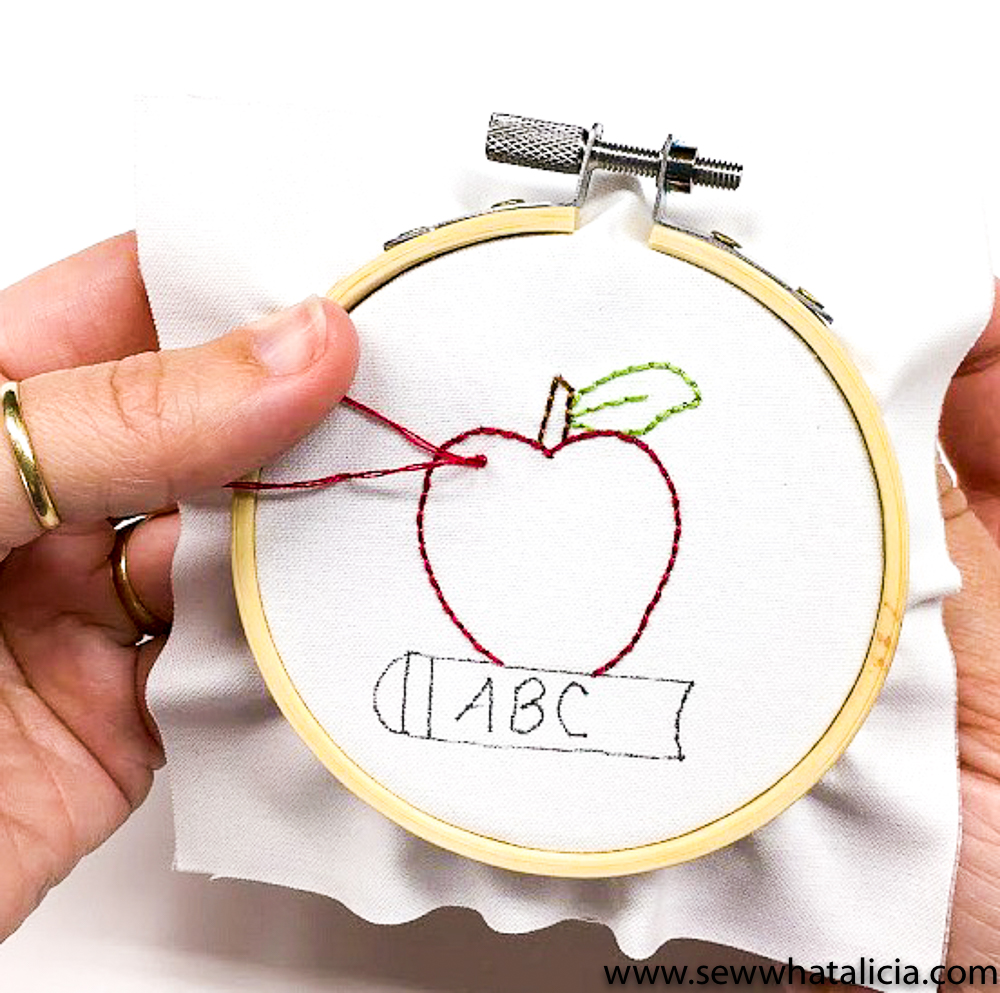
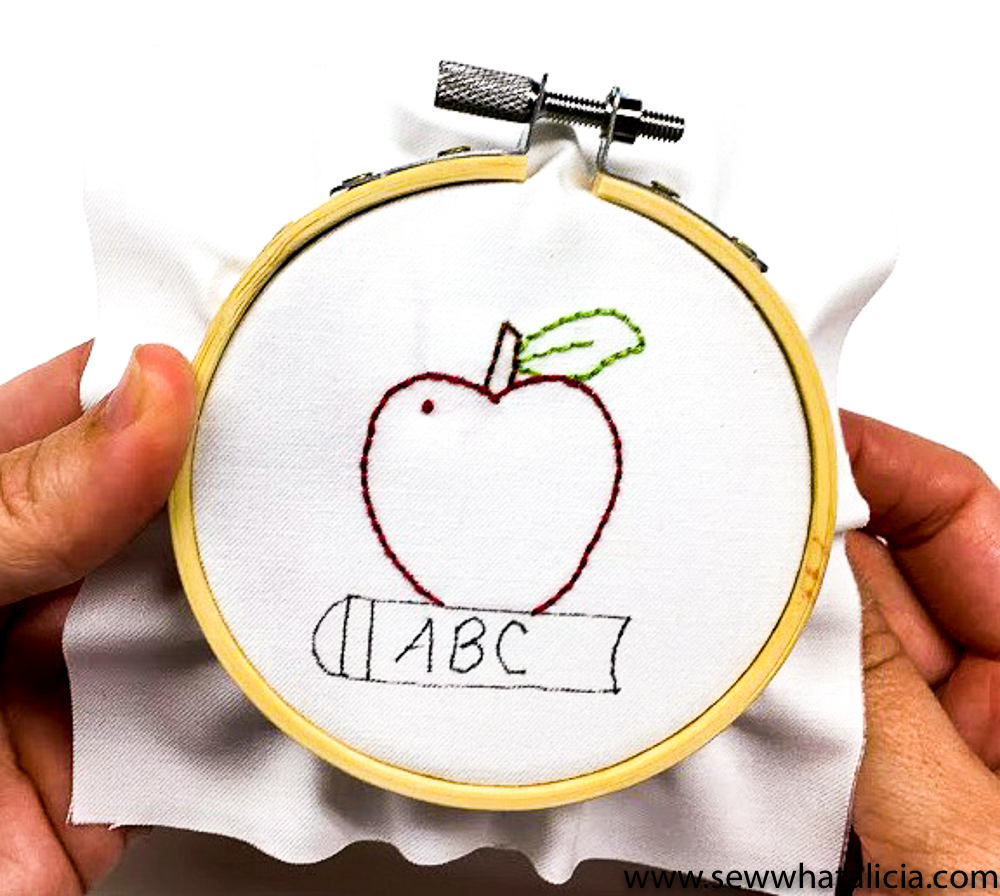
How cool does our apple look! I love how it turned out! It takes a little bit of time, but the results are awesome!
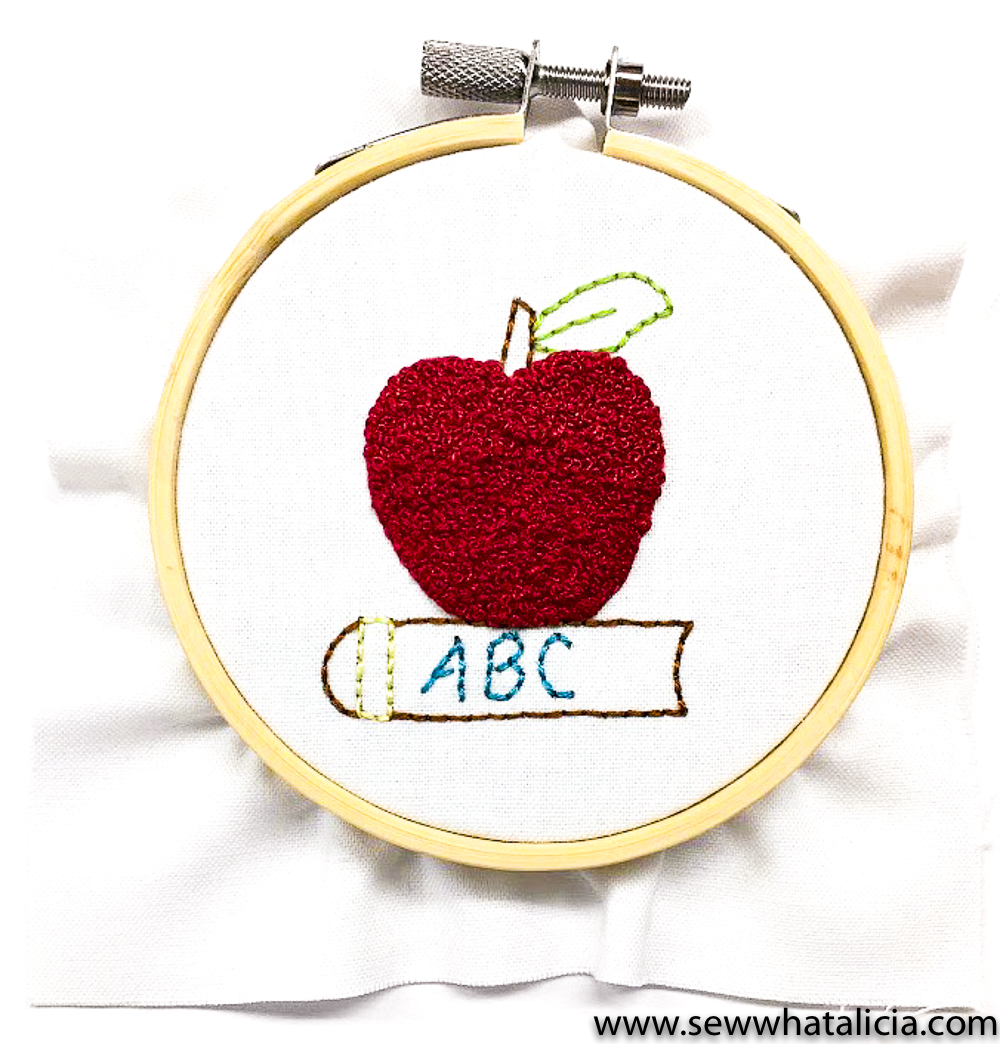
Now all that’s left is stitching up our book! Once it’s done, I popped out my stitchery and gave it a nice pressing. After that I centered it again and locked my hoop down.
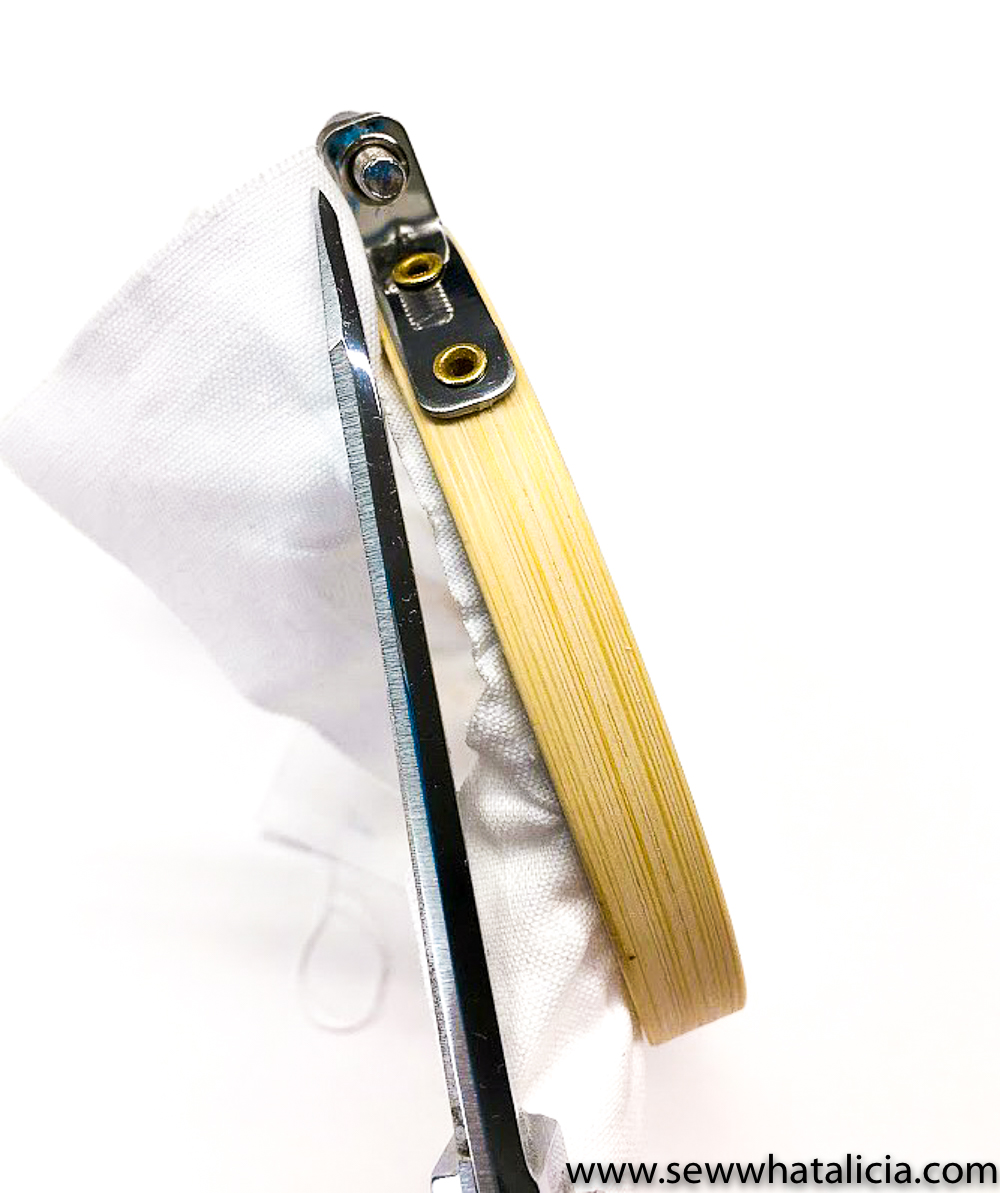
Using a pair of sharp scissors, cut as close as you can to the embroidery hoop.
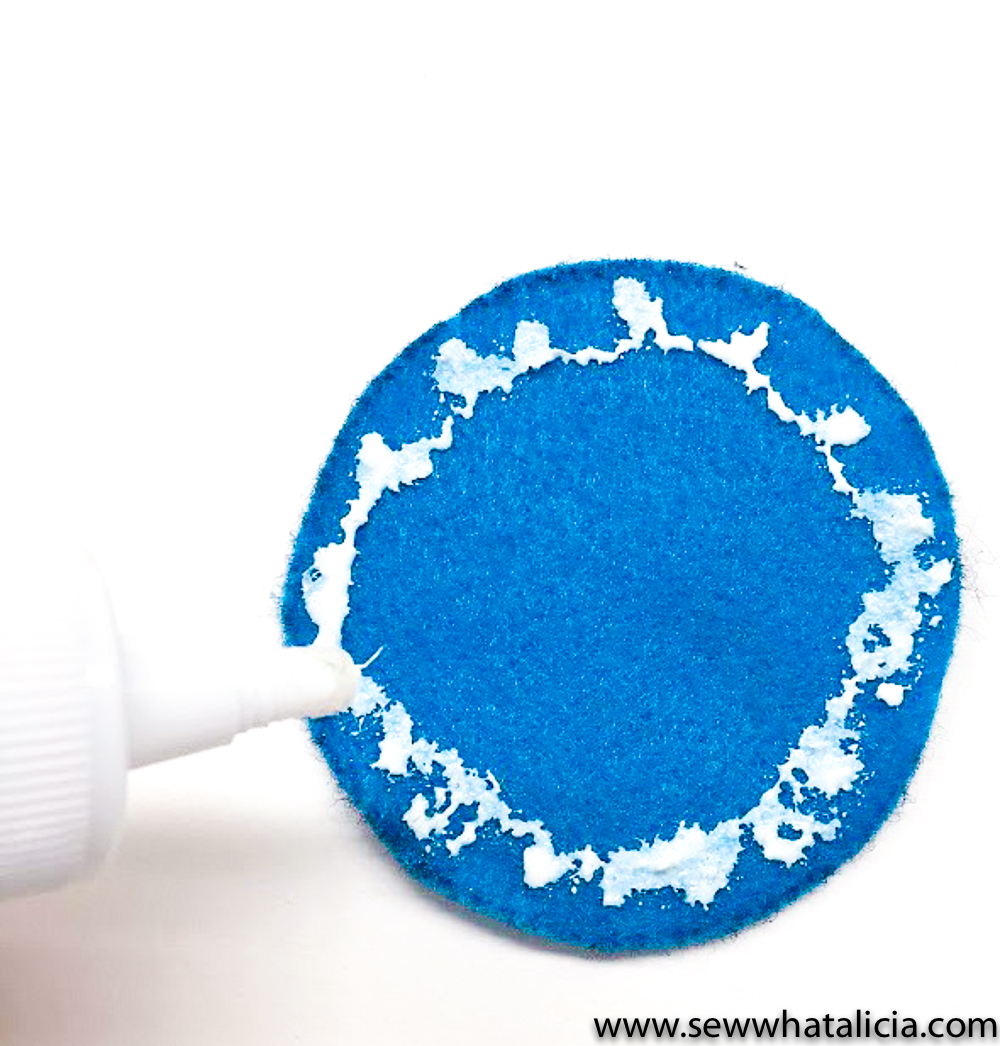
With our piece of scrap felt, I cut it into the shape of a circle. Then applied glue around the perimeter, not too much as a little goes a long way and I don’t want any glue to pop through to the front.
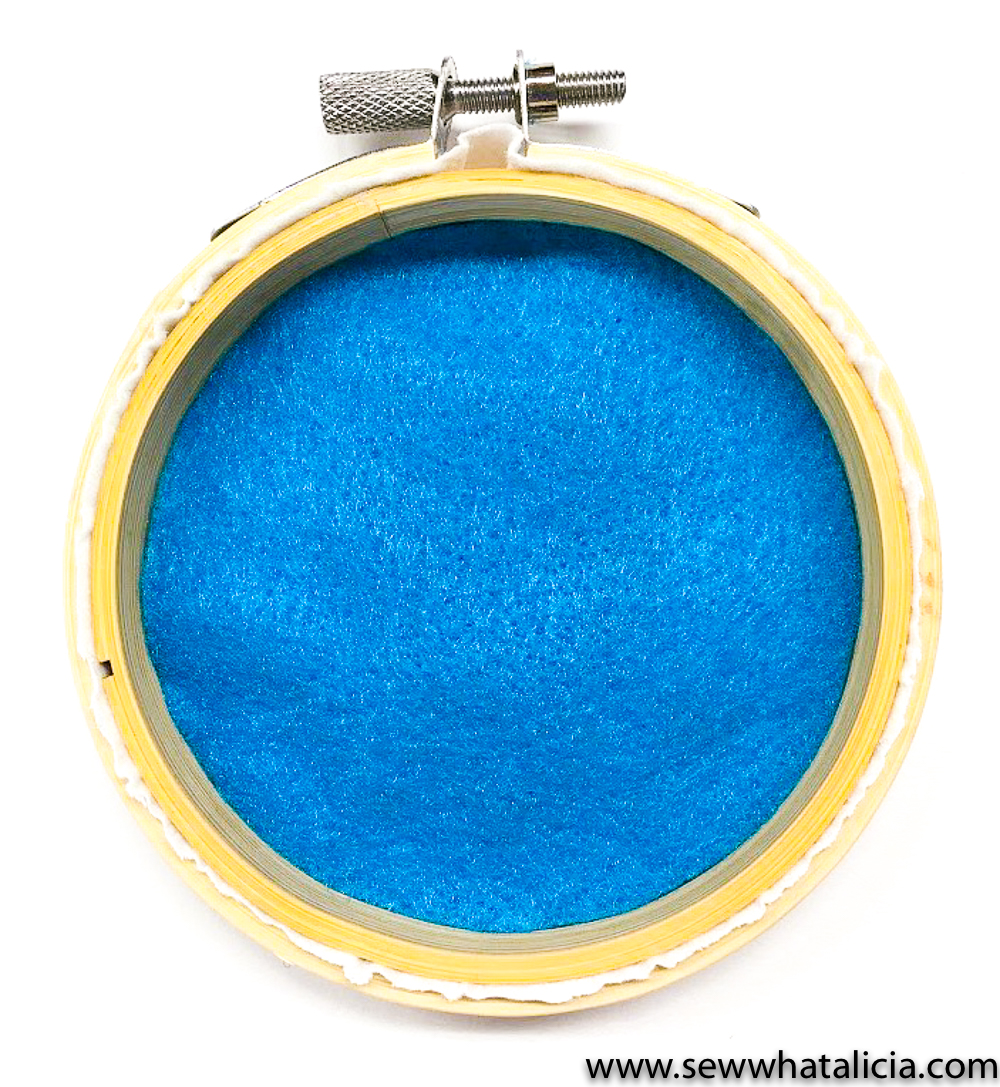
It should look a little something like this.
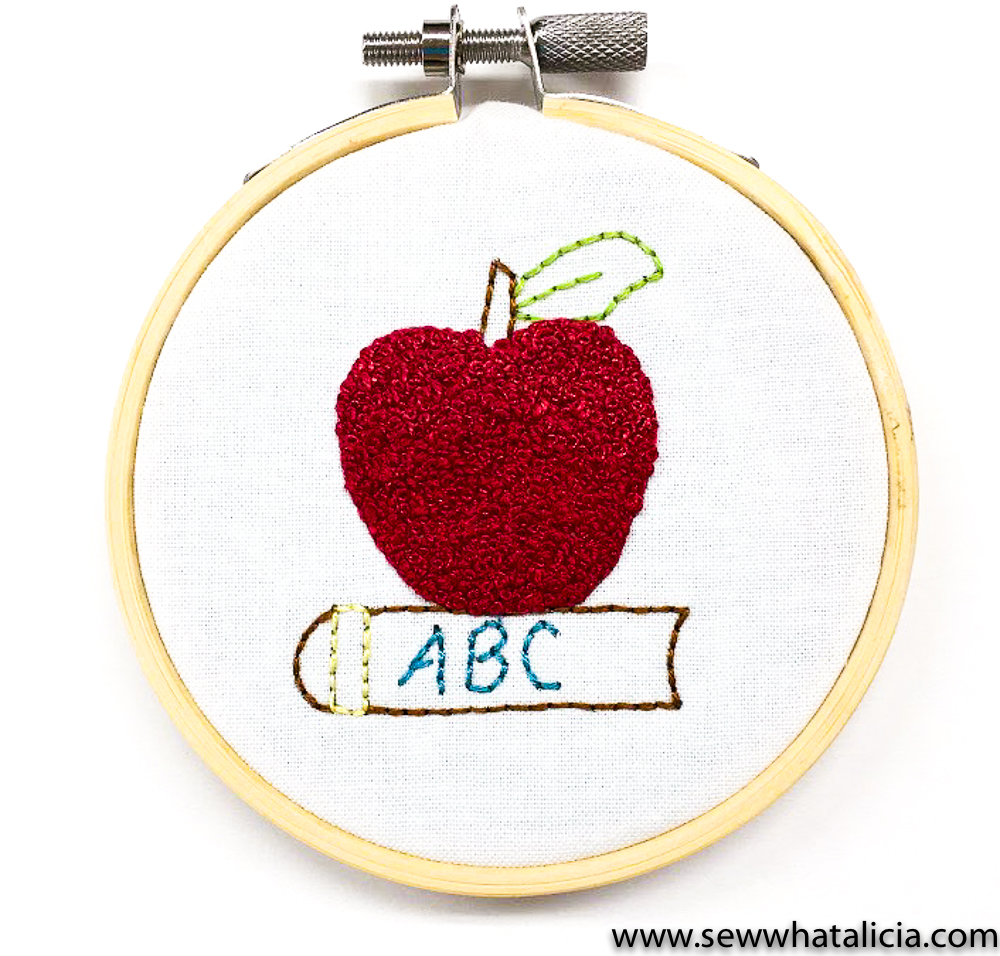
Now you’re finished! Give yourself a huge pat-on-the-back because you know how to embroider a french knot! Thank you so much for following along with me today, I had so much fun creating this fun Back to School Apple tutorial for you. You can always find me over on the Pumpkin Hollow Quilting blog stitching up something fun!

Connect with Pumpkin Hollow Quilting
Instagram // Facebook // Pinterest // Etsy
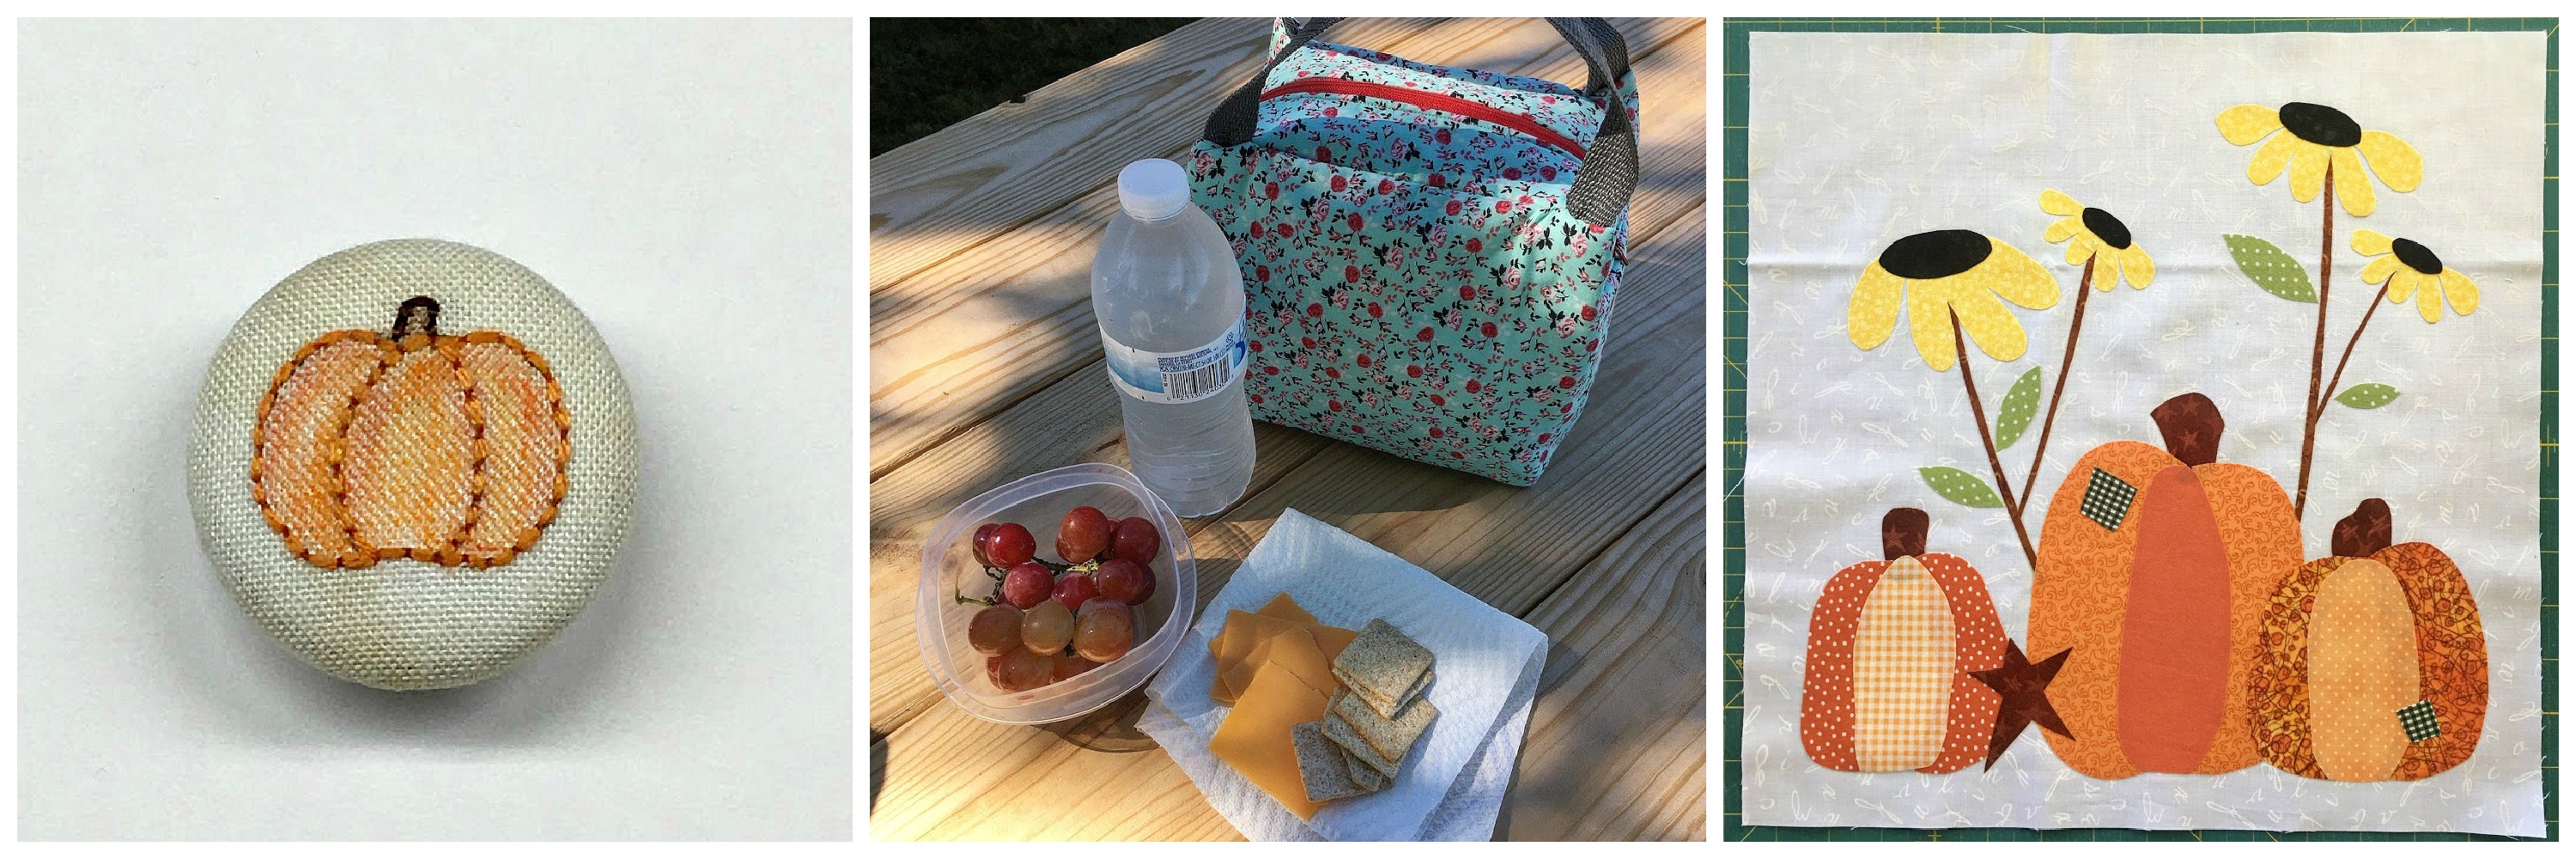
Here are a few fun projects I’ve been working on!
Pumpkin Needle Minder // Insulated Lunch Tote // Autumn Blessings


Emma Craig (@Whimsical_days) says
I bet this takes awhile (especially for a newbie like me) but it came out awesome!
sewwhatalicia says
The french knots can definitely take a while! But the great thing is you won’t be a beginner at them for long with this tutorial!!! <3