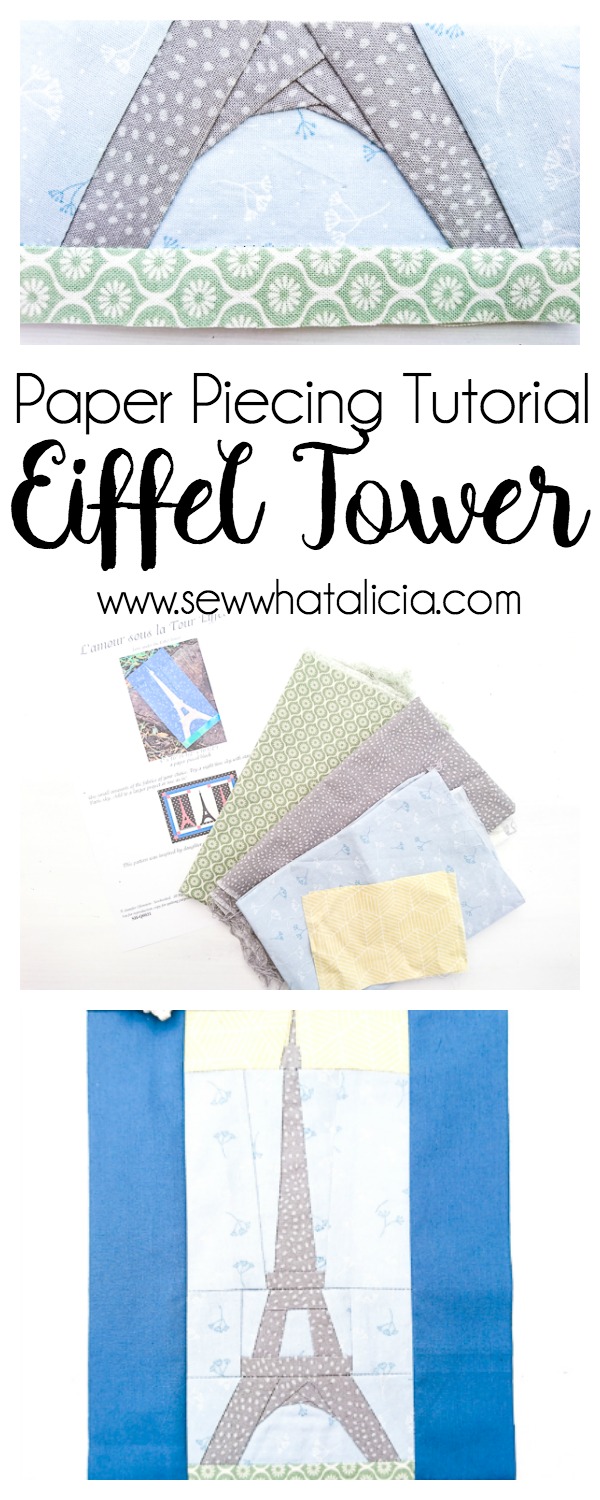
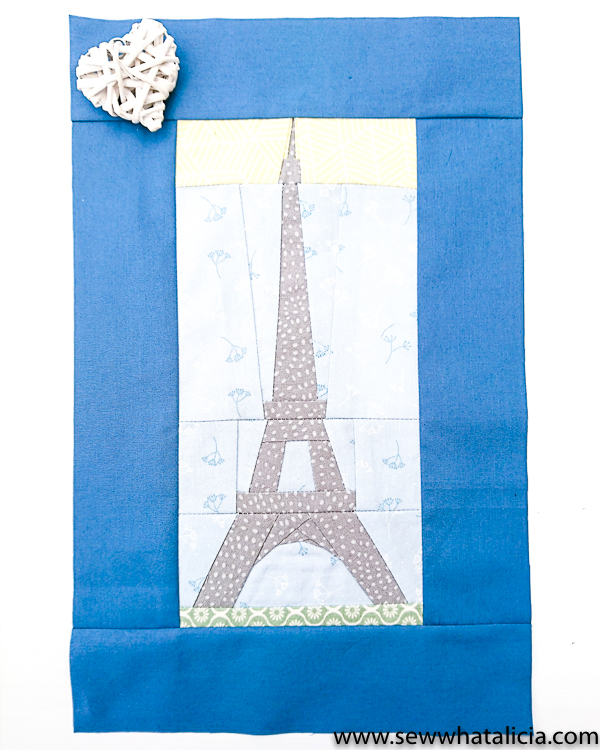
Eiffel Tower Paper Piecing Tutorial
Hi Michelle here, from creativeblonde with another fun paper piecing tutorial. I can’t wait to walk you through this pattern! This time we are traveling to Paris for an Eiffel Tower Paper Piecing Tutorial.
Eiffel Tower Paper Piecing Tutorial
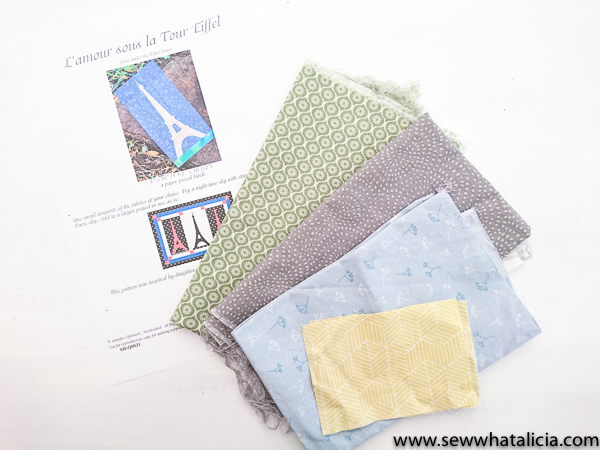
Supplies:
Fabrics – pale blue, grey, green, yellow and dark blue
Eiffel Tower paper piecing template
Paper, printer, iron and basic sewing supplies
Instructions:
Begin by printing off your template, this can printed on ordinary printer paper, cut out each block A, B, C, D including the seam allowance around each block. To make life easier, you can colour the segments, the same colour as the fabrics you are using.
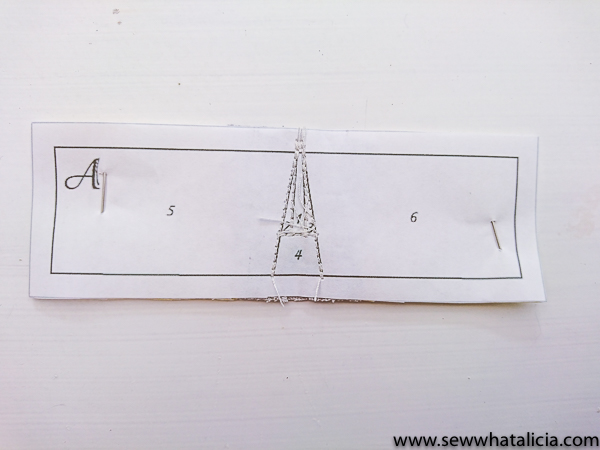
Starting with A, place your first piece of fabric on number 1 right side up, on the reverse of the printed paper, covering the section marked 1.
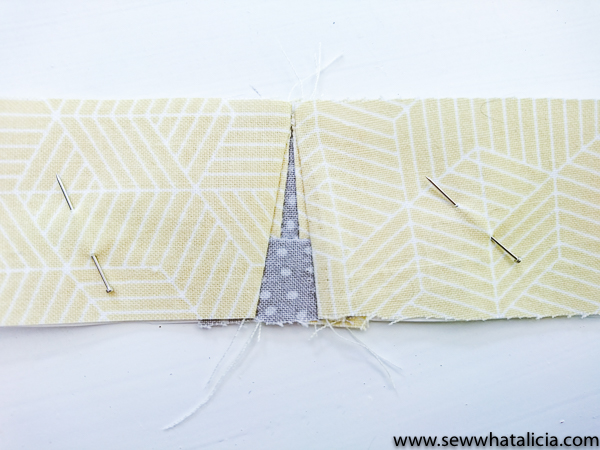
When adding piecing 2, 3, 4, 5 ,6 these must be added with the fabric right side down and 1/4″ over lapping the next segment, so that when its sewn in place, it will be folded out and pressed on the seam and cover segment 2. Repeat this process till the block A is complete.
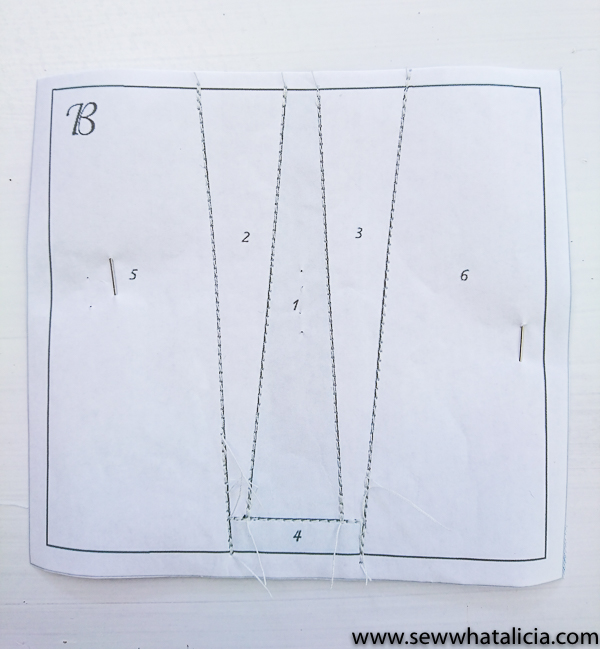
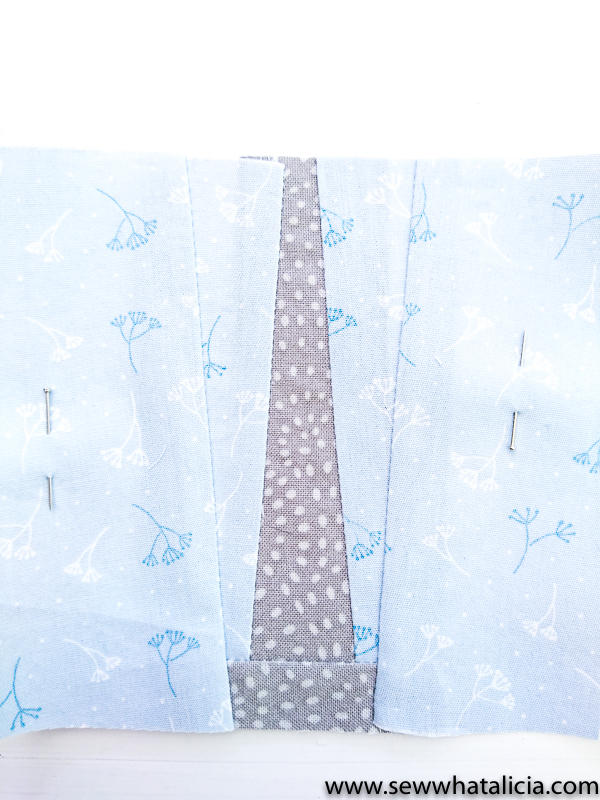
Section B is done in the same way
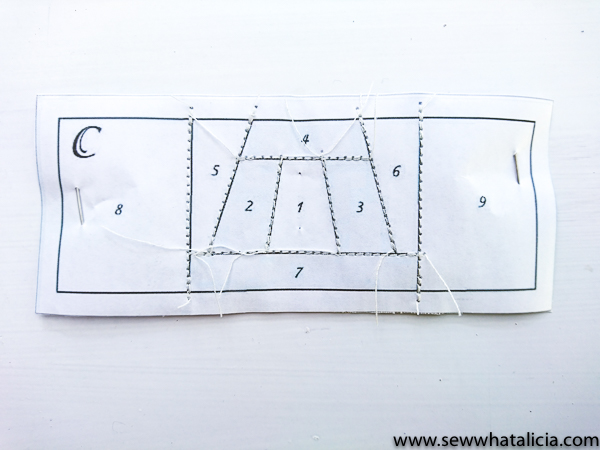
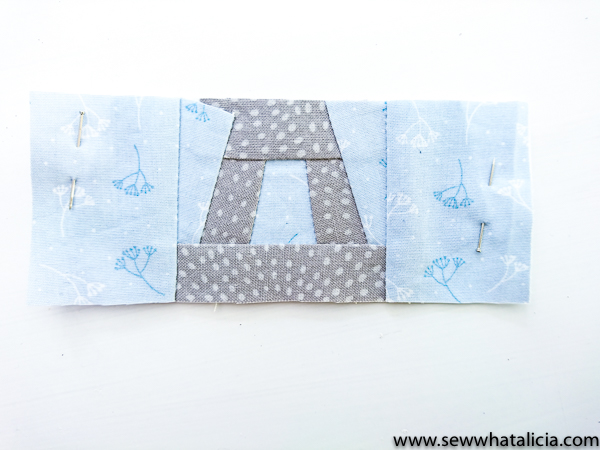
The same for block C
and D
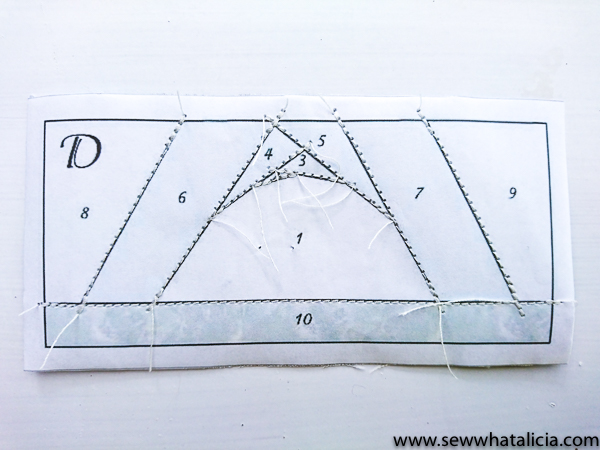

Once all four blocks are complete, trim away any excess fabric.
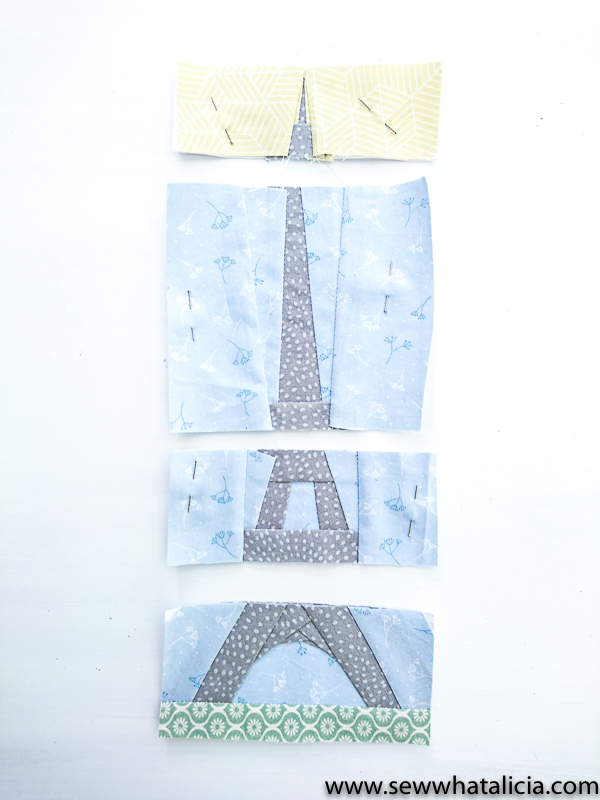
Using 1/4″ seam allowance, sew A to B, then B to C, then finally C to D.
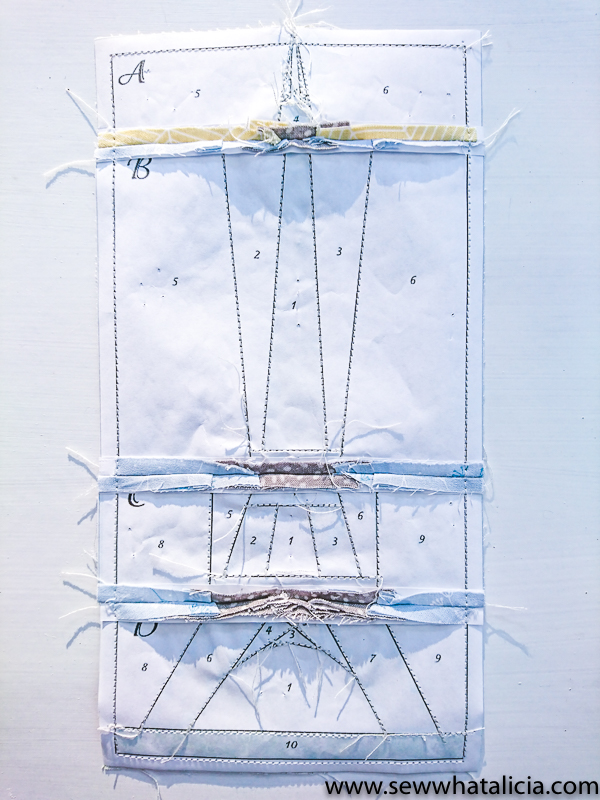
Carefully remove all the paper and press well.
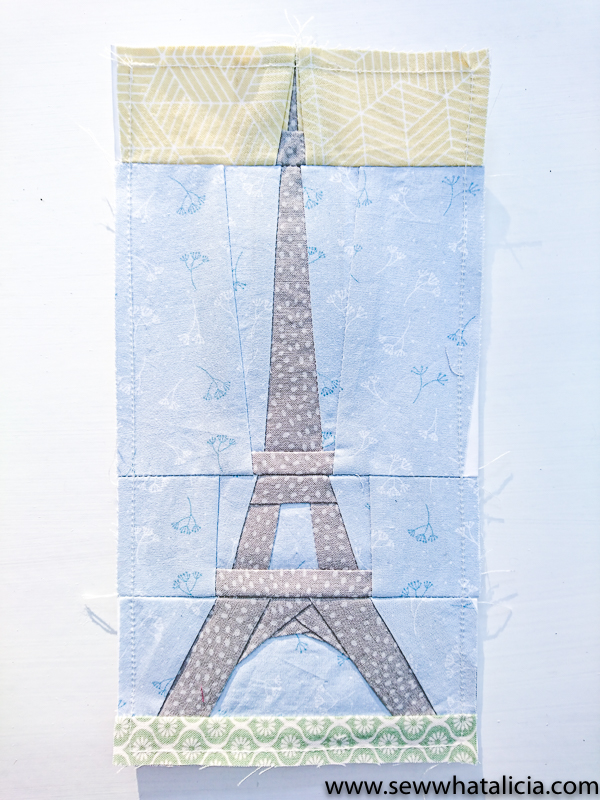
To finish it off I added a 2.5″ strip on dark blue fabric around the paper piecing to frame it.
Thank for reading, and I hope you enjoyed the tutorial. You can find me at www.creativeblonde.co.uk and I’m on Instagram at www.instagram.com/creativeblonde66 where I share lots of my own creative tutorials.


Facebook // Pinterest // Instagram // Twitter
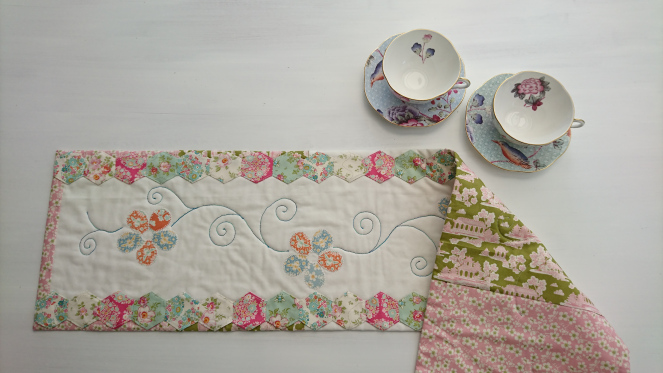
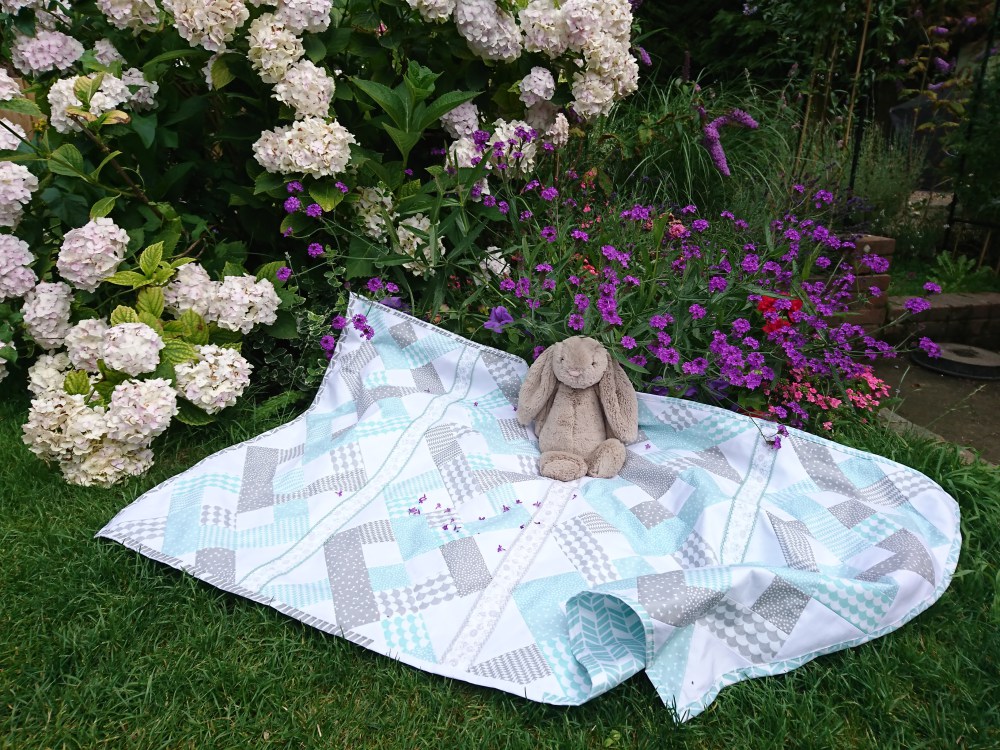
Here are a few of my recent projects you might enjoy!
Tilda Bumblebee Table Runner // Mint & Grey Summer Quilt // Nautical Rose Lap Quilt


Leave a Reply