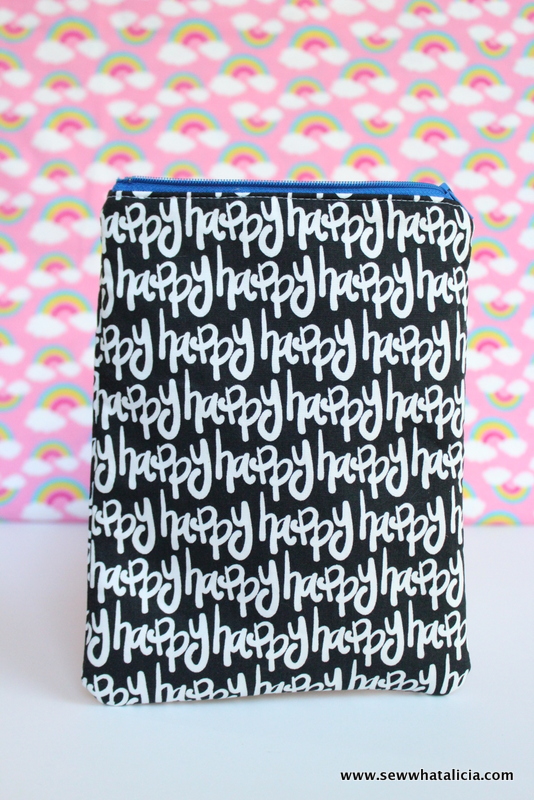
How to Sew a Lined Zipper Pouch
This is part two of our zipper pouch series. See the first post HERE. In this post we will talk about adding a lining to a zipper pouch, fixing a zipper that is the wrong size, and adding some batting to a pouch to give it some stability. Here is how to sew a lined zipper pouch. If you decide to make something with a zipper please use the hashtag #zippersarentscary so I can follow along with your progress. If you don’t want to share it publicly you can also join Sewing School a private Facebook group where you can ask questions and get advice from other newbies and of course me! If you still need help after this with your zippers you can check out this class from Craftsy.

This is just one of my 50+ easiest sewing tutorials. Check out the rest HERE.
How to Sew a Lined Zipper Pouch
Supplies:
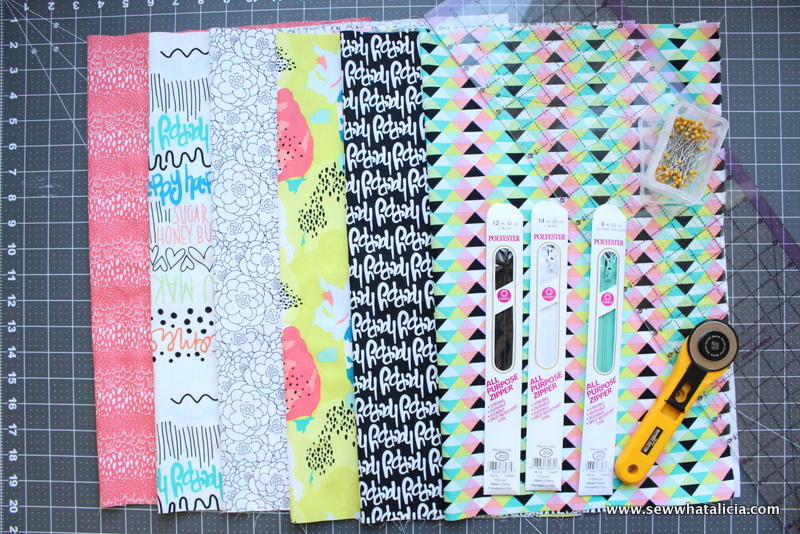
Fat Quarter Bundle (I used Here Comes the Fun from Art Gallery Fabrics)
Zipper
Heat n Bond Fusible Interfacing (optional)
Instructions:
For this pouch you need 4 equal size pieces. For instructions on sizing the pieces to the zipper see THIS post about sewing an easy zipper pouch. That post will also explain how to add fabric to each side of the zipper.
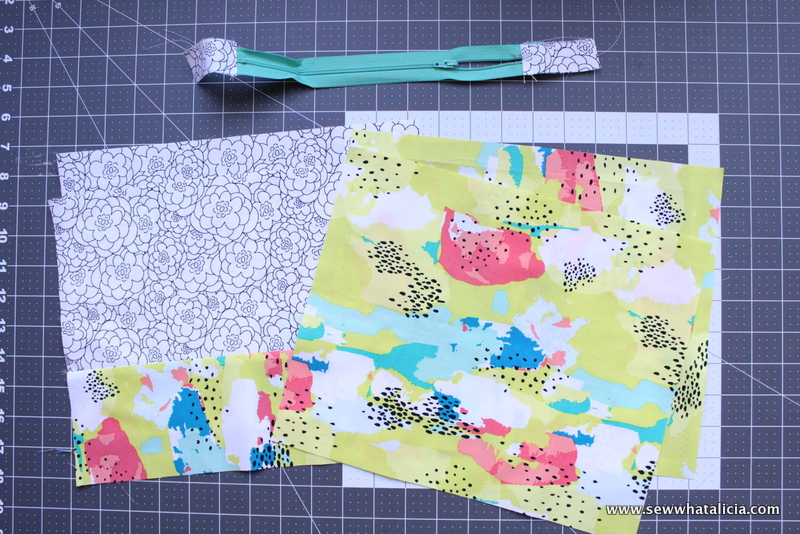
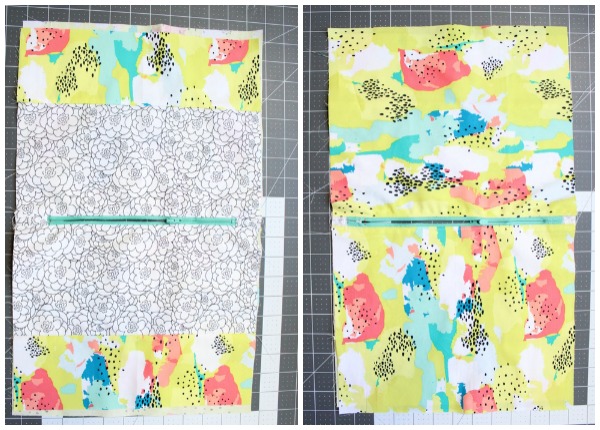
This pouch starts the same way the pouch in the last post started. Sew one edge of the main outside fabric to the zipper.
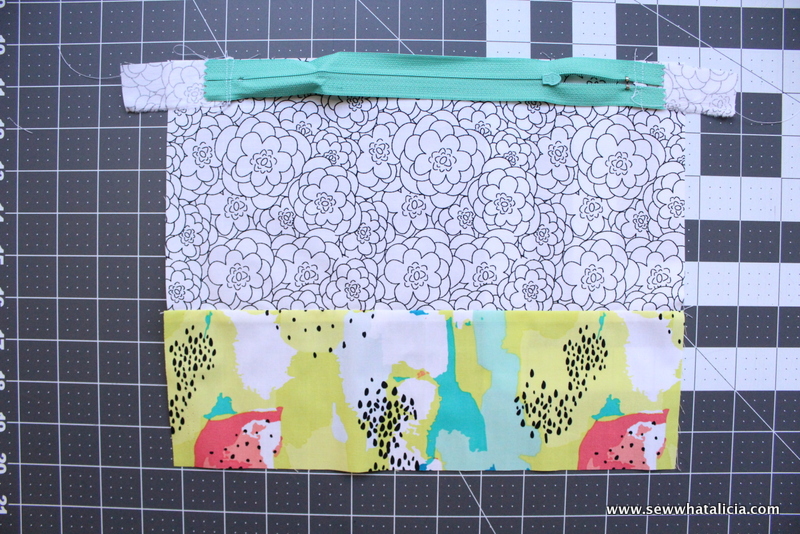
The second step is where we will start to add the lining. Take one of the lining pieces and line it up so that the right side of the fabric faces the right side of the outside fabric. It should line up with the top of the wrong side of the zipper. Pin this in place. Then turn the whole piece over and sew over the first seam you created.
Repeat these two steps on the other side. You should be left with something that looks like this. Top-stitch the zipper in place on both sides. This keeps it from getting tangled and caught in the zipper when you open and close the pull.
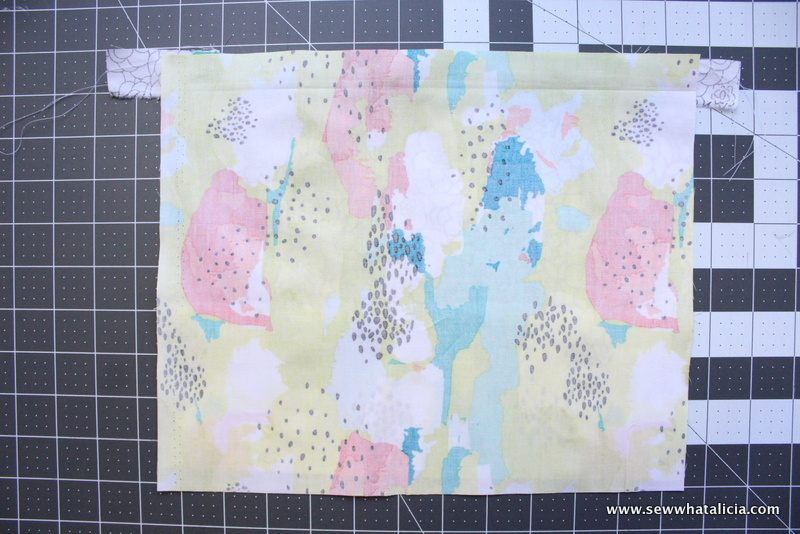
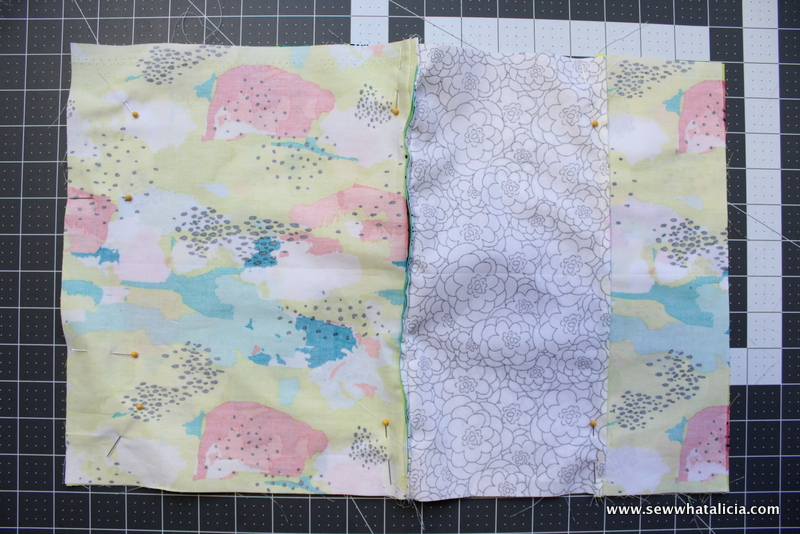
Keep the zipper open and then pin the two outside pieces together right sides facing. Pin the lining together right sides facing. It should look like the picture below. Leave a 4-6″ section at the bottom of the lining open. Sew around the remaining edges.
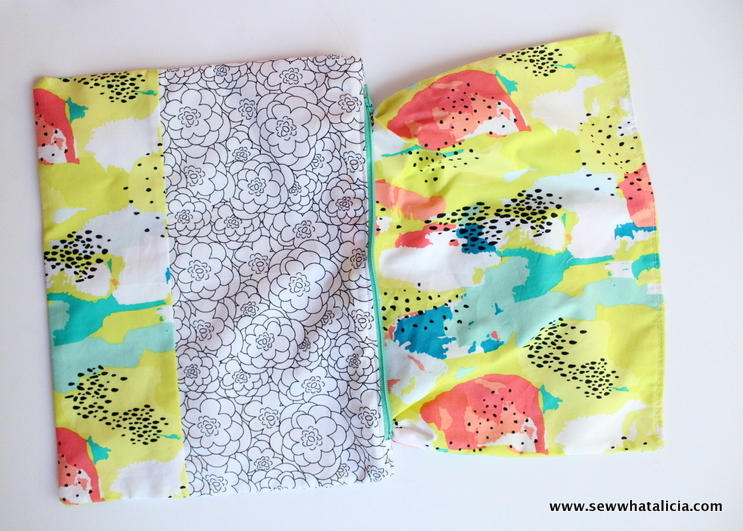
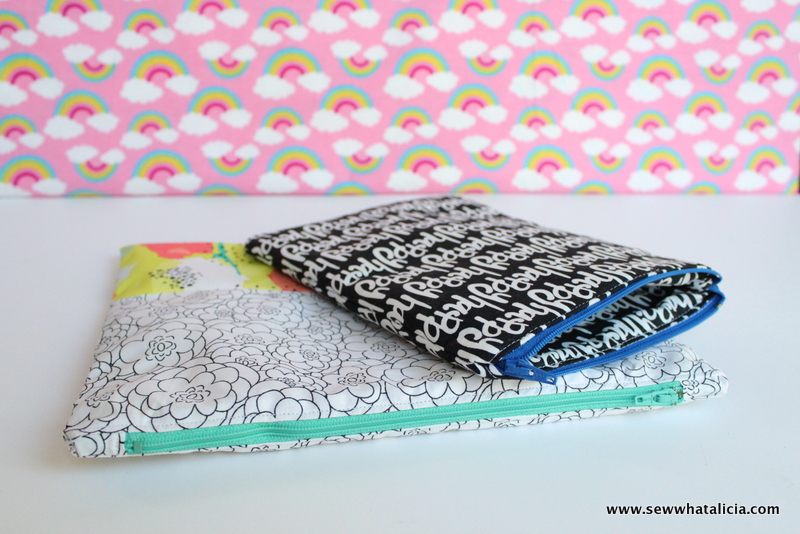
Turn the piece out. Press the opening under 1/4″ and then top-stitch along the bottom of the lining as close to the edge as possible. The last step is to stuff the lining into the the pouch.
Zipper Length
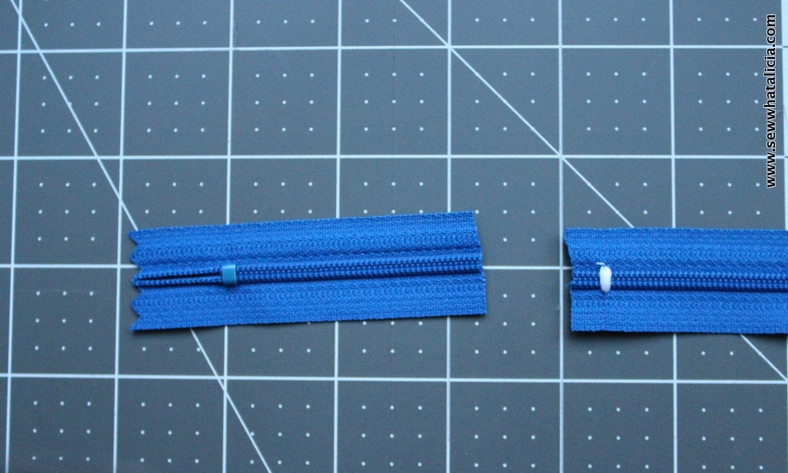
If the zipper is too big here is the solution. Find the length you want the zipper. Then using your machine or hand stitching go back and forth over the same spot repeatedly. It should look like this (I used white thread so you could see what I did.)
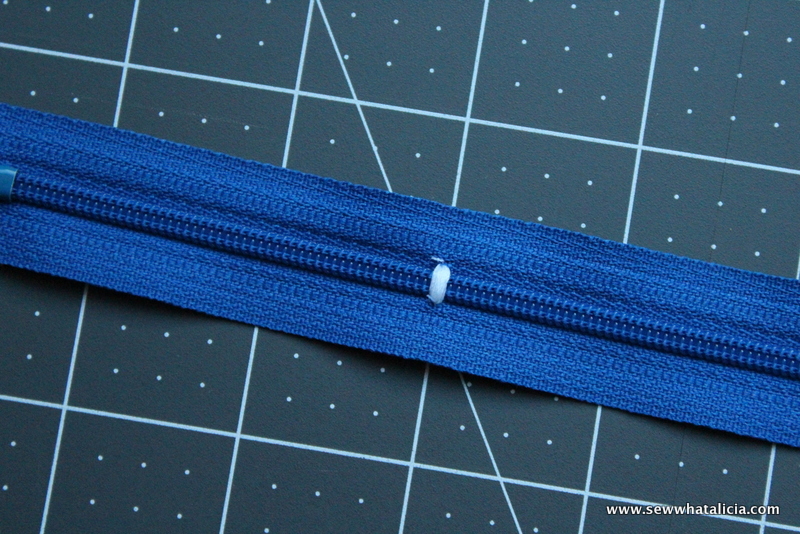
Then cut the zipper leaving an inch to add the extra fabric on the edges. Then use the zipper the same as described above.
Adding a Fleece Lining
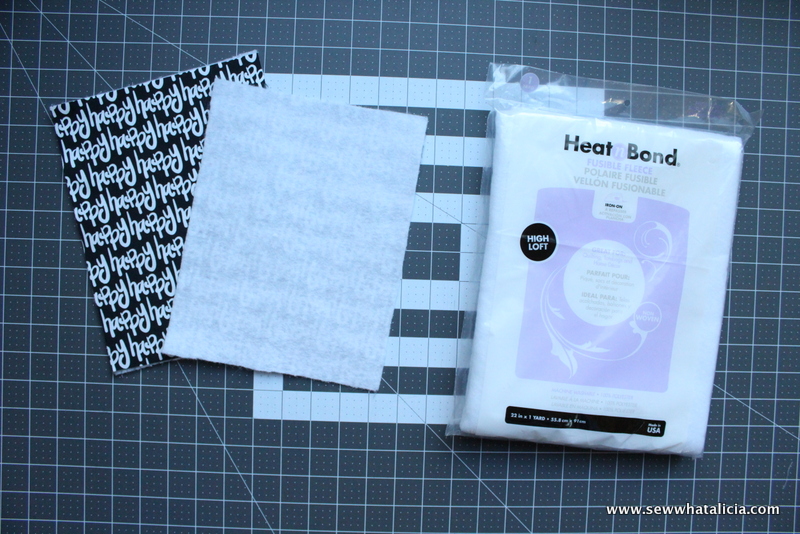
Cut a piece of interfacing to the same size as your fabric. Iron the fusible fleece onto the outside fabric (not the lining piece.) Then attach the fleece lined fabric to the zipper using the same steps listed above. The high loft fleece gives the pouch a lot of stability. It would be perfect for a pouch for your sunglasses or as a pouch to hold your electronics like an iPad or Kindle.
That is it! Now you know all you could ever want to know about attaching a zipper onto a pouch. Did you try it? How did you do? Share with me in the comments below.


Anne Weaver says
Zipper pouches are so satisfying to make!! I’ve featured your tutorial over at Craft Gossip here: http://sewing.craftgossip.com/tutorial-sew-a-simple-lined-zipper-pouch/2016/12/30/ –Anne