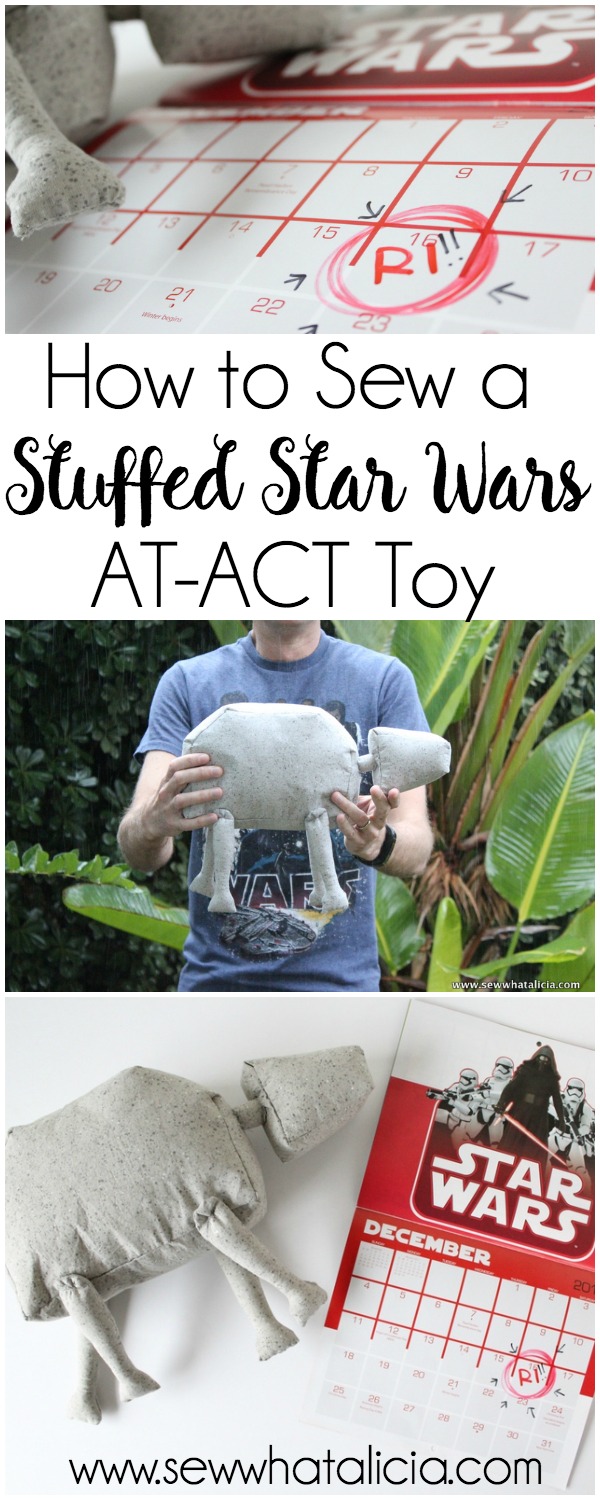
How to Sew a Stuffed Star Wars Toy
After a visit to Disney and with the new movie in theaters I knew it was time for a Star Wars project. I live in a house with all males and to say they are obsessed is an understatement. I finished this and wouldn’t you know I haven’t seen it since! My husband got his hands on it and it has since made the rounds to all the boys!! Here is how to sew a stuffed Star Wars toy.
How to Sew a Stuffed Star Wars Toy
Supplies:
1 yard of fabric (I used grey but you could just as easily use a pattern.)
1 yard fusible interfacing (or one package)
Thread
Instructions:
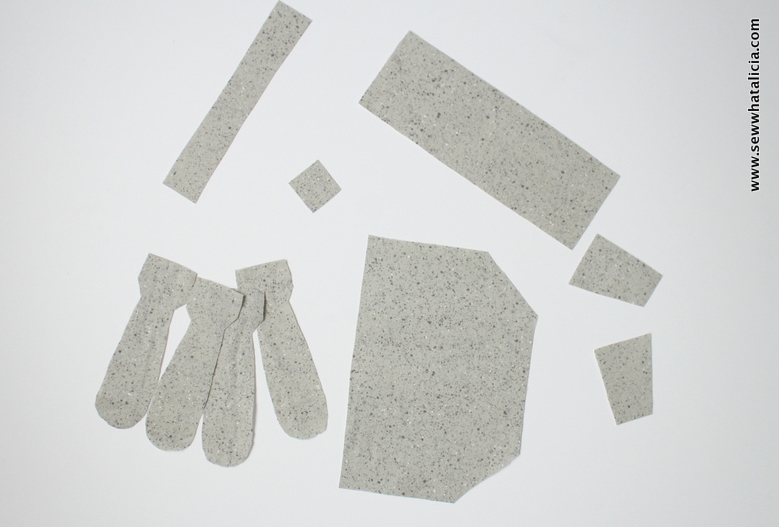
Iron the fusible interfacing onto the yard of fabric. Then trace the pattern pieces on the interfacing. Be sure to follow cut the amount listed on each piece. For the head piece you will want to turn the pattern over for the second piece so they are mirrored. You will also need to cut one long strip that measures 11.5″ x 2″ because it was left off the pattern, this will be the piece that connects the two sides of the head.
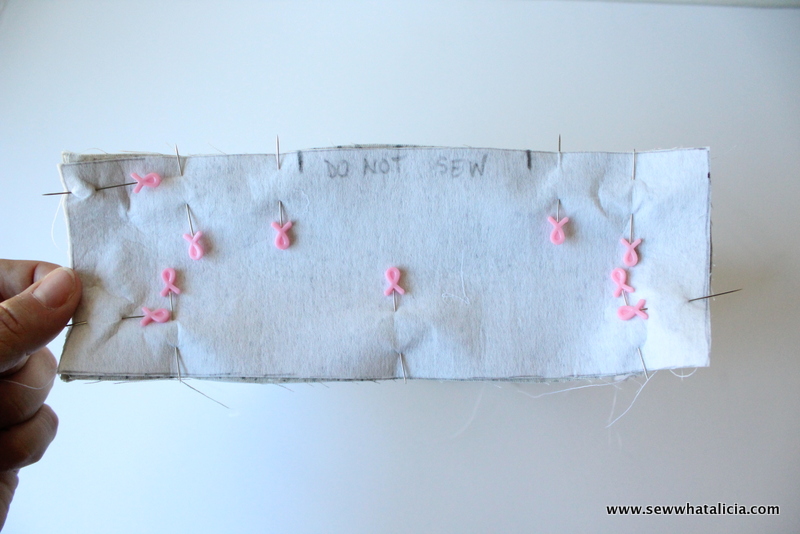
To start sew one of the body pieces to the body torso (as pictured below.)
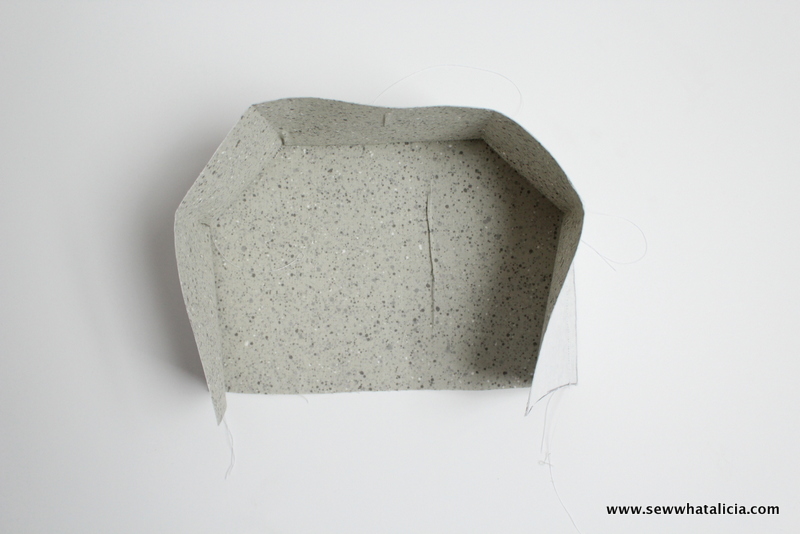
Next add the other side of the body onto the torso.
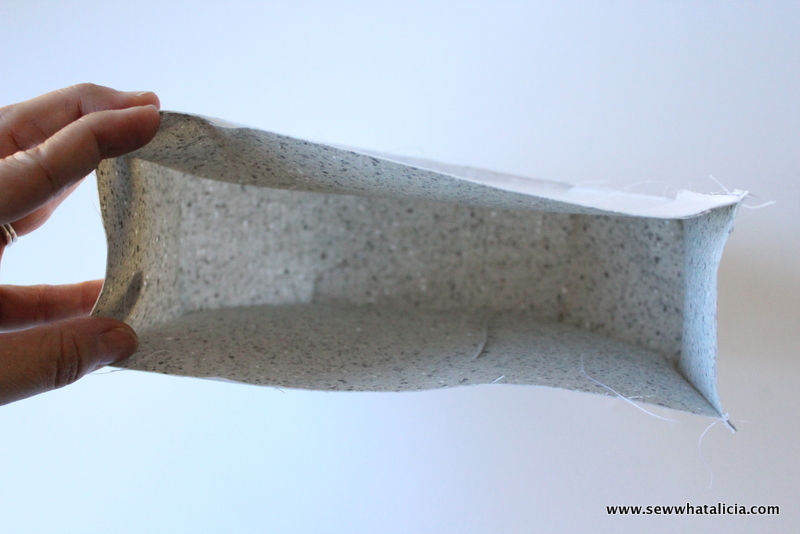
To finish the body place the belly piece onto the torso. You will have to do some y-seams. Be sure to leave a portion open (as indicated in the picture) to turn the whole body out.
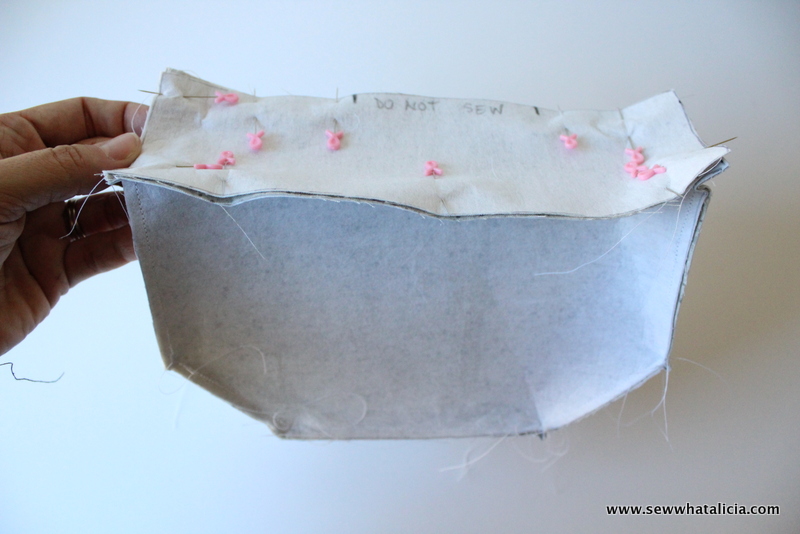
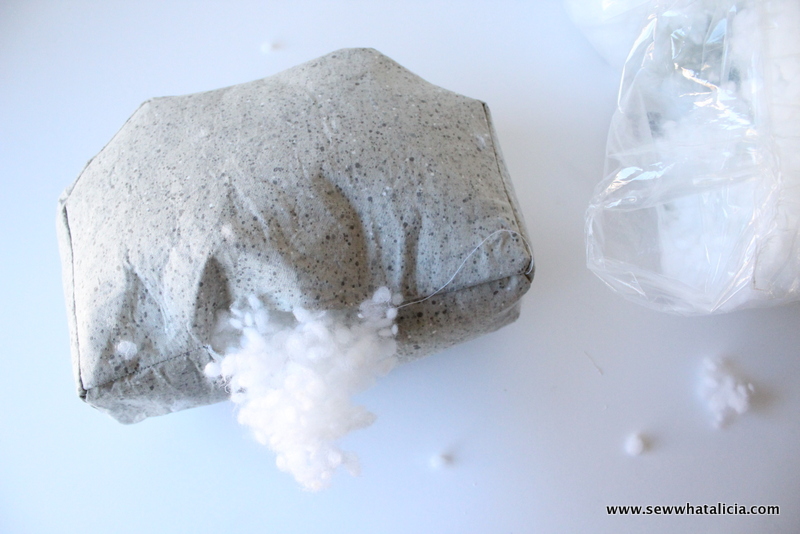
Now stuff the body. Use a ladder stitch to close the hole.
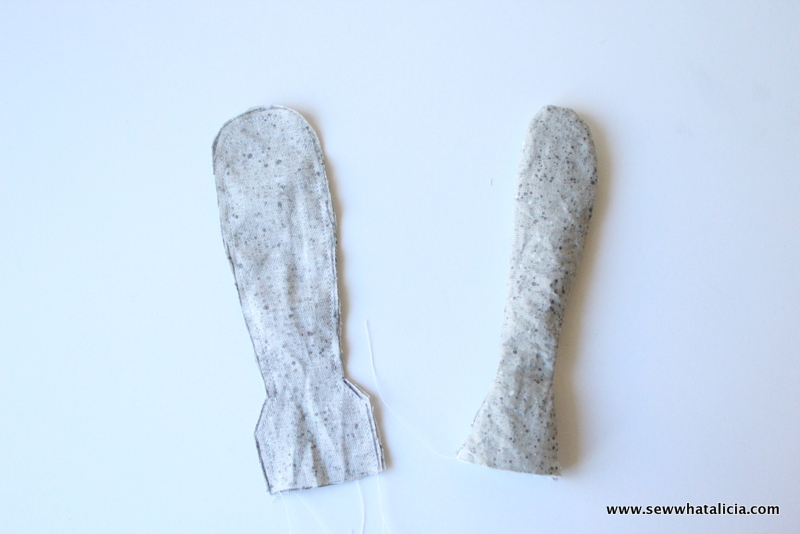
Now use the same technique to sew the head together. Stuff the head and sew it closed with a ladder stitch.
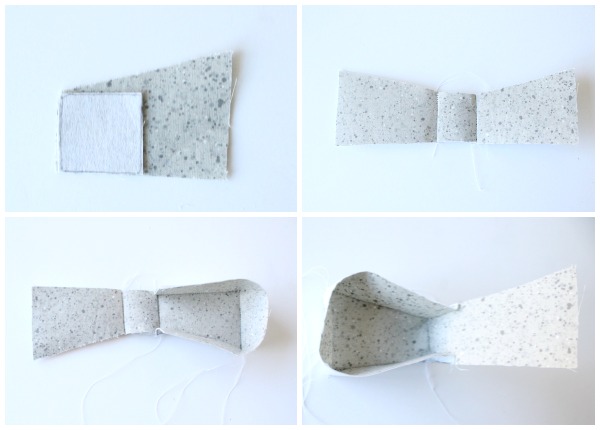
The next step is to create the four legs. Since we used the interfacing the legs are a little difficult to turn out. I promise it is worth the work though. The stiffness will help to make it so that the toy can stand up. Sew around the edges leaving the bottom open. Then turn the piece out and stuff. Close the bottom with a ladder stitch.
The last step is to assemble. Attach the 4 legs by hand sewing them down. Make a big X or attach them with grey buttons. For the neck press the edge under 1/4″ and then sew around the bottom attaching it to the body. Add some stuffing to fill up the neck. Then attach the head in the same way you attached the neck to the body.
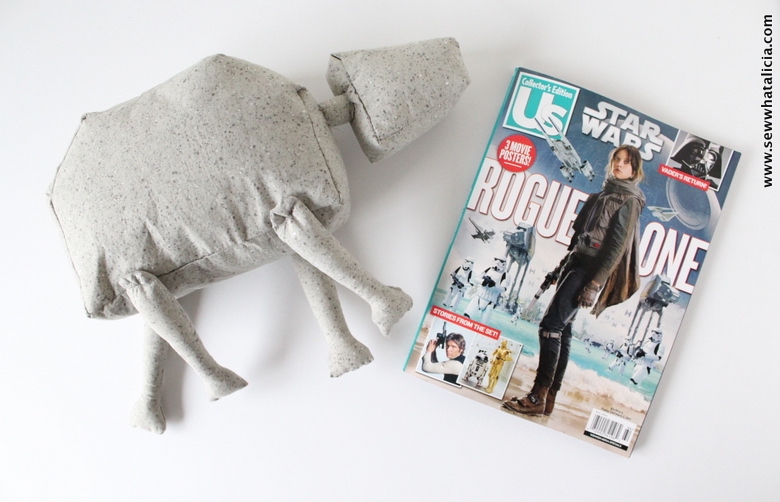
He is all set!! You can add a few more details by adding felt but I liked him without too much stuff cluttering up the body. I love him just as he is!! Do you have any little Jedi who need their own stuffed toy??
Need more Star Wars? Be sure and check out all these amazing Rogue One posts!

Star Wars: Rogue One Explainer | The Love Nerds

Rogue One Cocktail – Jyn and Juice | Merlot Mommy
Star Wars Don’t Eat Pete Printable | The Benson Street

Star Wars Blue Milkshakes | Sugar & Soul

Floating Yoda Cocktail | Homemade Hooplah

DIY Star Wars Shirts (Including a Rogue shirt) | The Love Nerds
Wood Burned Star Wars Utensils | Simply Made Fun
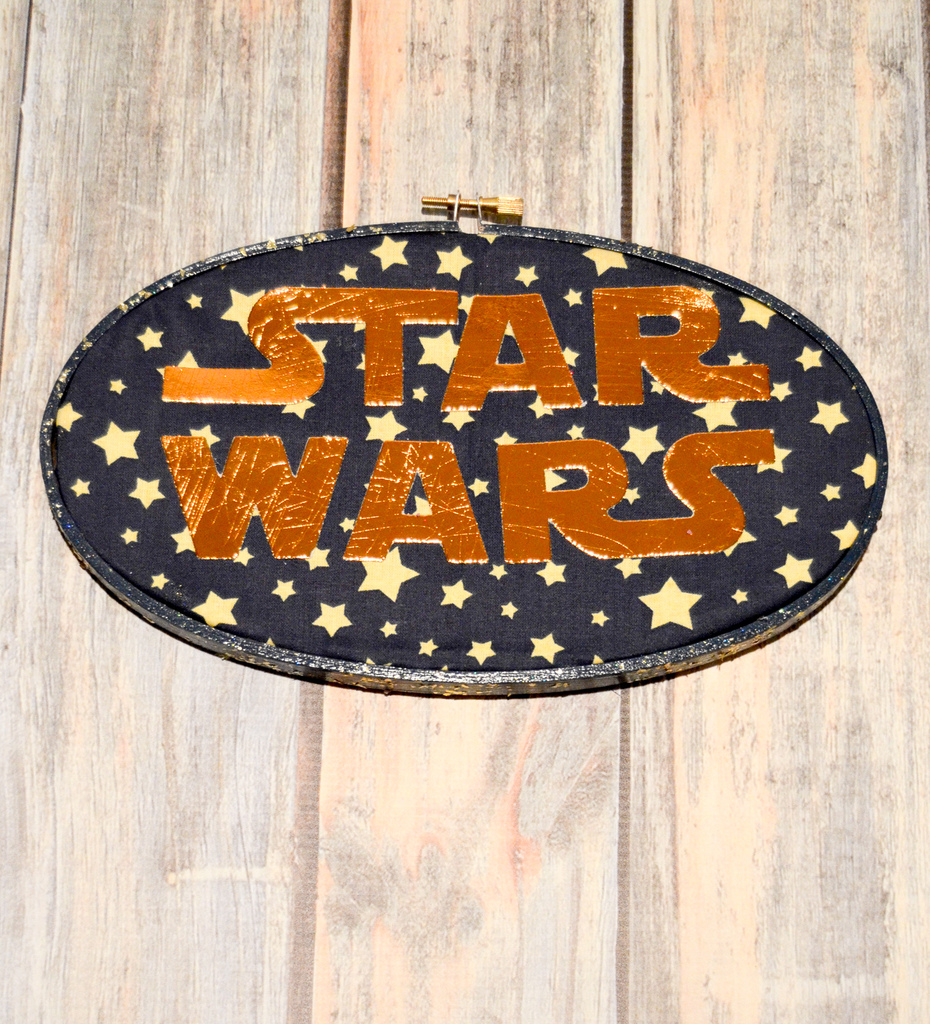
Star Wars Hoop Art | Albion Gould


Anne Weaver says
This is awesome in so many ways!!! I’ve got a Craft Gossip post scheduled for later today that features your tutorial: http://sewing.craftgossip.com/?p=90909 –Anne