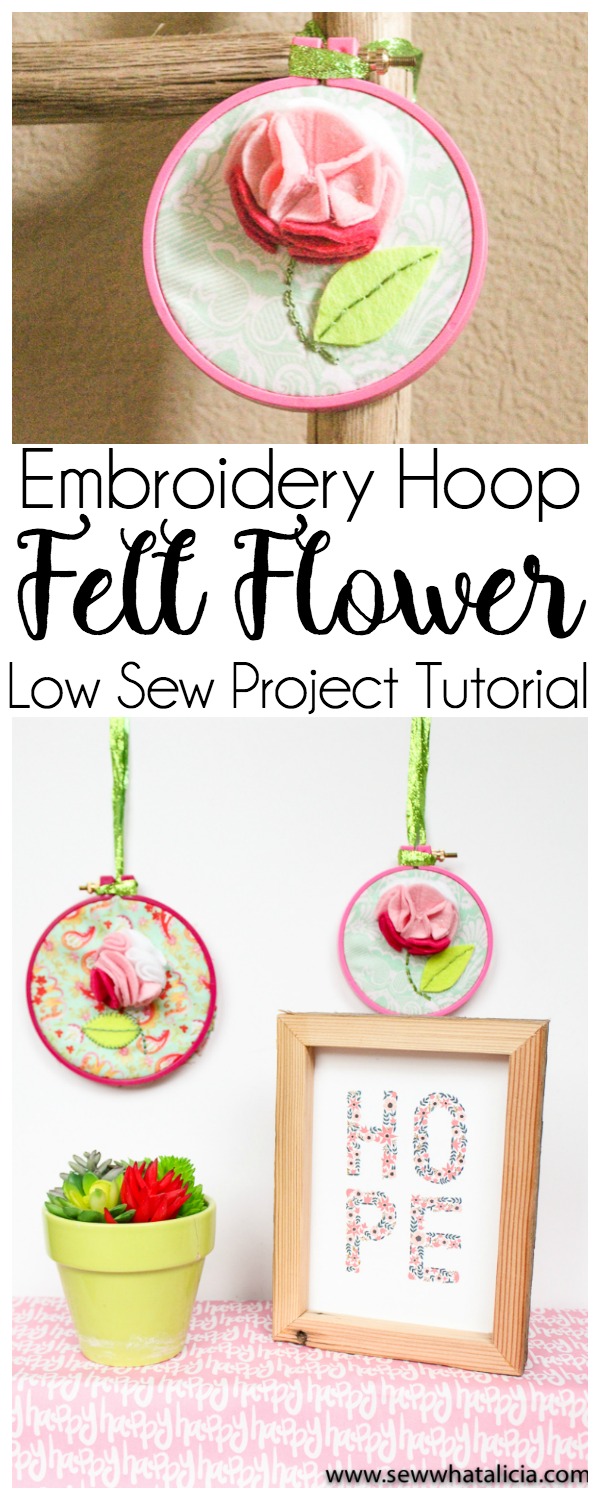
Felt Flower Embroidery Hoop Art
I have been seeing so many adorable felt appliqués, succulents, cupcakes, and more! If an object exists you can be sure someone has made it out of felt. Here is a tutorial for felt flower embroidery hoop art. If you don’t have embroidery stuff check out this Hand Embroidery Supply post before you get started to make sure you have all the tools.
Felt Flower Embroidery Hoop Art
Supplies:
Embroidery Hoop – <—— I used the 4″ hoop from that set.
~8″ square fabric
Embroidery Supplies – Green and pink floss, needles, scissors, etc.
Felt – White, Pink, Fuschia, Green
Instructions:
Scroll down to see the video below for a full video walkthrough.
Place your fabric square into the embroidery hoop. Be sure to pull it snug. The tighter the better because this will make it easier to work with when you are attaching the flower.
From your felt cut 3 to 4 circles each of white, pink, and fuschia. Use a spice jar or the bottom of a large spool of thread to trace a circle template.
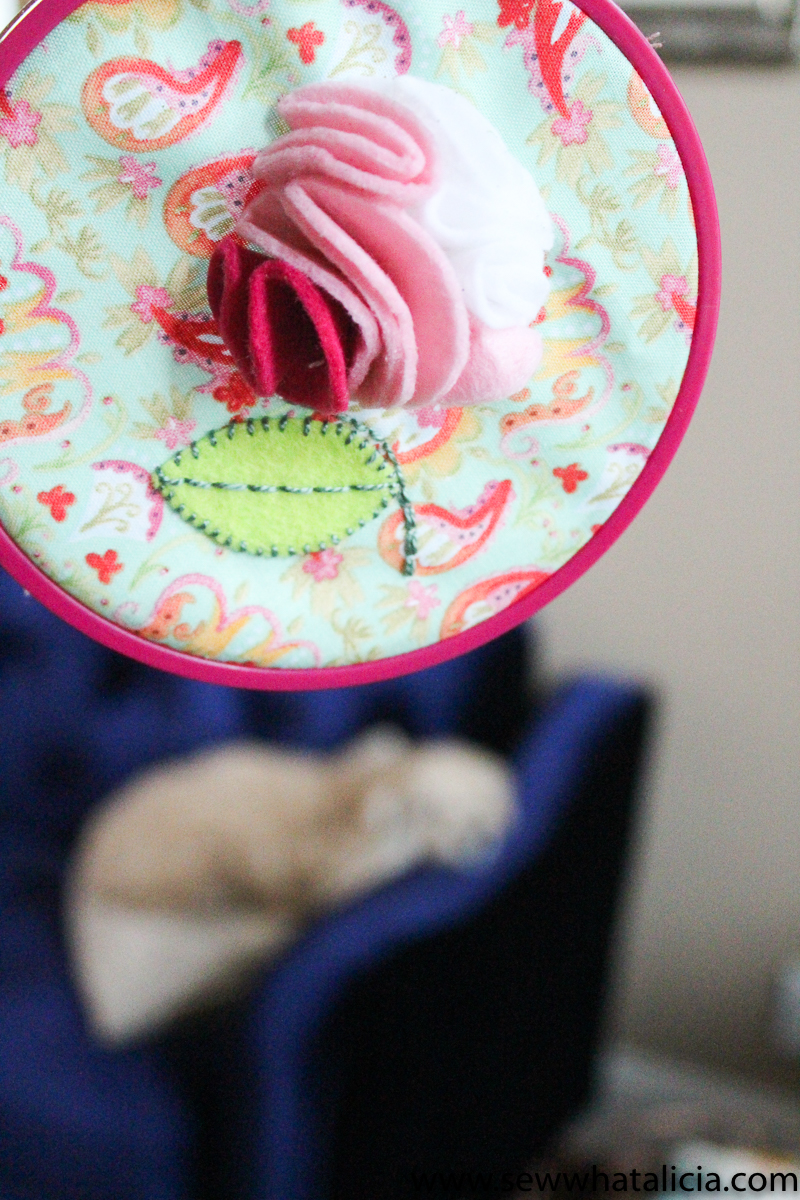
Start with a white circle. Fold the circle in half and then half again. Place it at the top of your fabric and sew in place. Be sure to sew through all 4 layers of felt. I used two stitches to secure each circle in place. Repeat this step with two more white circles. The three white circles should form a semi circle that makes up the top of the flower.
Next grab your fuchsia circles. Fold them again into fourths. Line them up along the bottom to create another semi circle which is the bottom of the flower. You can use two or three circles on the bottom. Two was enough for my flower.
We will do the light pink circles in the middle last. Place one on either edge the using the same method as above. This will leave a small space in the very middle of the flower. Place the unfolded circle in the middle of the flower. Attach using a stitch in the very middle. Then bring the needle up through the circle about 1/2″ to the right of the middle. The needle will go back in at the middle. Pull it tight. This will cause the circle to fold in a touch on that side. Repeat with the other three sides of the circle.
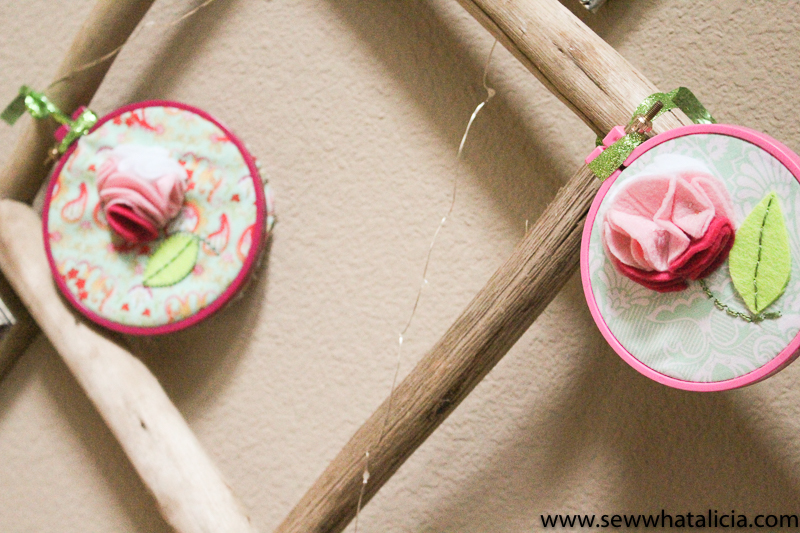
Next cut a leaf shape. Stitch this in place, I simply used a backstitch to go up the middle of the leaf. Then I used a backstitch again to sew a stem. Secure your threads in the back.
The last step is to turn the hoop over. Secure the edges of the fabric to the hoop using the fabric fuse. I like to use the glue that is designed for fabric, it really works well. If the back of the hoop is going to be visible you can trace a piece of felt to the size of the hoop and glue that on the back to hide the threads. If not you can simply add a ribbon or hanger and hang your piece.
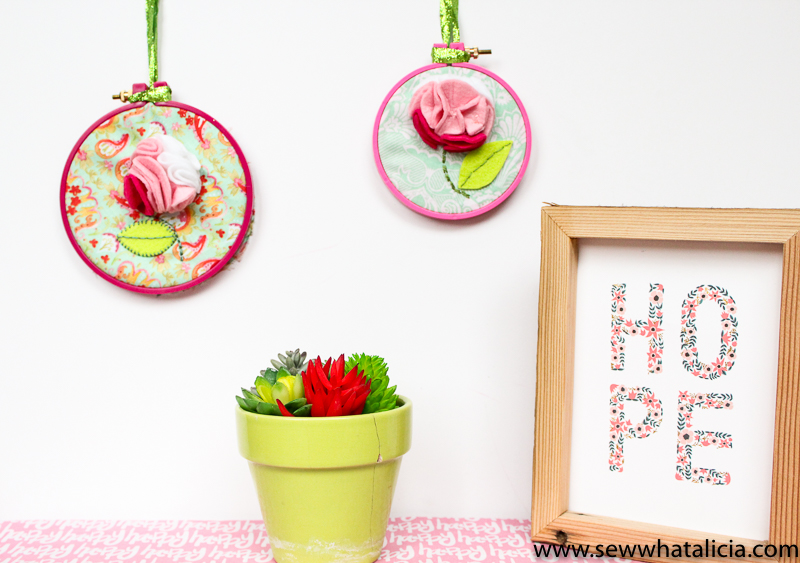
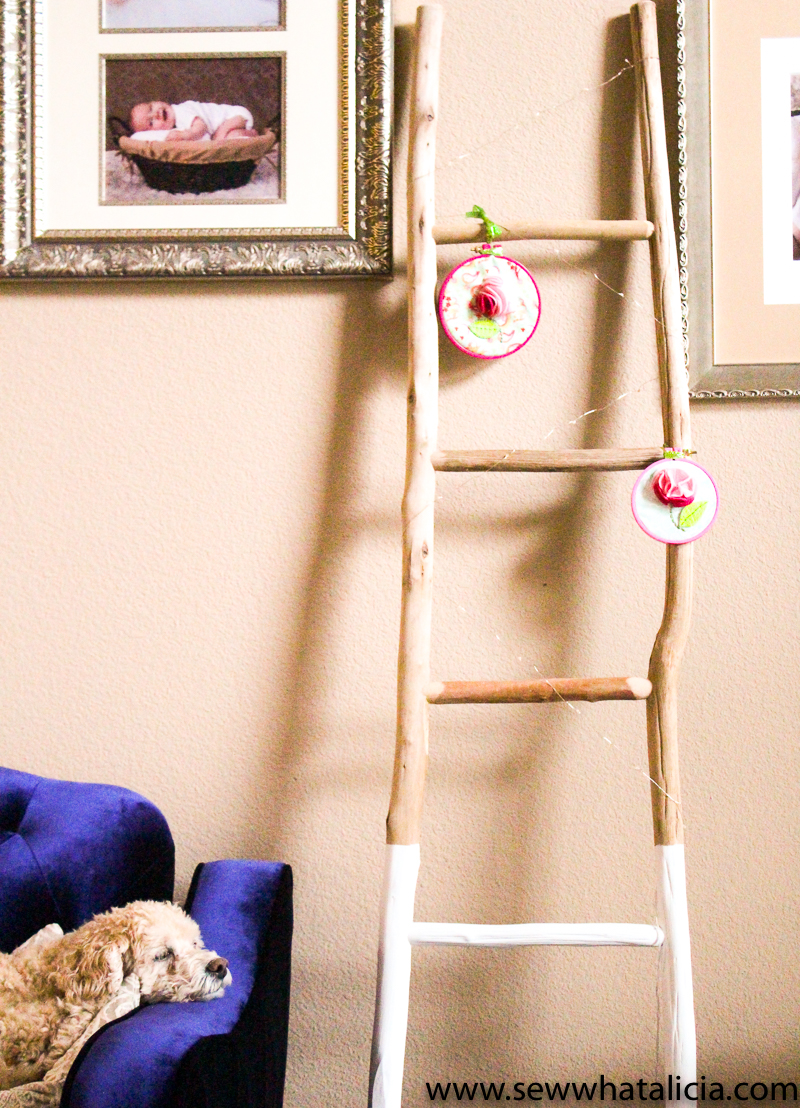
This would be adorable to use as an accent on a wrapped birthday gift. Or make several (as I have done) and hang them as an accent.
I really enjoyed this project! You can be sure you will see more tutorials like this soon!! What felt artwork should I make next? Share with me in the comments below.


Leave a Reply