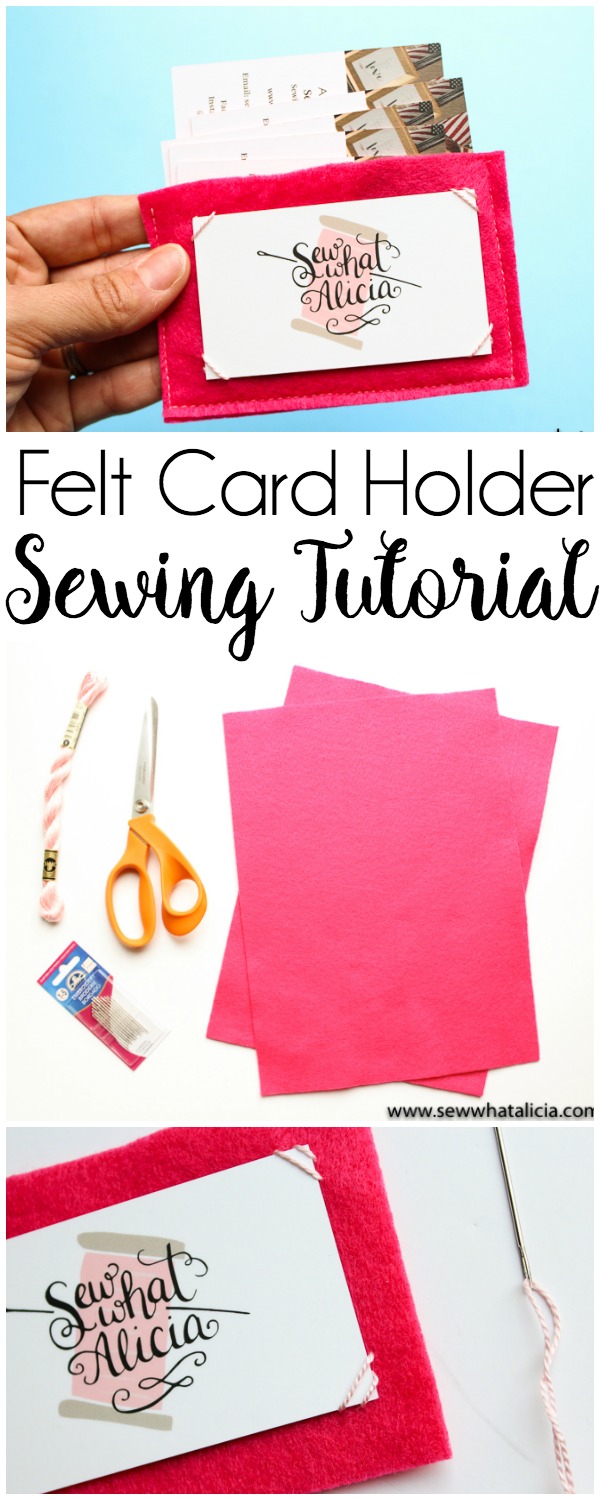
Felt Business Card Holder Tutorial
These really are quick and easy! I needed a whole bunch to give out at a conference that I am attending. I thought what better way for someone to remember me than to have a card holder with my name on it that they would use during the whole conference! Whether you are making just one or a whole bunch these are so helpful and fun! Oh and they would also be perfect for giving gift cards with a gift! Here is a felt business card holder tutorial.
Felt Business Card Holder Tutorial
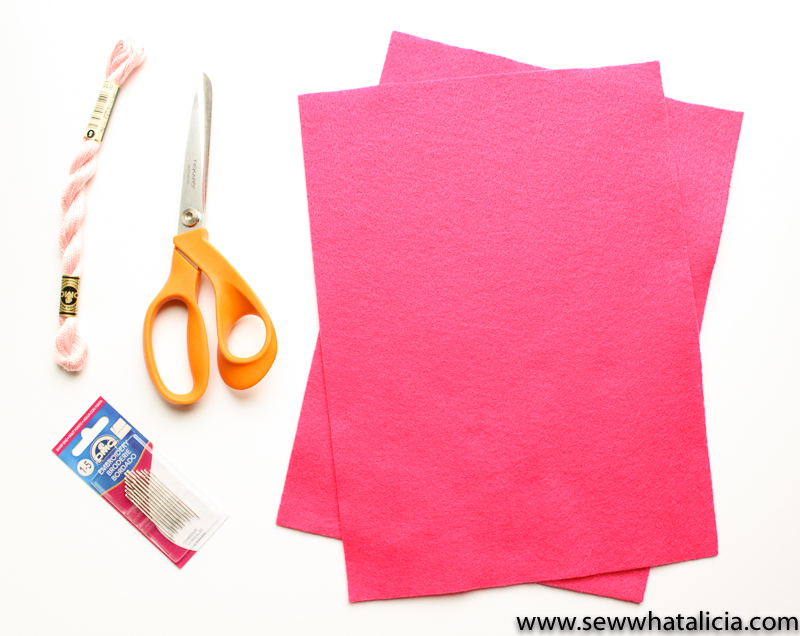
Supplies:
Instructions:
This comes together in just a few quick steps. Fold the felt in half “hot dog” way as we said in school! Then cut along the fold you just created.
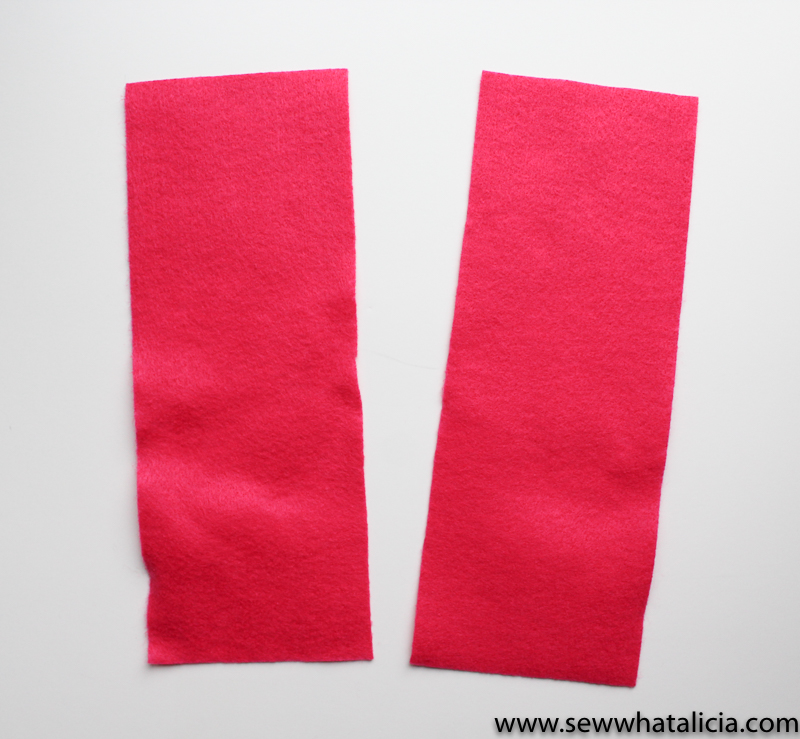
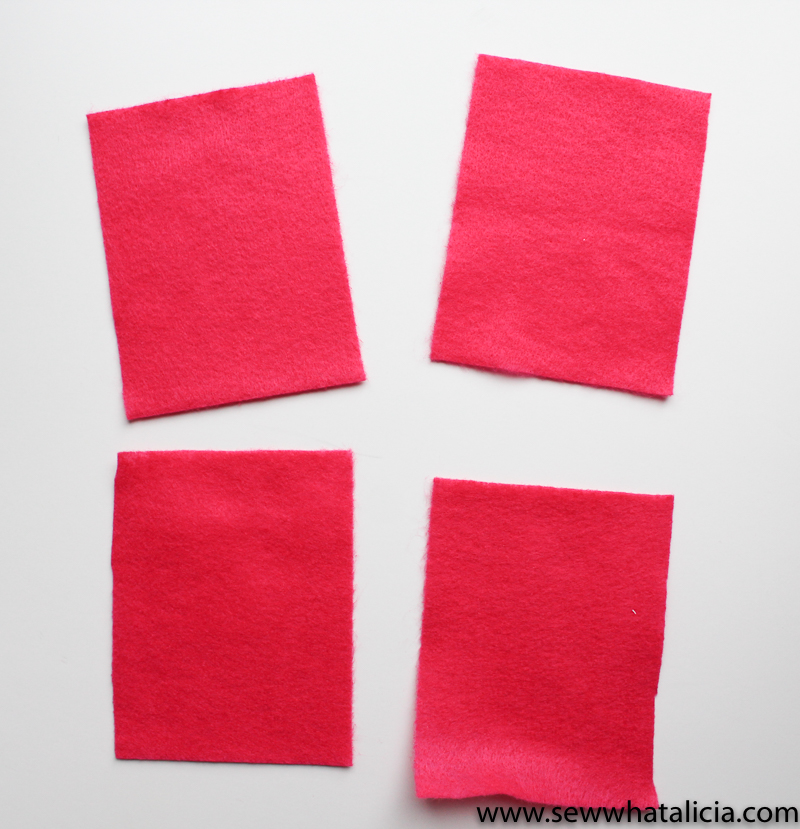
Now fold these long strips in half, hamburger way. Then cut again along the fold.
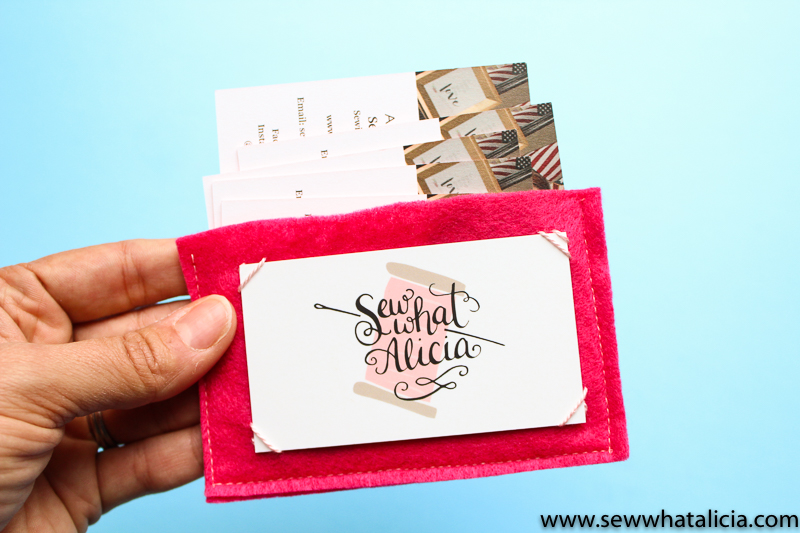
Next grab your embroidery thread and needle. There are a couple ways you can attach the card. I have used two different methods. In the picture below I simply stitched diagonally over each corner two times. If you watched the short video on Instagram I attached the card in a different way.
I simply stitched one straight line over the four sides to box the card in. Both ways are easy for the card to be removed so that people can see what is on the back!

Now fold the felt in half one more time (hamburger) and stitch along the three sides to close up the holder and leave the top open.
That is it! I made over 50 and they actually came together in just a few hours!


Anne Weaver says
Great idea!!! I’ve got a Craft Gossip post scheduled for tomorrow evening that features your tutorial: http://sewing.craftgossip.com/?p=92459 –Anne