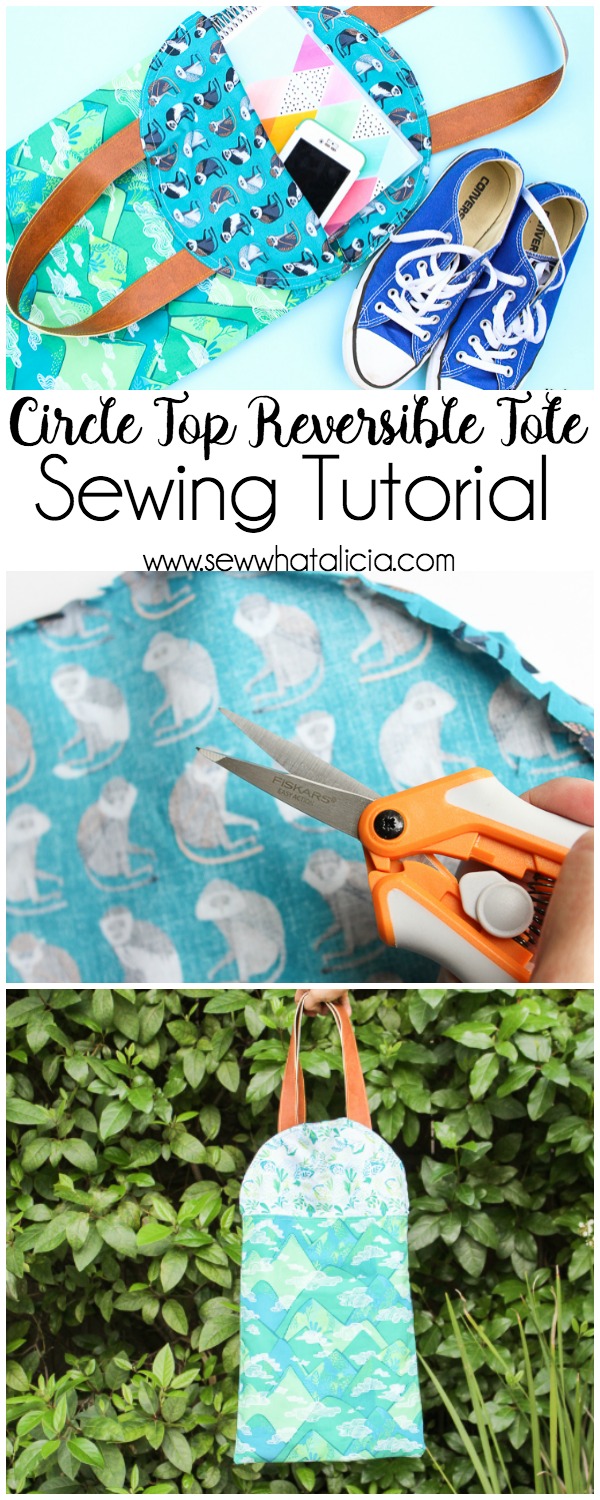
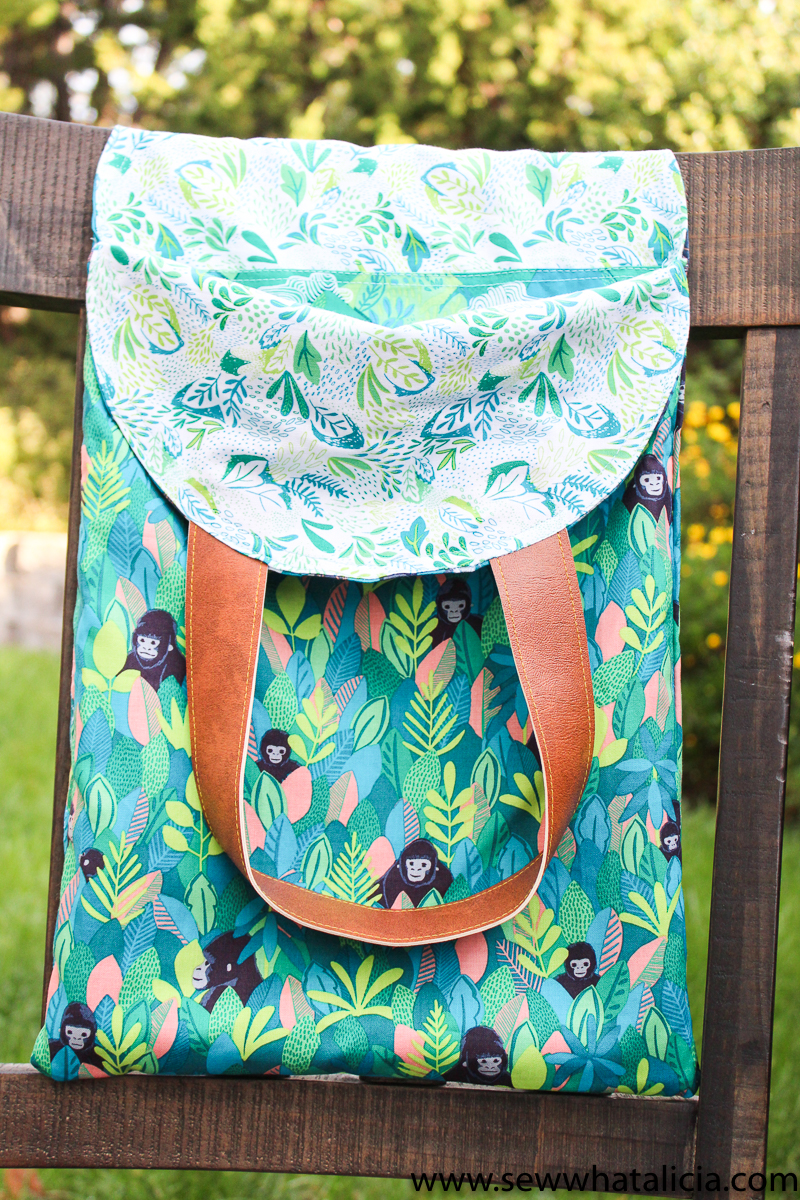
Circle Top Reversible Tote Sewing Tutorial
I am kind of a tote fanatic. Which is why it is kind of crazy that we are just now getting to a tote tutorial here on the blog. I have SO many totes!! I recently got this fun circle cutter from Fiskars in the mail and I have been totally obsessed with making anything and everything with a circle! This tote is so fun with the rounded circular top and I love that it is reversible so I can change it depending on my mood! Here is a circle top reversible tote sewing tutorial. For more tote/bag making techniques check out this Craftsy class!
This is just one of my 50+ easiest sewing tutorials. Check out the rest HERE.
Circle Top Reversible Tote Sewing Tutorial
I did not receive monetary compensation from Fiskars America but I did receive free products to experiment and play with. All views and recommendations are my own. I will never recommend products that I don’t use and love!
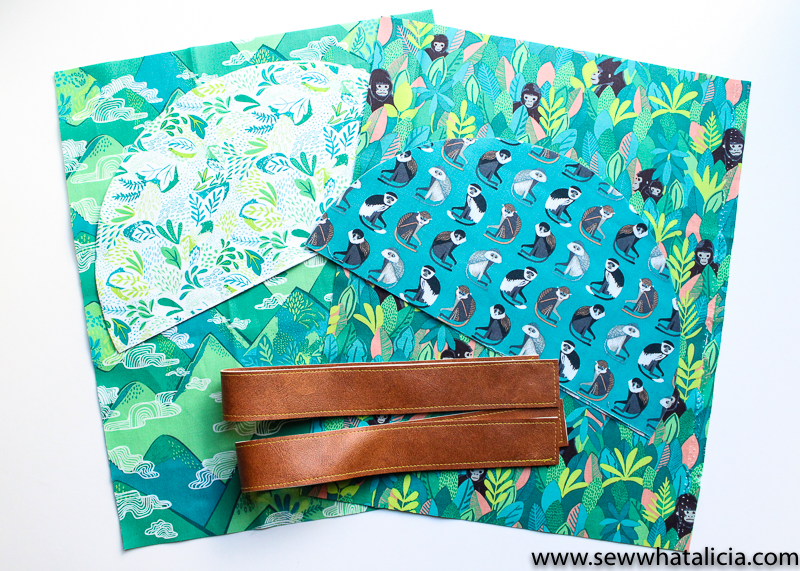
Supplies:
Coordinating Fabrics (I used Blend Bwindi Forest)
Handles (See my faux leather handle tutorial)
Aurifil Thread (Light Turquoise 2805)
Instructions:
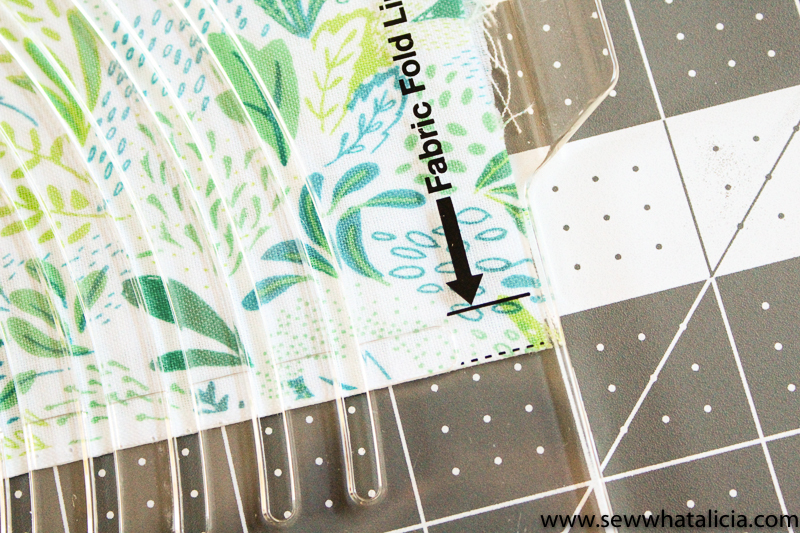
First cut the half circles using the circle cutter. Line up the bottom of the fabric with the line on the cutter that says “fabric fold line.” The fabric will not be folded, we just want half circles for this project. Cut four 12.5″ half circles, two in each fabric print.
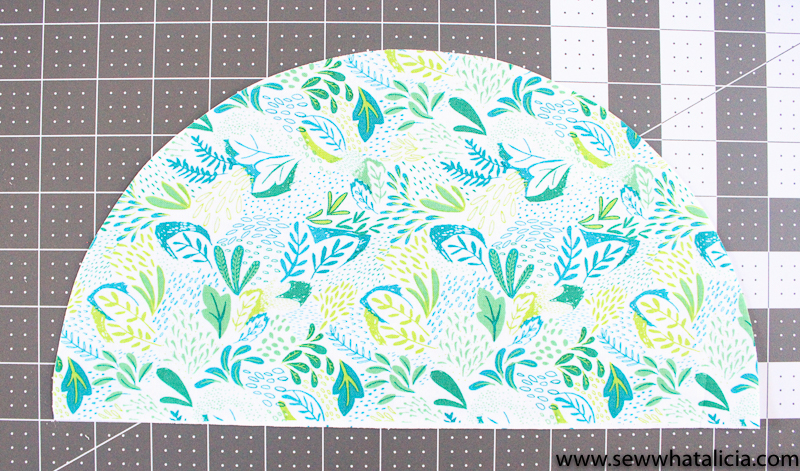
You should end up with four half circles that look like this.
Next cut two rectangles 12.5″ x 16.5″ from each fabric print (you can make them longer if you want a longer tote, the width must be the same as the length of the longest edge of the half circle.) Line up the half circles on the top edge of each rectangle. Make sure that you match the fabrics so your inside will have the same two fabrics and your outside will have the same two fabrics.
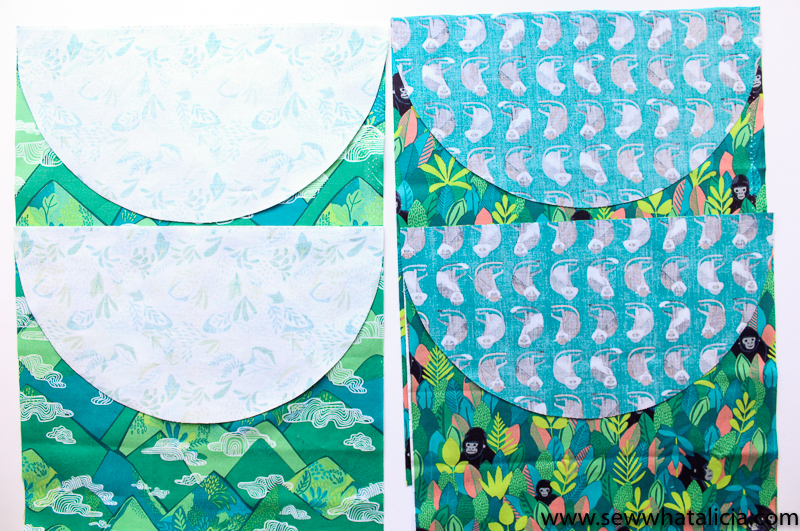
Sew the half circles in place on the rectangle. Press the seam and then top-stitch, I added two lengths of top-stitching to give it a nice look, because the Aurifil is so pretty am I right? Repeat this step for all four rectangles.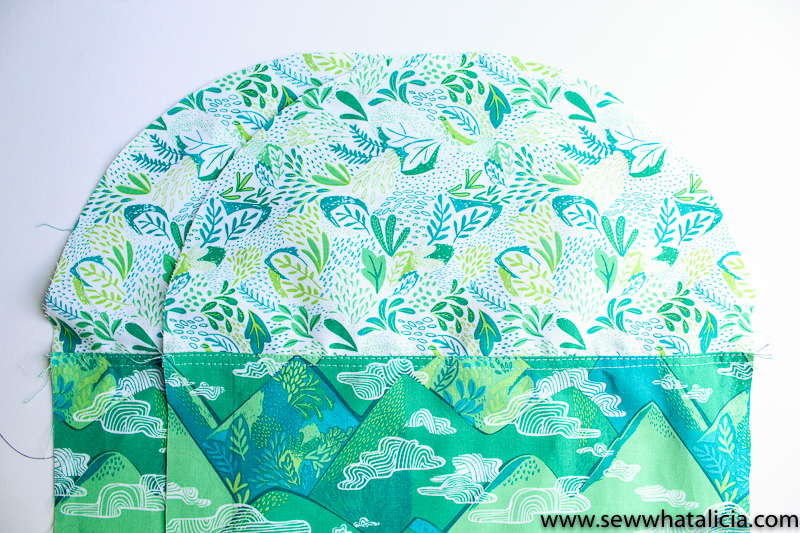
Now line up the matching rectangle/half circle pieces and face them right sides together. Sew around the three straight edges stopping at the seam where the half circle meets the rectangle. Repeat with both the sets of fabric.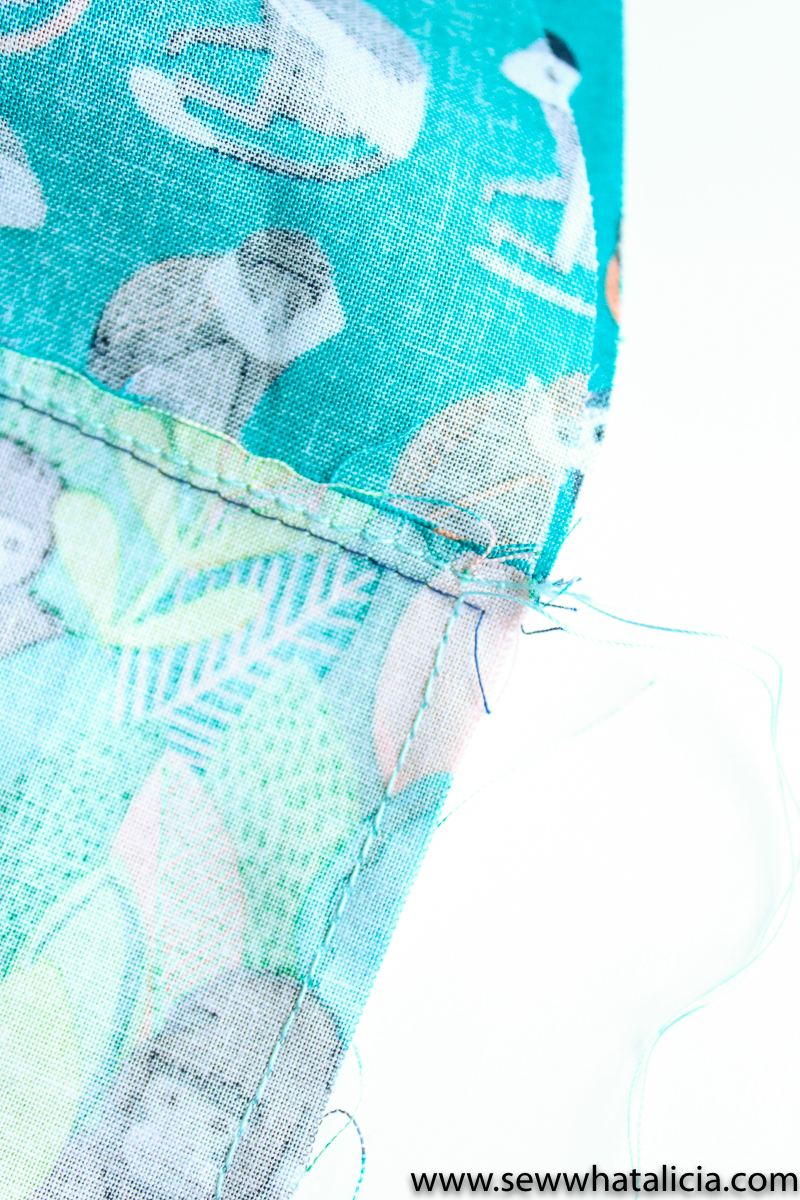
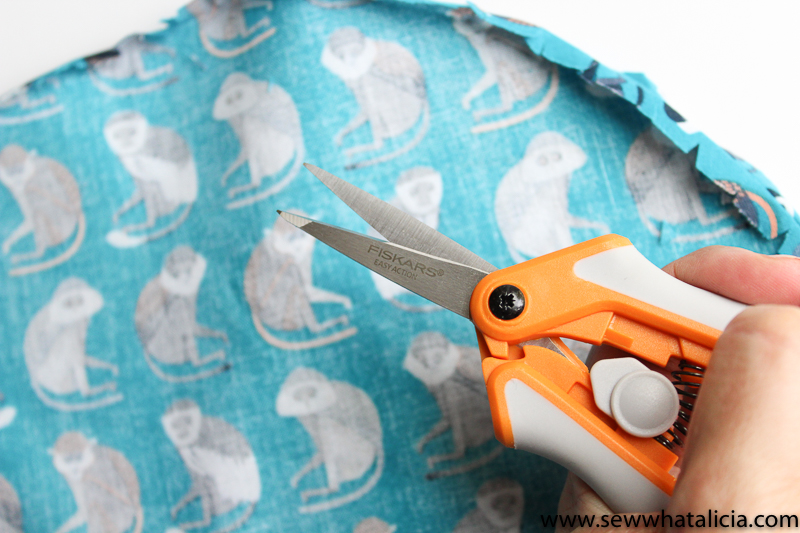
Now press the half circle under 1/4″. Grab your Fiskars shears and snip triangles as you go to help the circle lie flat. Repeat this step with all four half circles.
Stuff one set of fabric into the other set. This time wrong sides should be facing and the right sides should be visible. Pin the circles together and as you pin place your handles. Be sure to line the handles up in the same spot on each side.
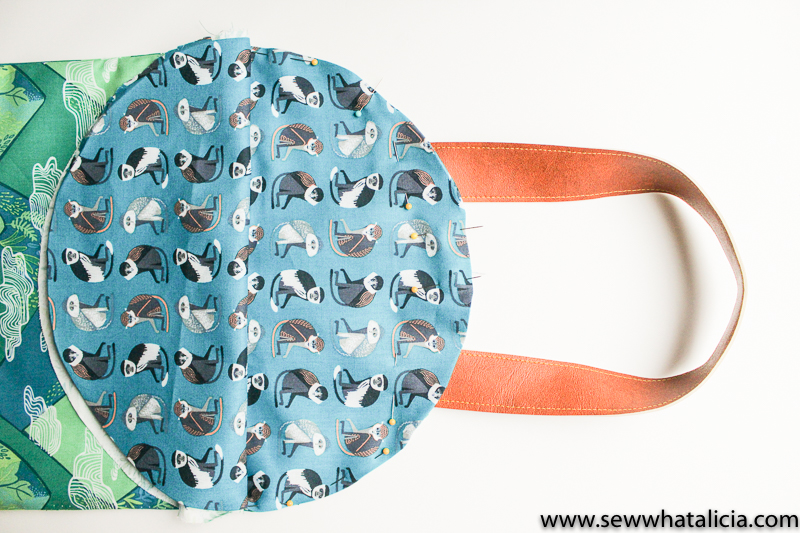
Top-stitch around the half circles. When you get to the point where the circles meet simply lift your needle and turn the piece so that you can sew the other half circle. This will ensure that there isn’t a gap where the sides meet.
If you don’t make your own handles be sure that you get handles that are also reversible.
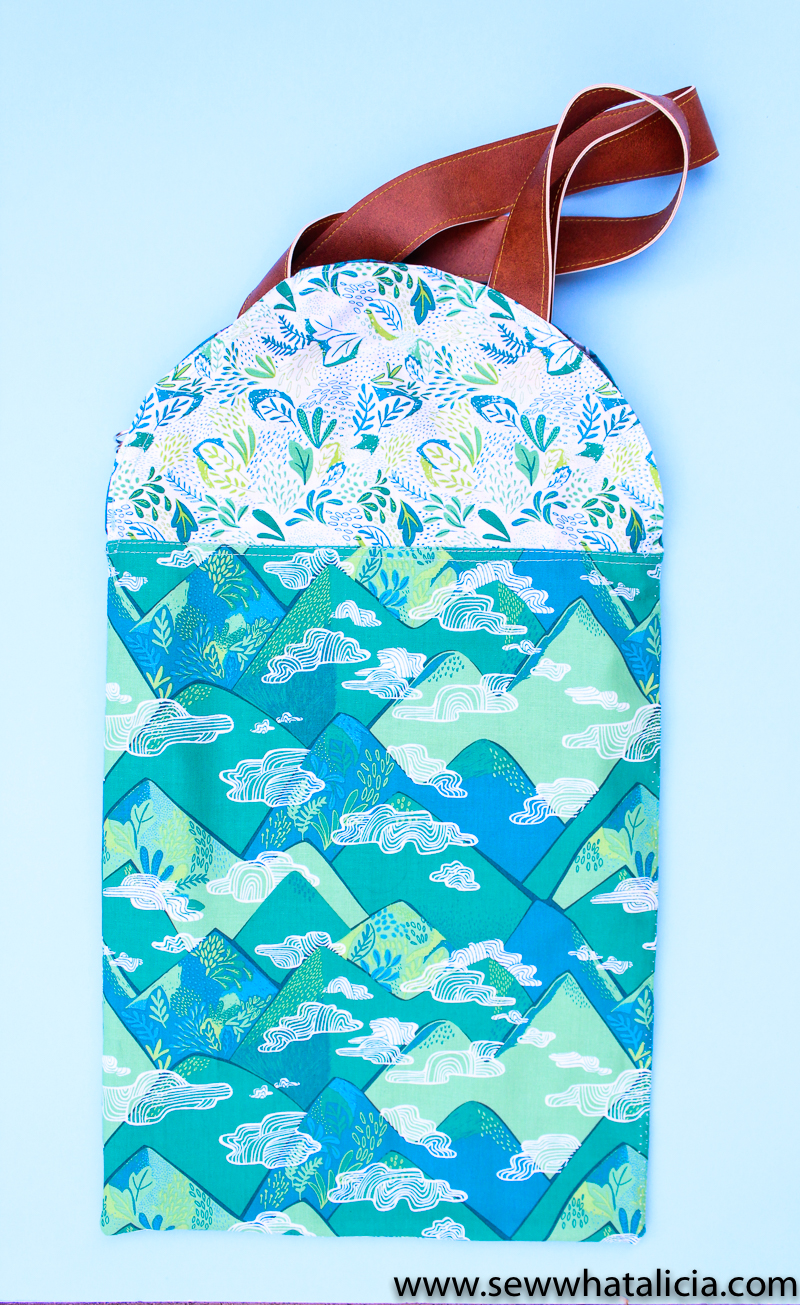
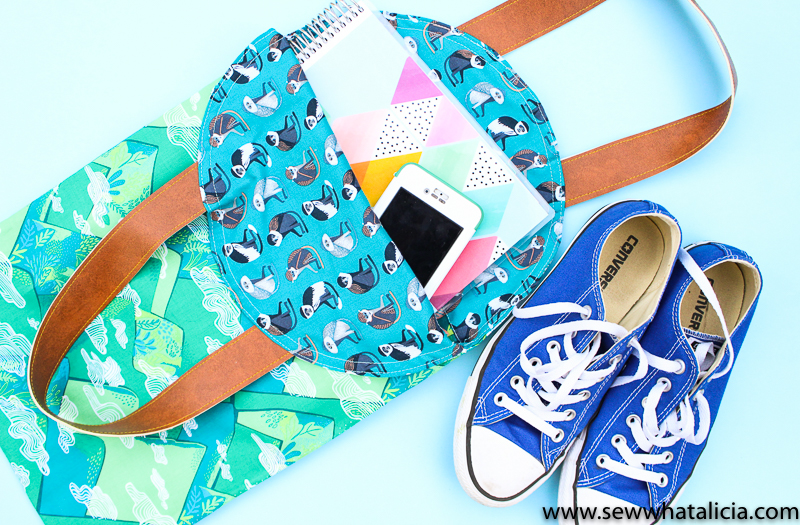
Doesn’t this bag just make you want to go to the zoo? Or maybe just sit at the beach? This is the perfect spring break trekking around tote! Where will you take yours? Share with me in the comments below.


Leave a Reply